⛓️Wallet Integration
In this section, you will begin the process of setting up your wallets, ensuring that everything is ready so you can start receiving payments seamlessly.
Prerequisites
Before you proceed with setting up your wallets, make sure the following steps are completed:
Install PayRam and ensure it is fully set up on your server.
Successfully configure the Blockchain node where you plan to accept payments.
Understanding some key terms
Before configuring your wallets, it's essential to understand how the different wallet types work together in our payment system. This section explains the key components and their relationships
Master account
Deposit wallets
Cold wallet
Sweep contract
Master account
The master account is the merchant’s primary blockchain account that serves as the foundation for generating deposit wallet addresses. Every deposit wallet provided to customers for making payments is derived from this master account, ensuring all payment addresses remain linked to a single, consistent source. This setup allows the system to track, manage, and associate payments accurately under the merchant’s account
In addition to generating deposit wallets, the master account is also used to deploy the sweep contract.
Deposit wallets
A deposit wallet is a blockchain address where customers send their payments. All deposit wallets are derived from the merchant’s master account and can exist on different supported blockchains. Each deposit wallet acts as a unique payment destination for a transaction or customer, while still being linked to the same master account for tracking and management purposes.
Cold wallet
A cold wallet is a secure blockchain wallet used for storing funds offline or in a highly secure environment. Unlike deposit wallets, which are generated for receiving payments from customers, the cold wallet serves as the merchant’s main storage address where funds are ultimately consolidated. Cold wallets are not directly exposed to customers, reducing the risk of unauthorized access and improving overall fund security.
Configuring wallets
Configure wallets on each chain
Below are the steps for each chain how you can configure the wallet
EVM Family (Base & Ethereum)
TRX
Bitcoin
Step 1
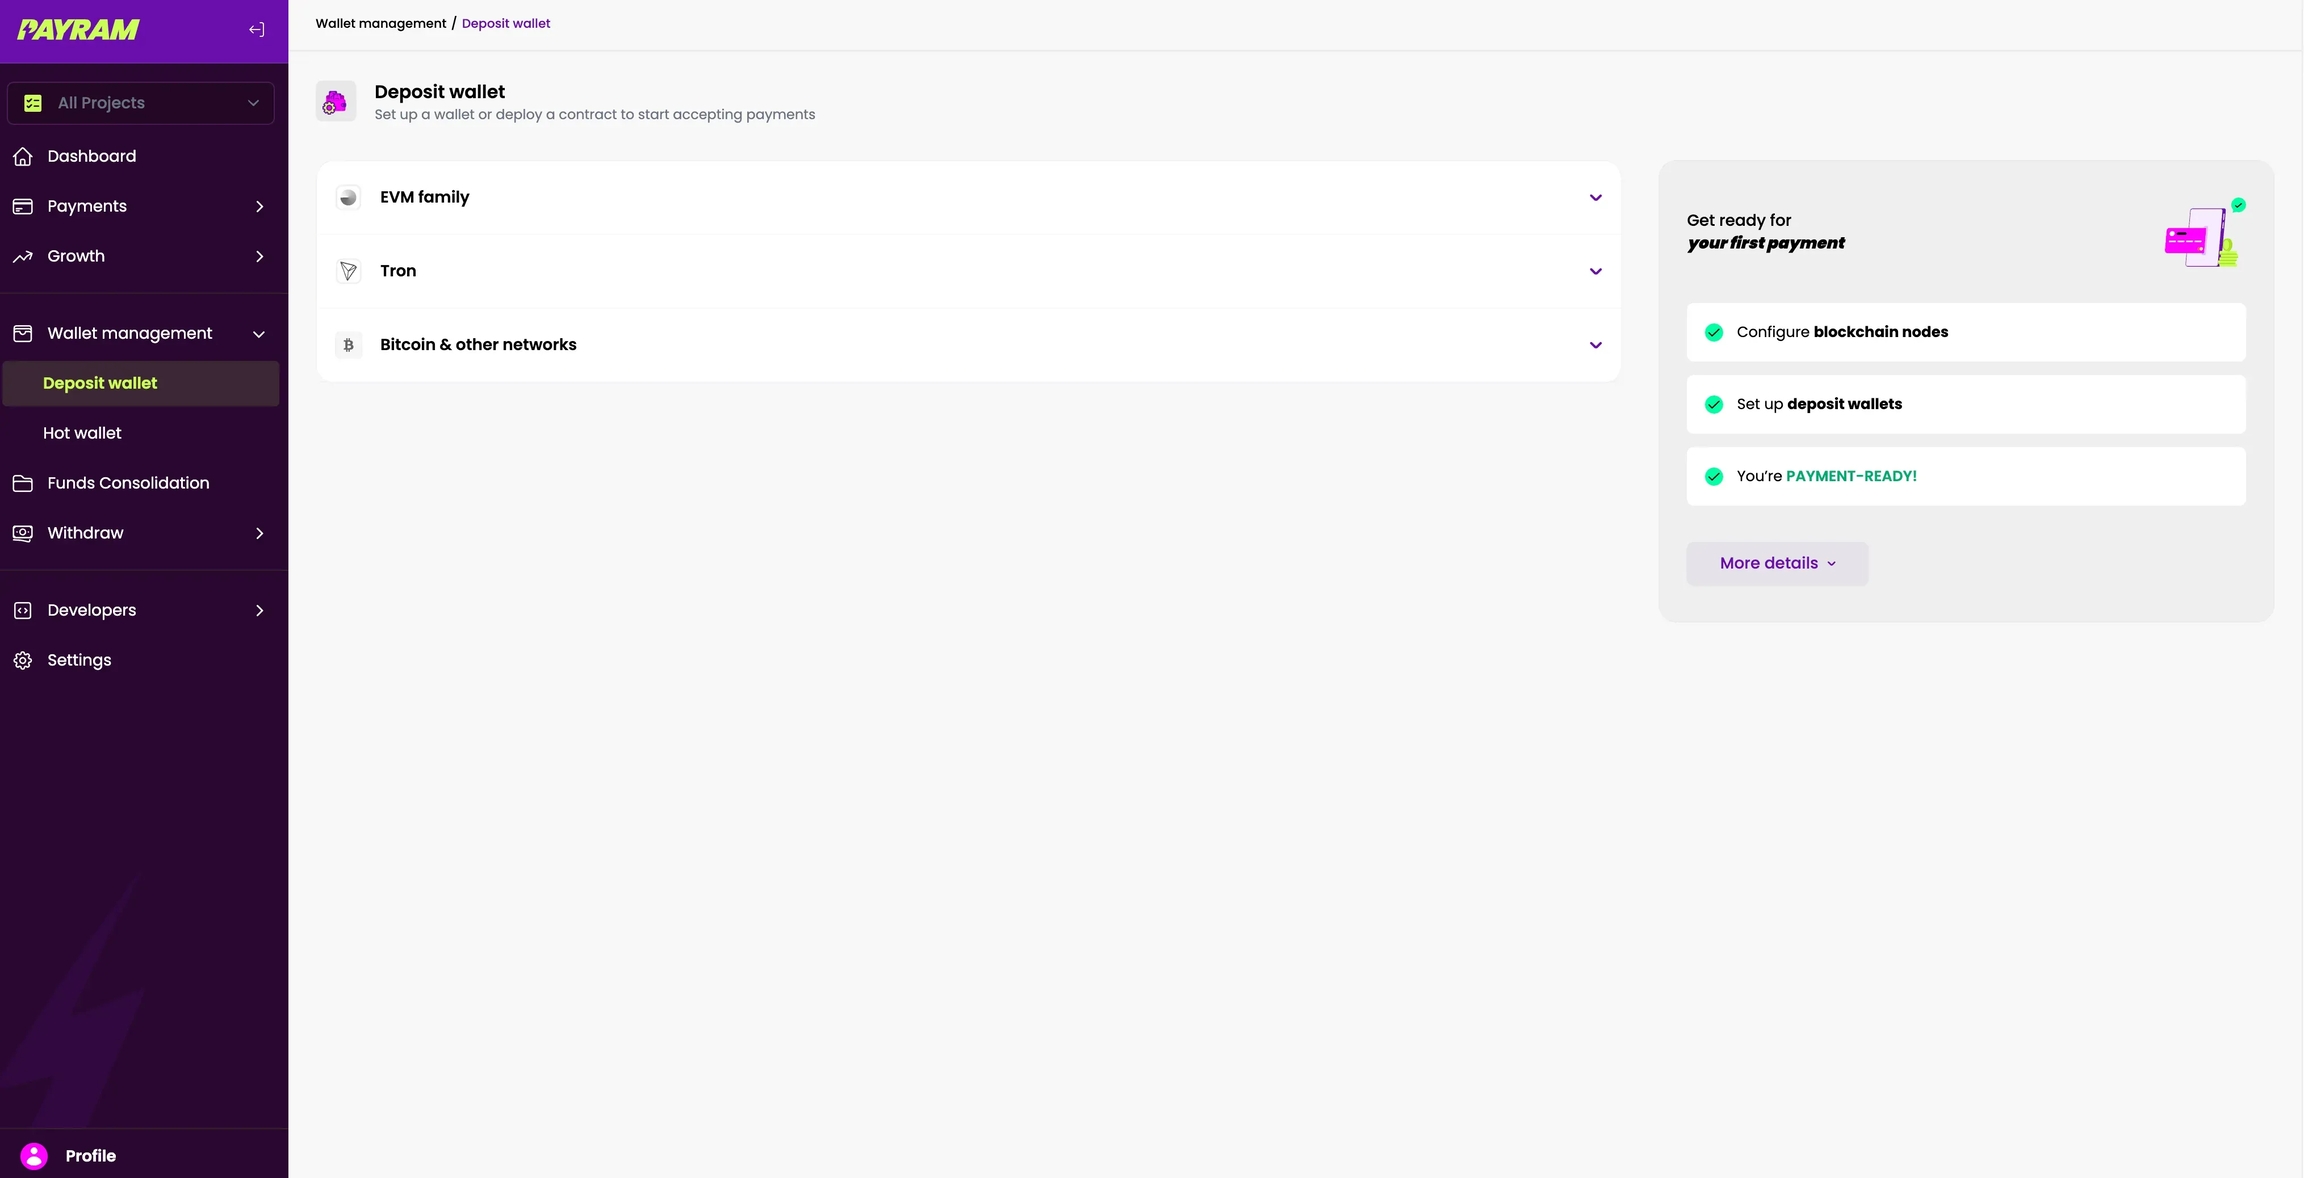
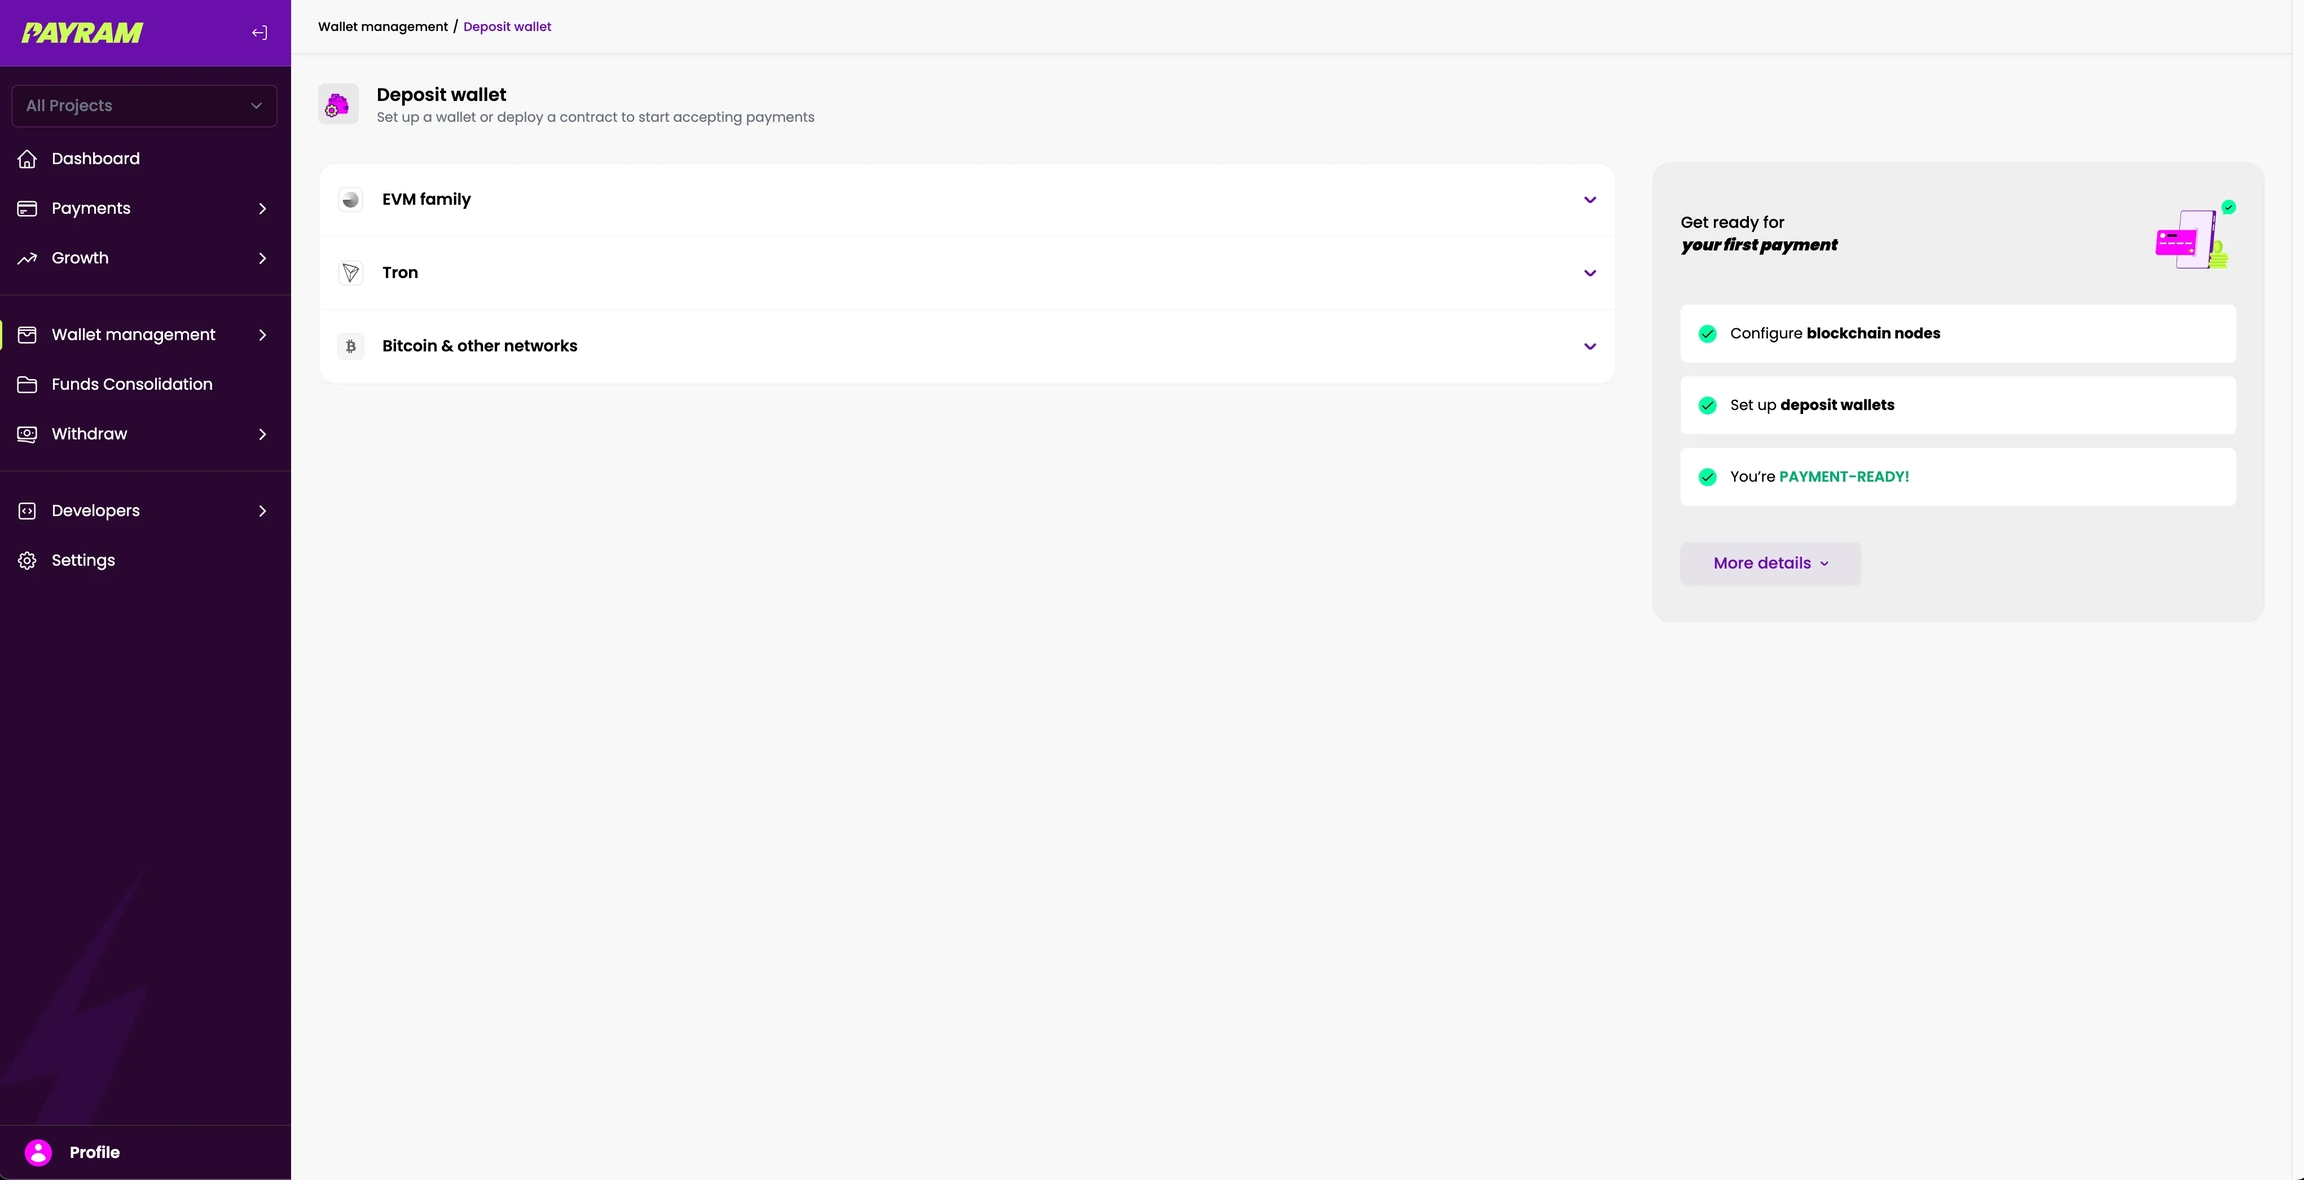
Click on EVM family to expand the section. You will see options to deploy the contract
Step 2
In the EVM Family section, you can deploy contracts on both the Base and Ethereum blockchains. This means you will be able to accept payments on Base and Ethereum once the contracts are deployed there.

Step 3
Now click on Deploy Contract and choose either Base or Ethereum. The process is the same for both; in this example, I am deploying the contract on the Base chain.

Step 4
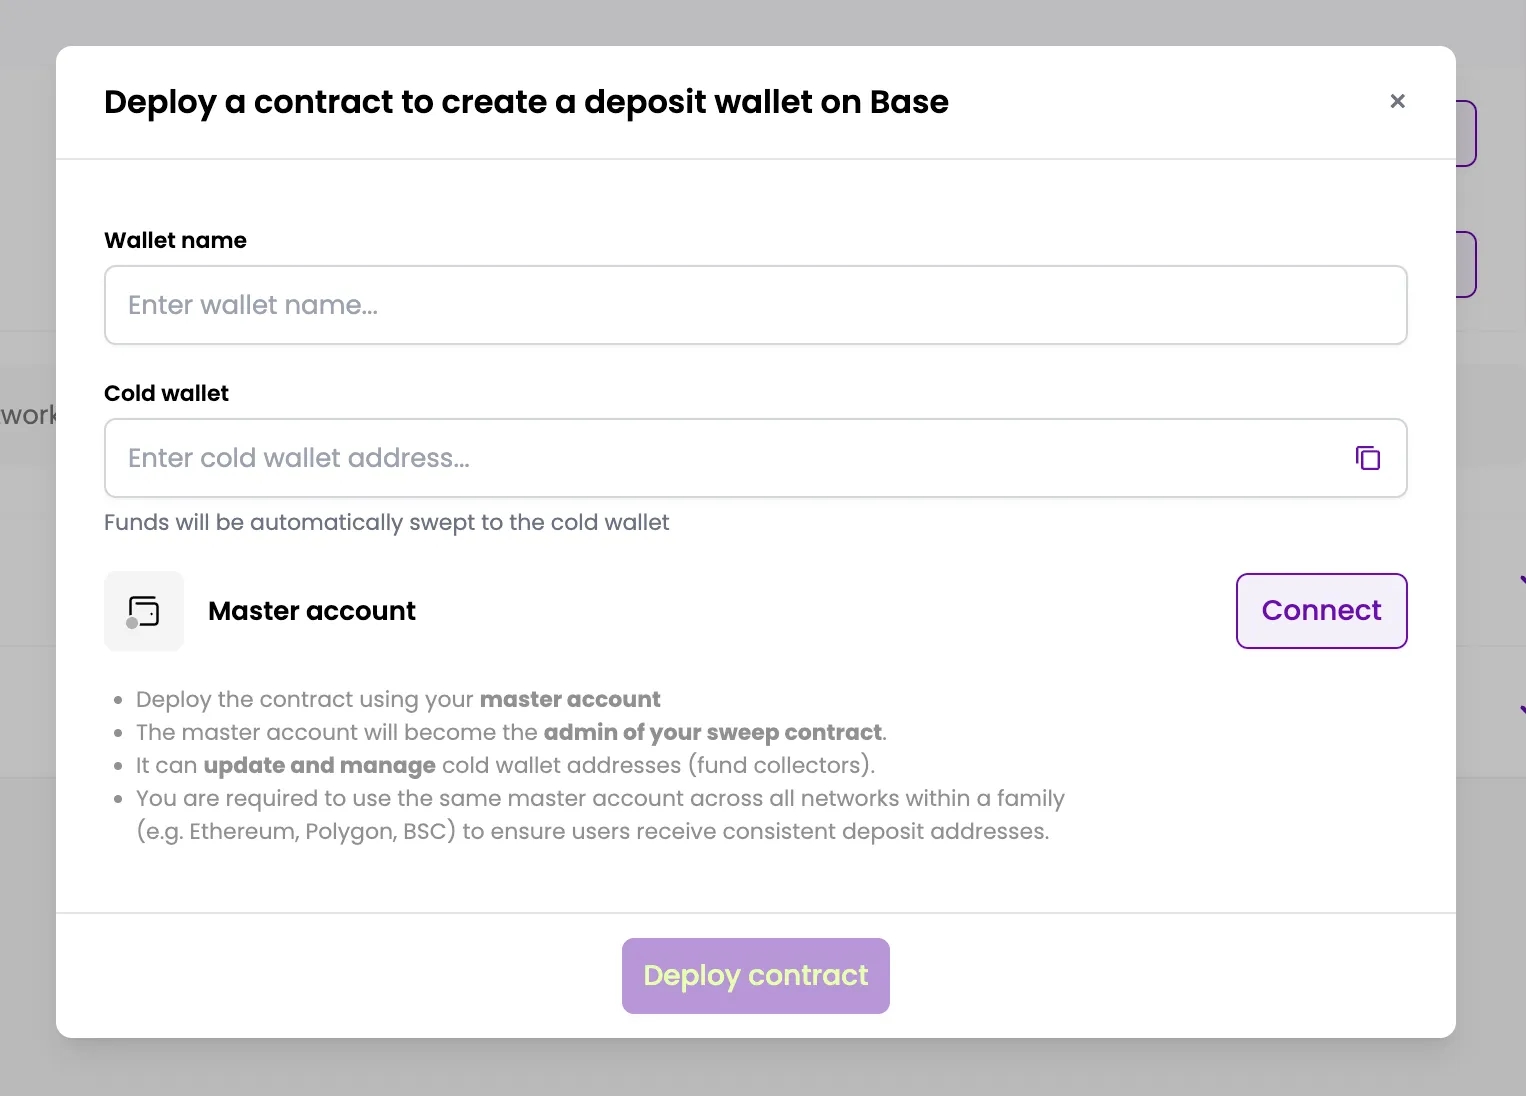
You will see a pop-up screen where you can enter the required details, such as the master account and the cold wallet address.
Step 5
Enter the required details, connect your master account, provide the cold wallet address, and add a wallet name. You can connect your master account using any wallet provider, such as MetaMask or WalletConnect, but it must support the Base network because we are deploying the contract on the Base blockchain. Therefore, it should be a Base-compatible wallet.
Once you’ve added all the necessary details click on deploy contract
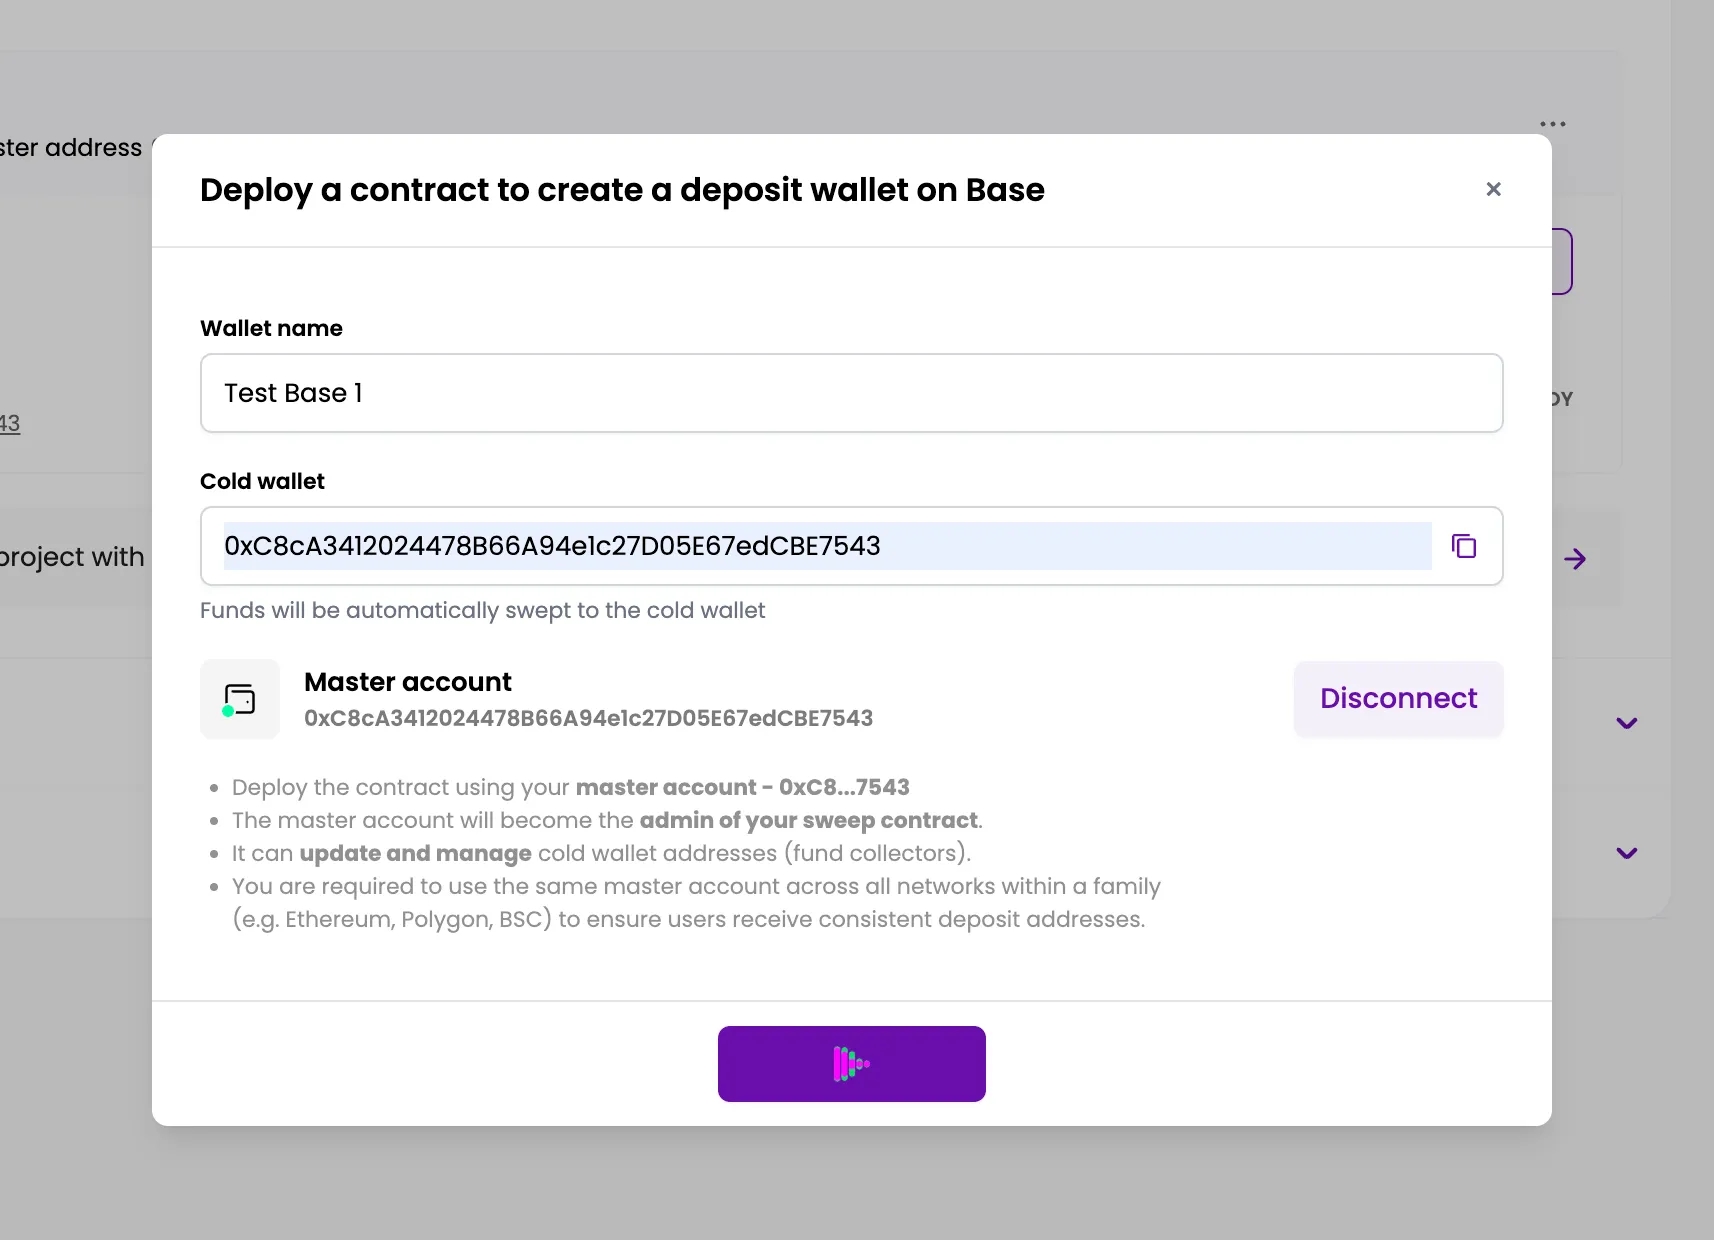
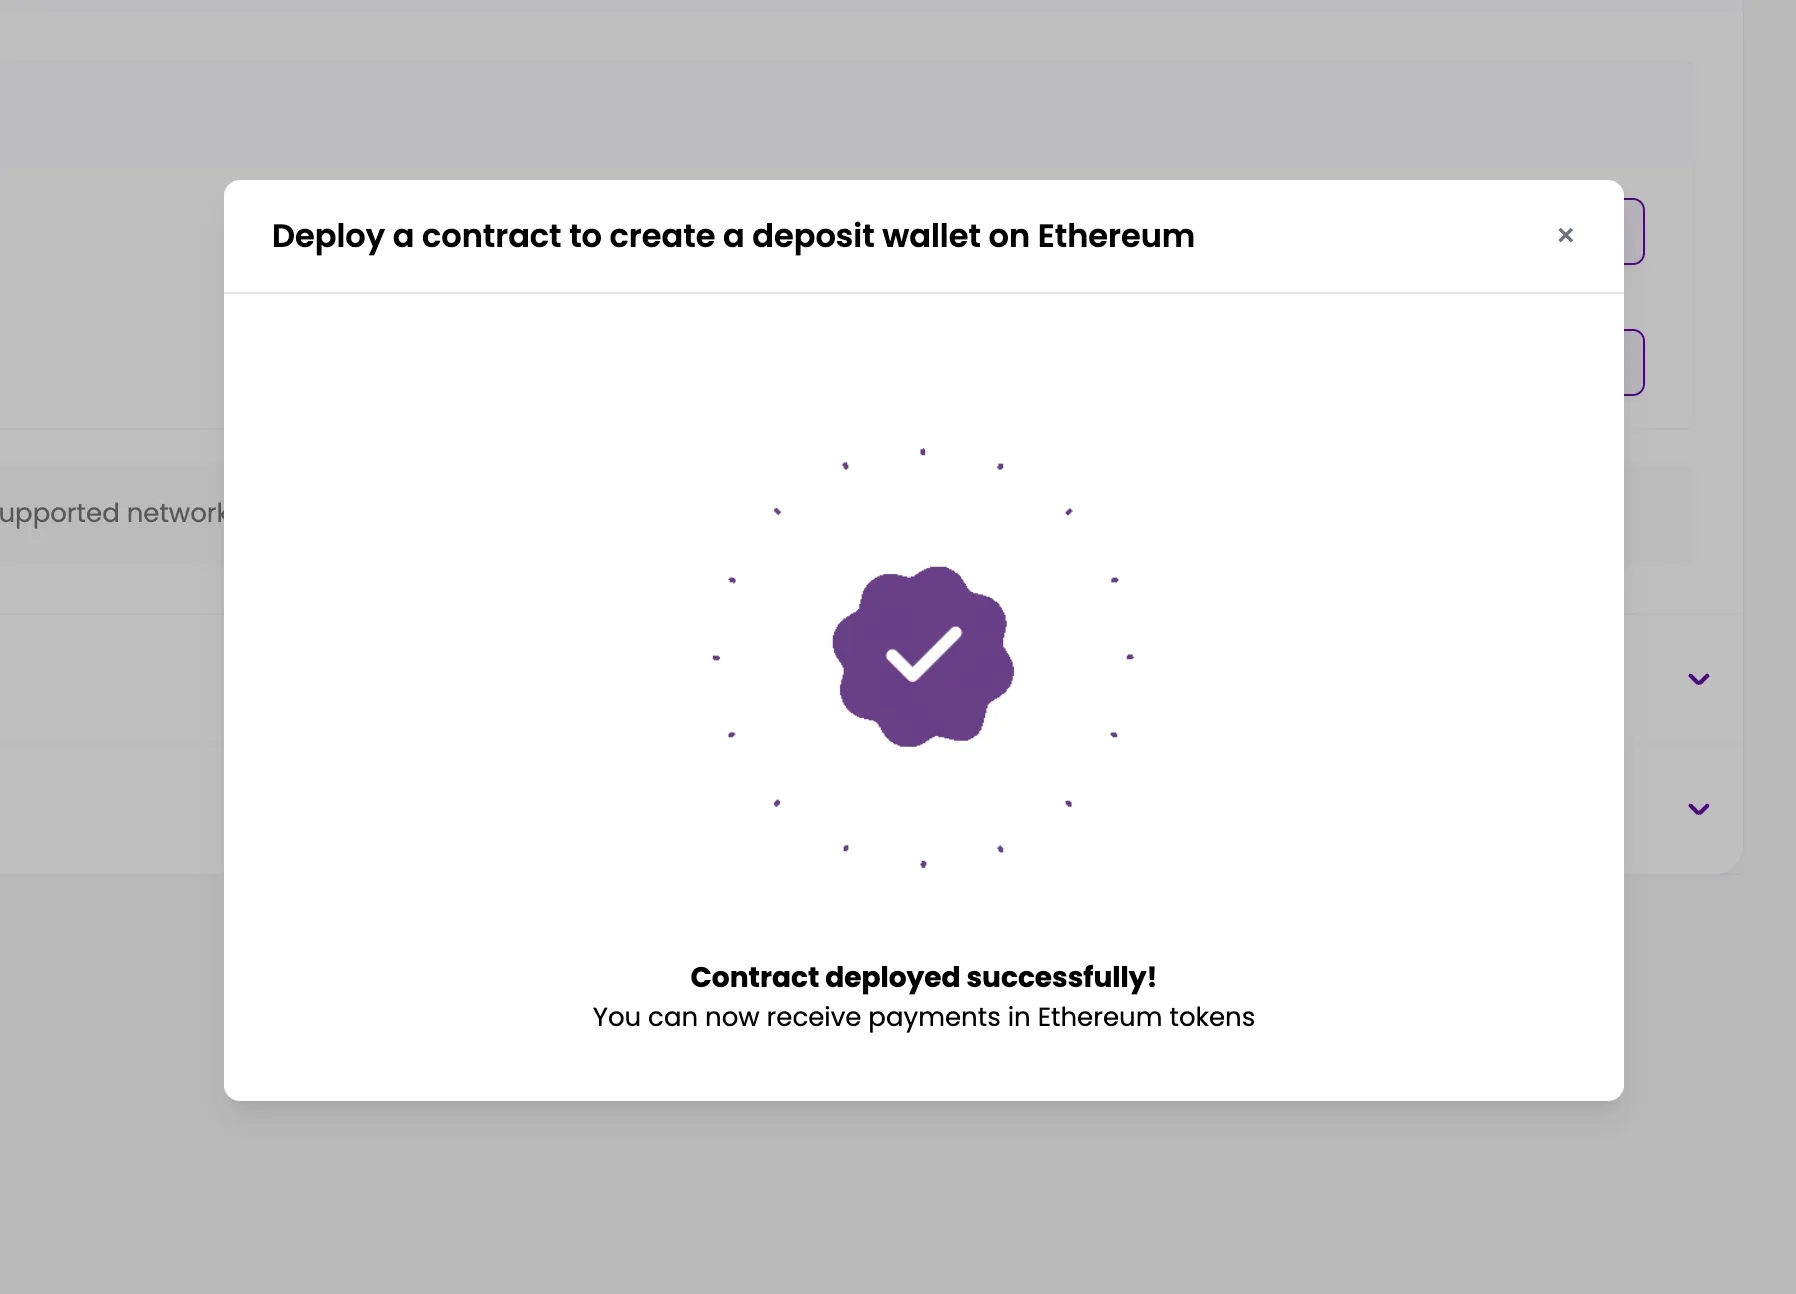
Wait until the contract get Deployed, Once deployed it will look like this
Step 6
Once you’ve successfully deployed the contract and entered all the necessary details, the screen will look like this. It will display information such as the fund sweeper address, the master account address, and confirming that your setup is ready to receive payments.

Congratulations, you are now ready to accept payments from your customers on the Base blockchain and its supported tokens.
Step 1
Click on EVM family to expand the section. You will see options to deploy the contract

Step 2
In the EVM Family section, you can deploy contracts on both the Base and Ethereum blockchains. This means you will be able to accept payments on Base and Ethereum once the contracts are deployed there.

Step 3
Now click on Deploy Contract and choose either Base or Ethereum. The process is the same for both; in this example, I am deploying the contract on the Base chain.

Step 4
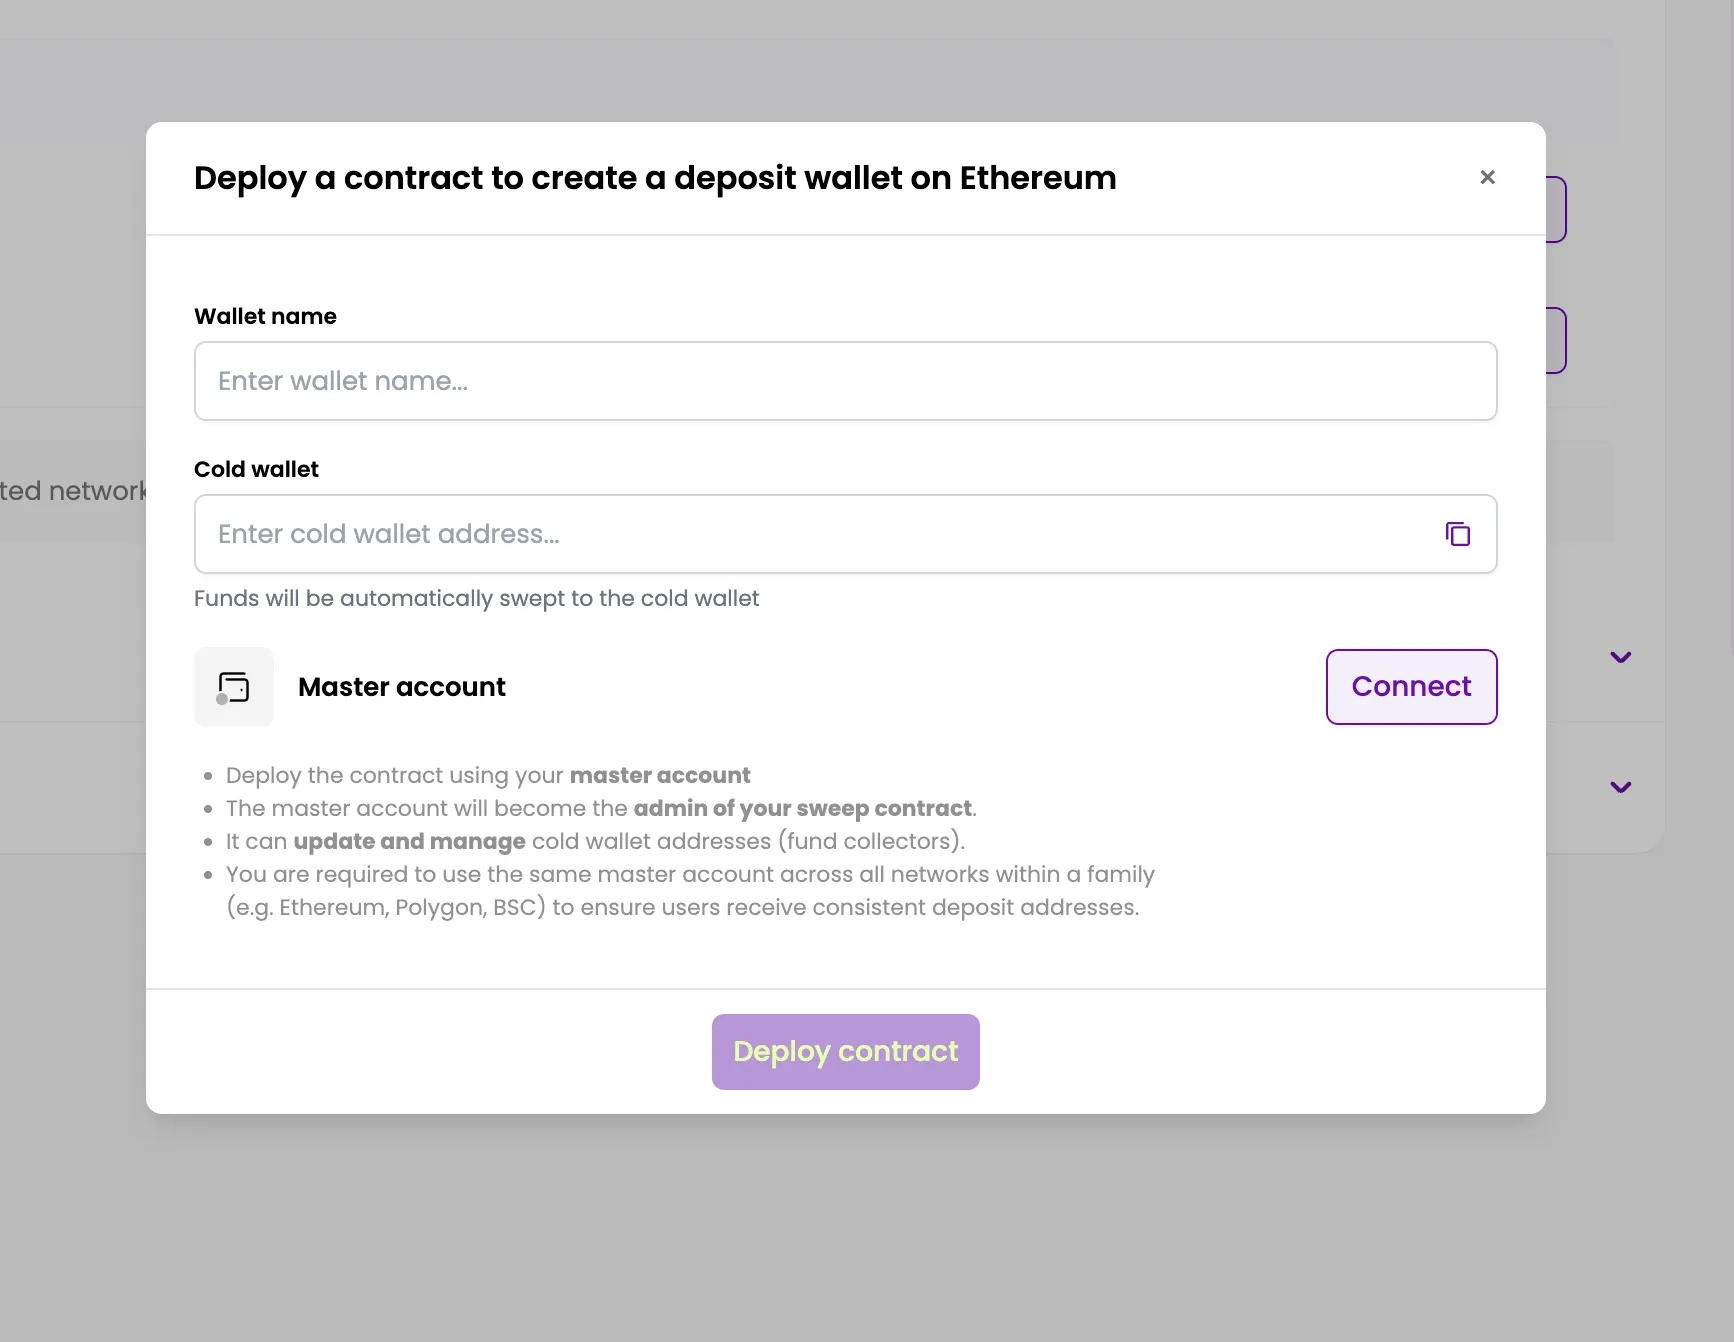
You will see a pop-up screen where you can enter the required details, such as the master account and the cold wallet address.
Step 5
Enter the required details, connect your master account, provide the cold wallet address, and add a wallet name. You can connect your master account using any wallet provider, such as MetaMask or WalletConnect, but it must support the Base network because we are deploying the contract on the Base blockchain. Therefore, it should be a Base-compatible wallet.
Once you’ve added all the necessary details click on deploy contract
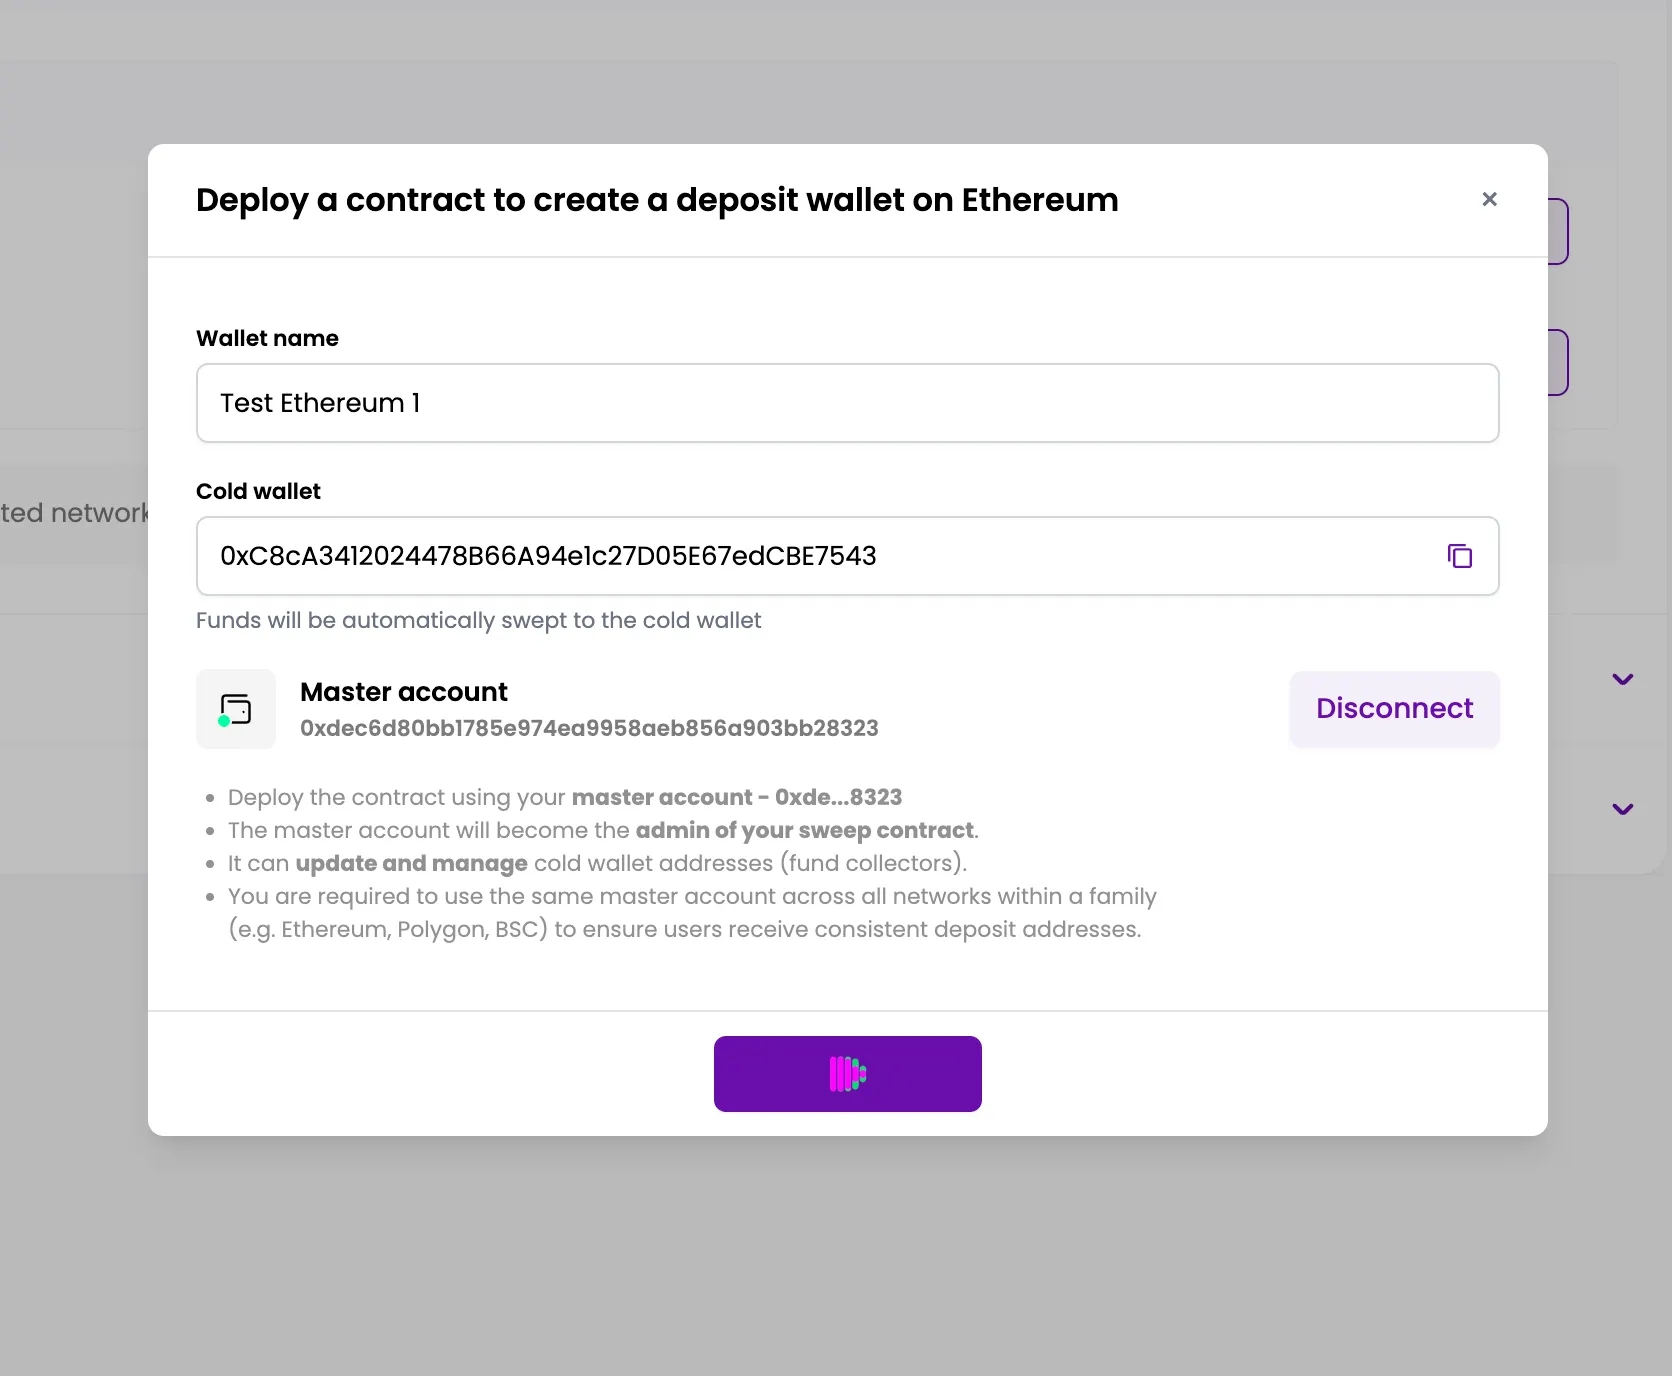
Wait until the contract get Deployed, Once deployed it will look like this

Step 6
Once you’ve successfully deployed the contract and entered all the necessary details, the screen will look like this. It will display information such as the fund sweeper address, the master account address, and confirming that your setup is ready to receive payments.

Congratulations, you are now ready to accept payments from your customers on the Etheruem blockchain and its supported tokens.
Step 1
Click on Tron to expand the section. You will see options to deploy the contract
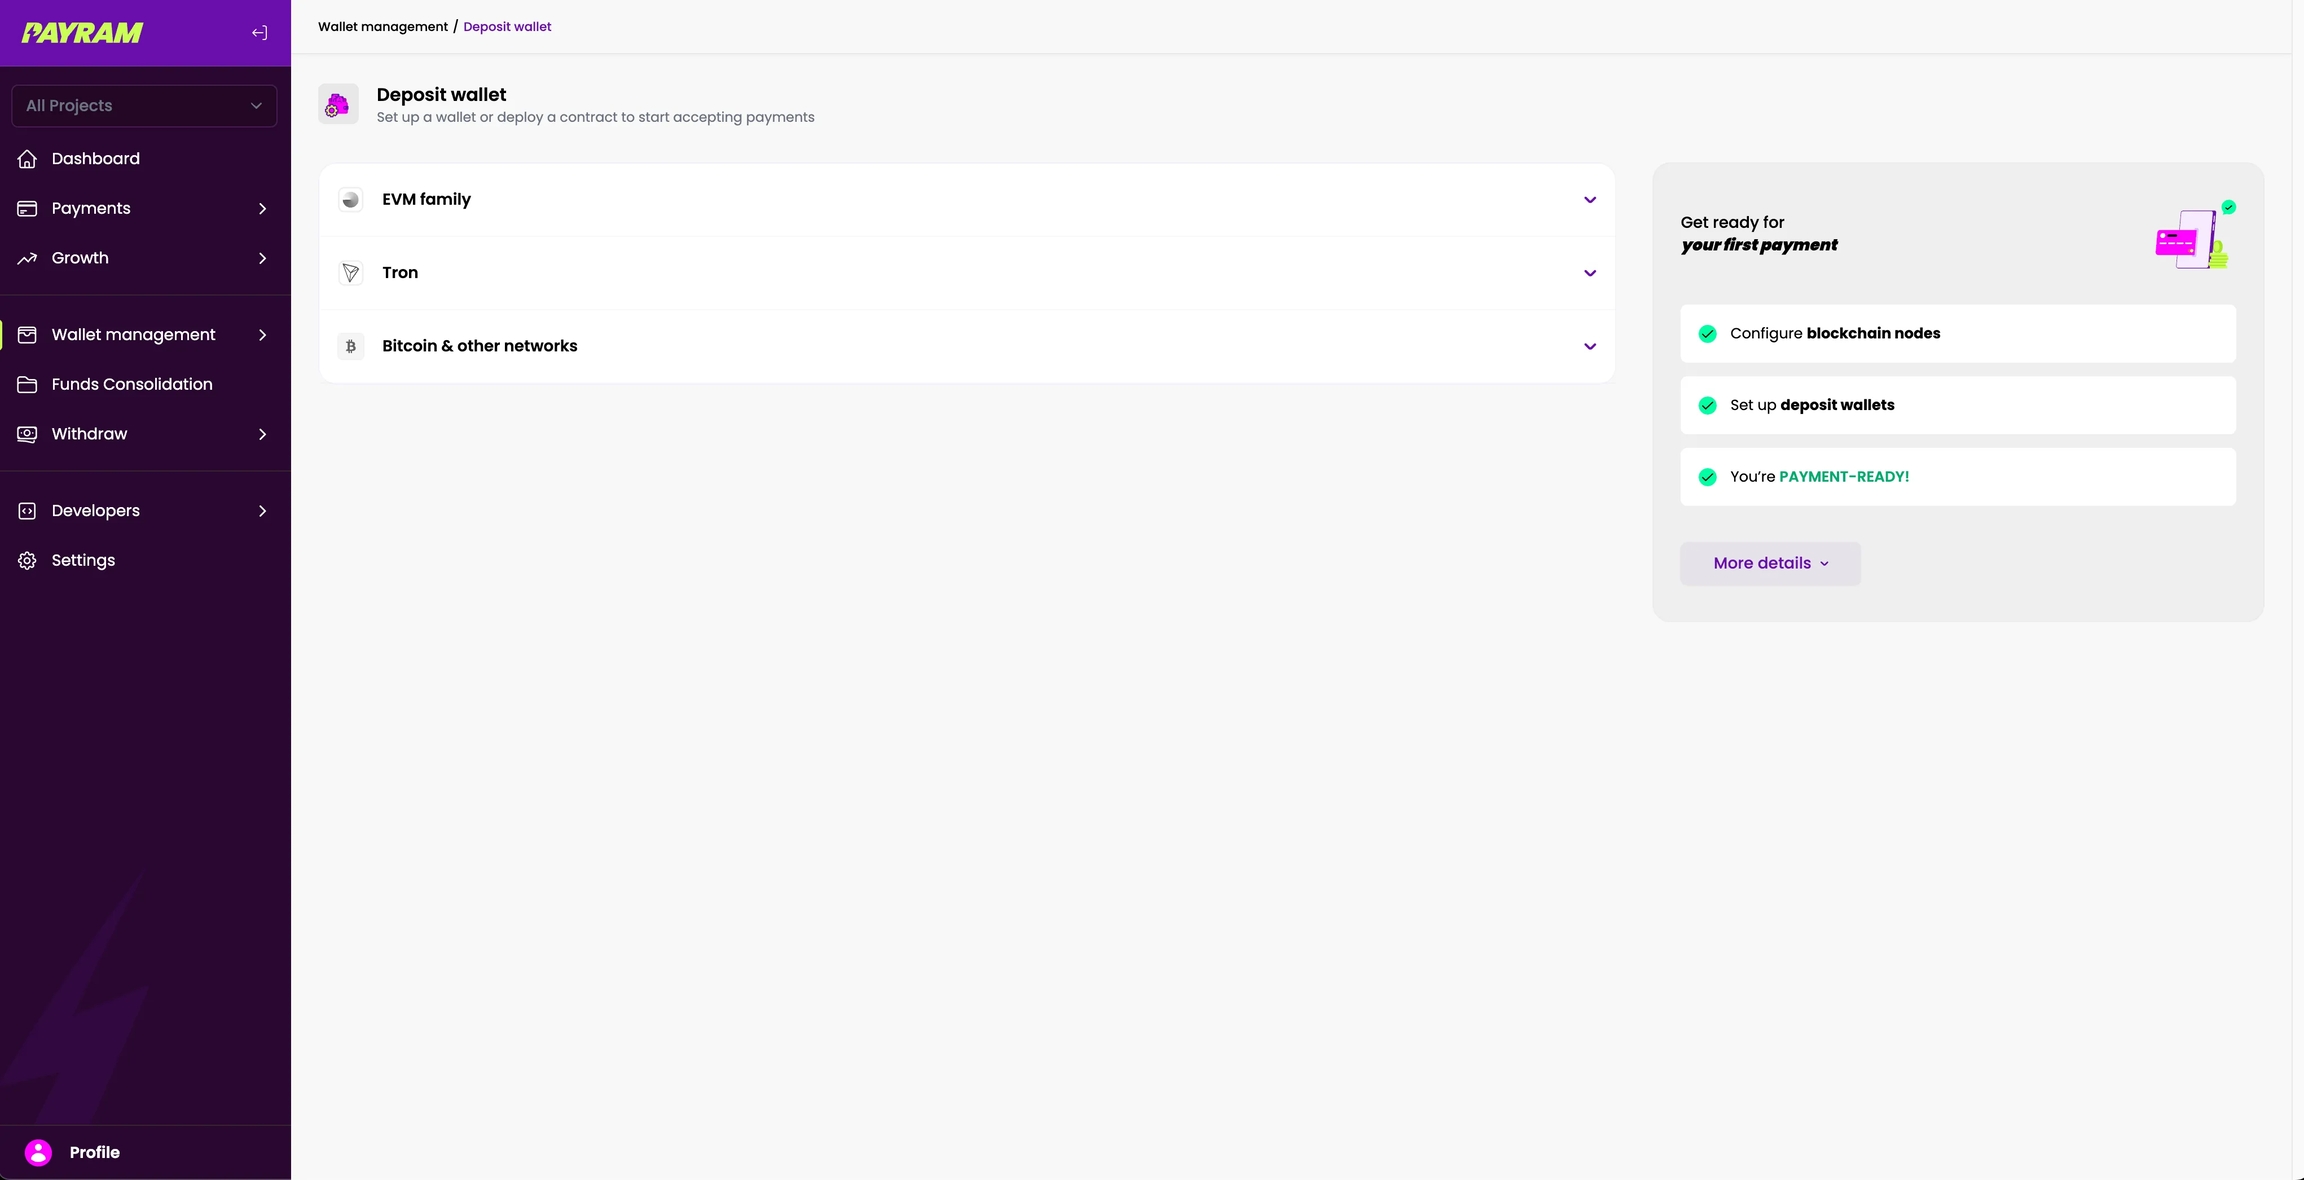
Now click on Deploy contract

Step 2
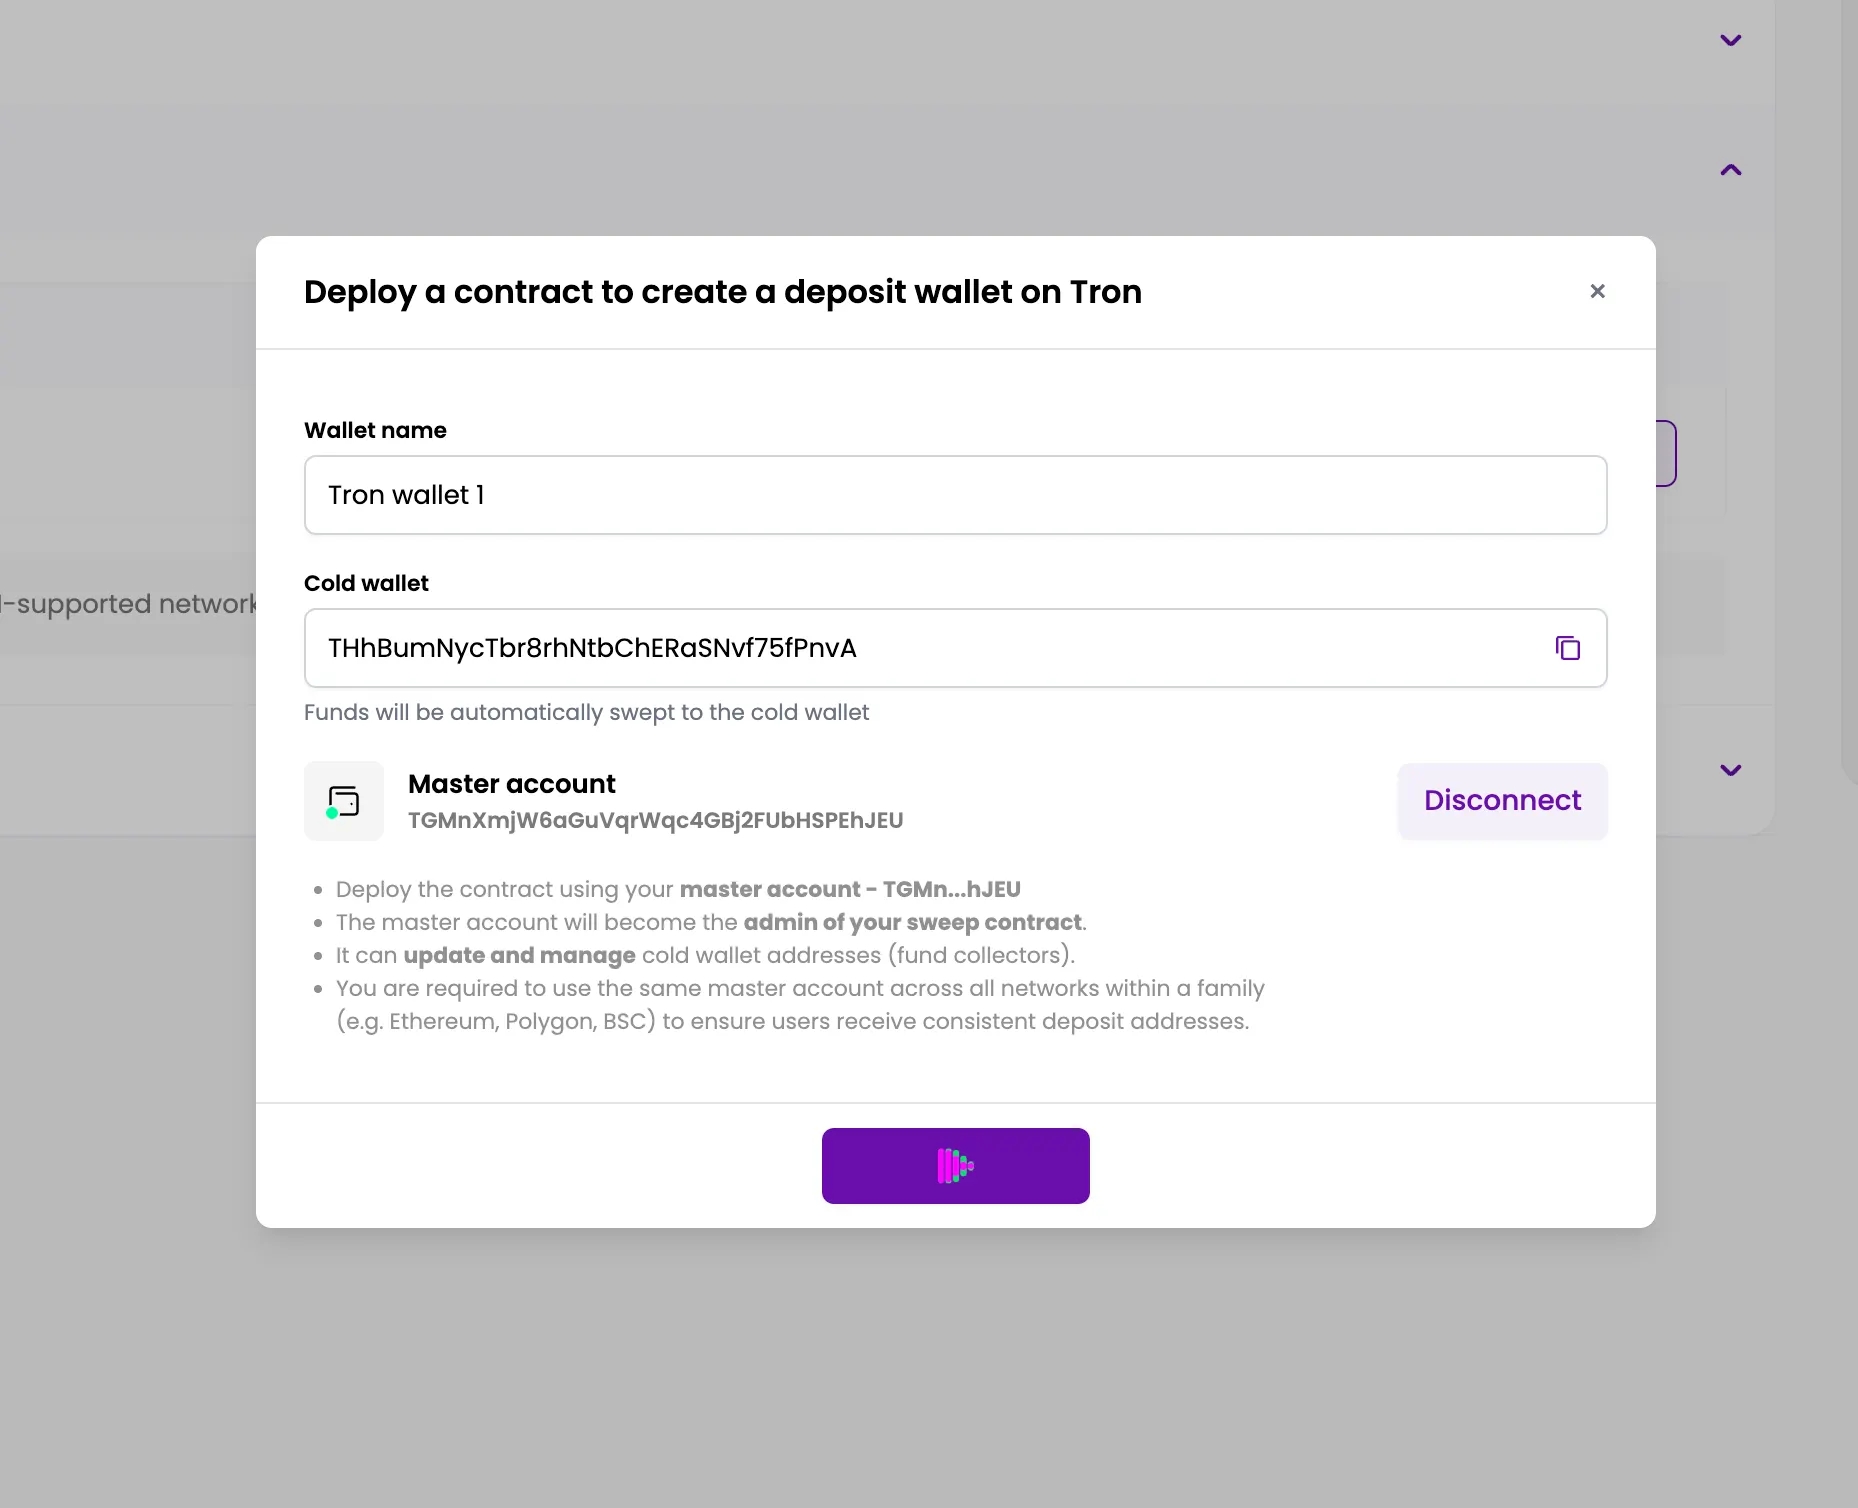
You will see a pop-up screen where you can enter the required details, such as the master account and the cold wallet address.
Enter the required details, connect your master account, provide the cold wallet address, and add a wallet name. You can connect your master account using any wallet provider, such as Wallet Connect Id, but it must support Tron because we are deploying the contract on the Tron blockchain. Therefore, it should be a Tron-compatible wallet.
Step 3
Once you’ve added all the necessary details click on deploy contract

Wait until the contract get Deployed, Once deployed it will look like this
Step 4
Once you’ve successfully deployed the contract and entered all the necessary details, the screen will look like this. It will display information such as the fund sweeper address, the master account address, and confirming that your setup is ready to receive payments.

Congratulations, you are now ready to accept payments from your customers on the Tron blockchain and its supported tokens.
Step 1
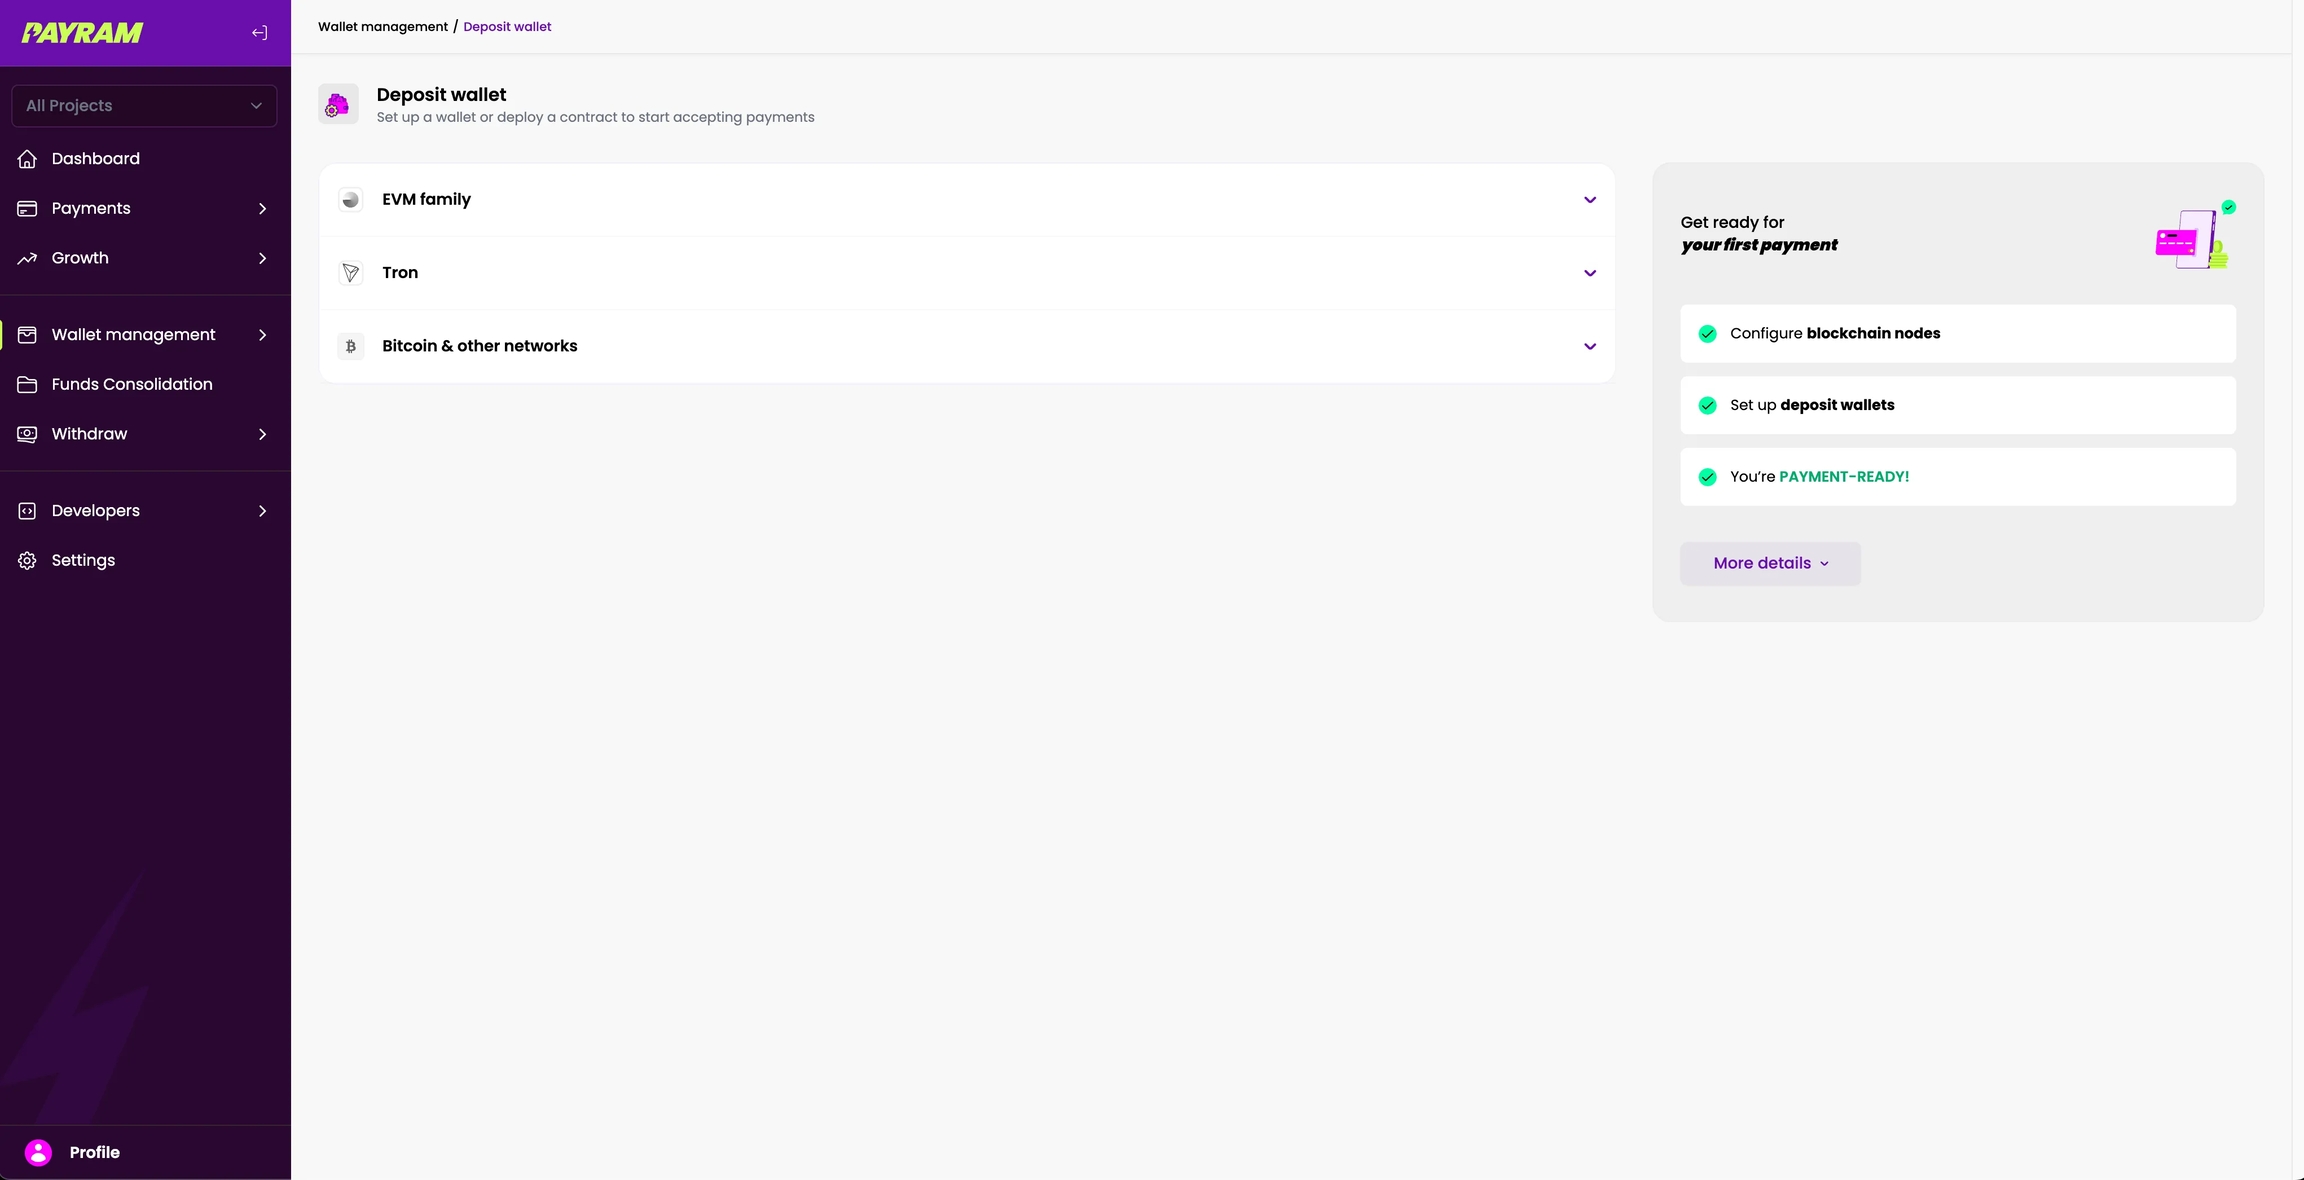
Click on Bitcoin & Other Networks to expand the section. You will see options to Add wallet
Step 2
Now click on Add wallet

Step 3
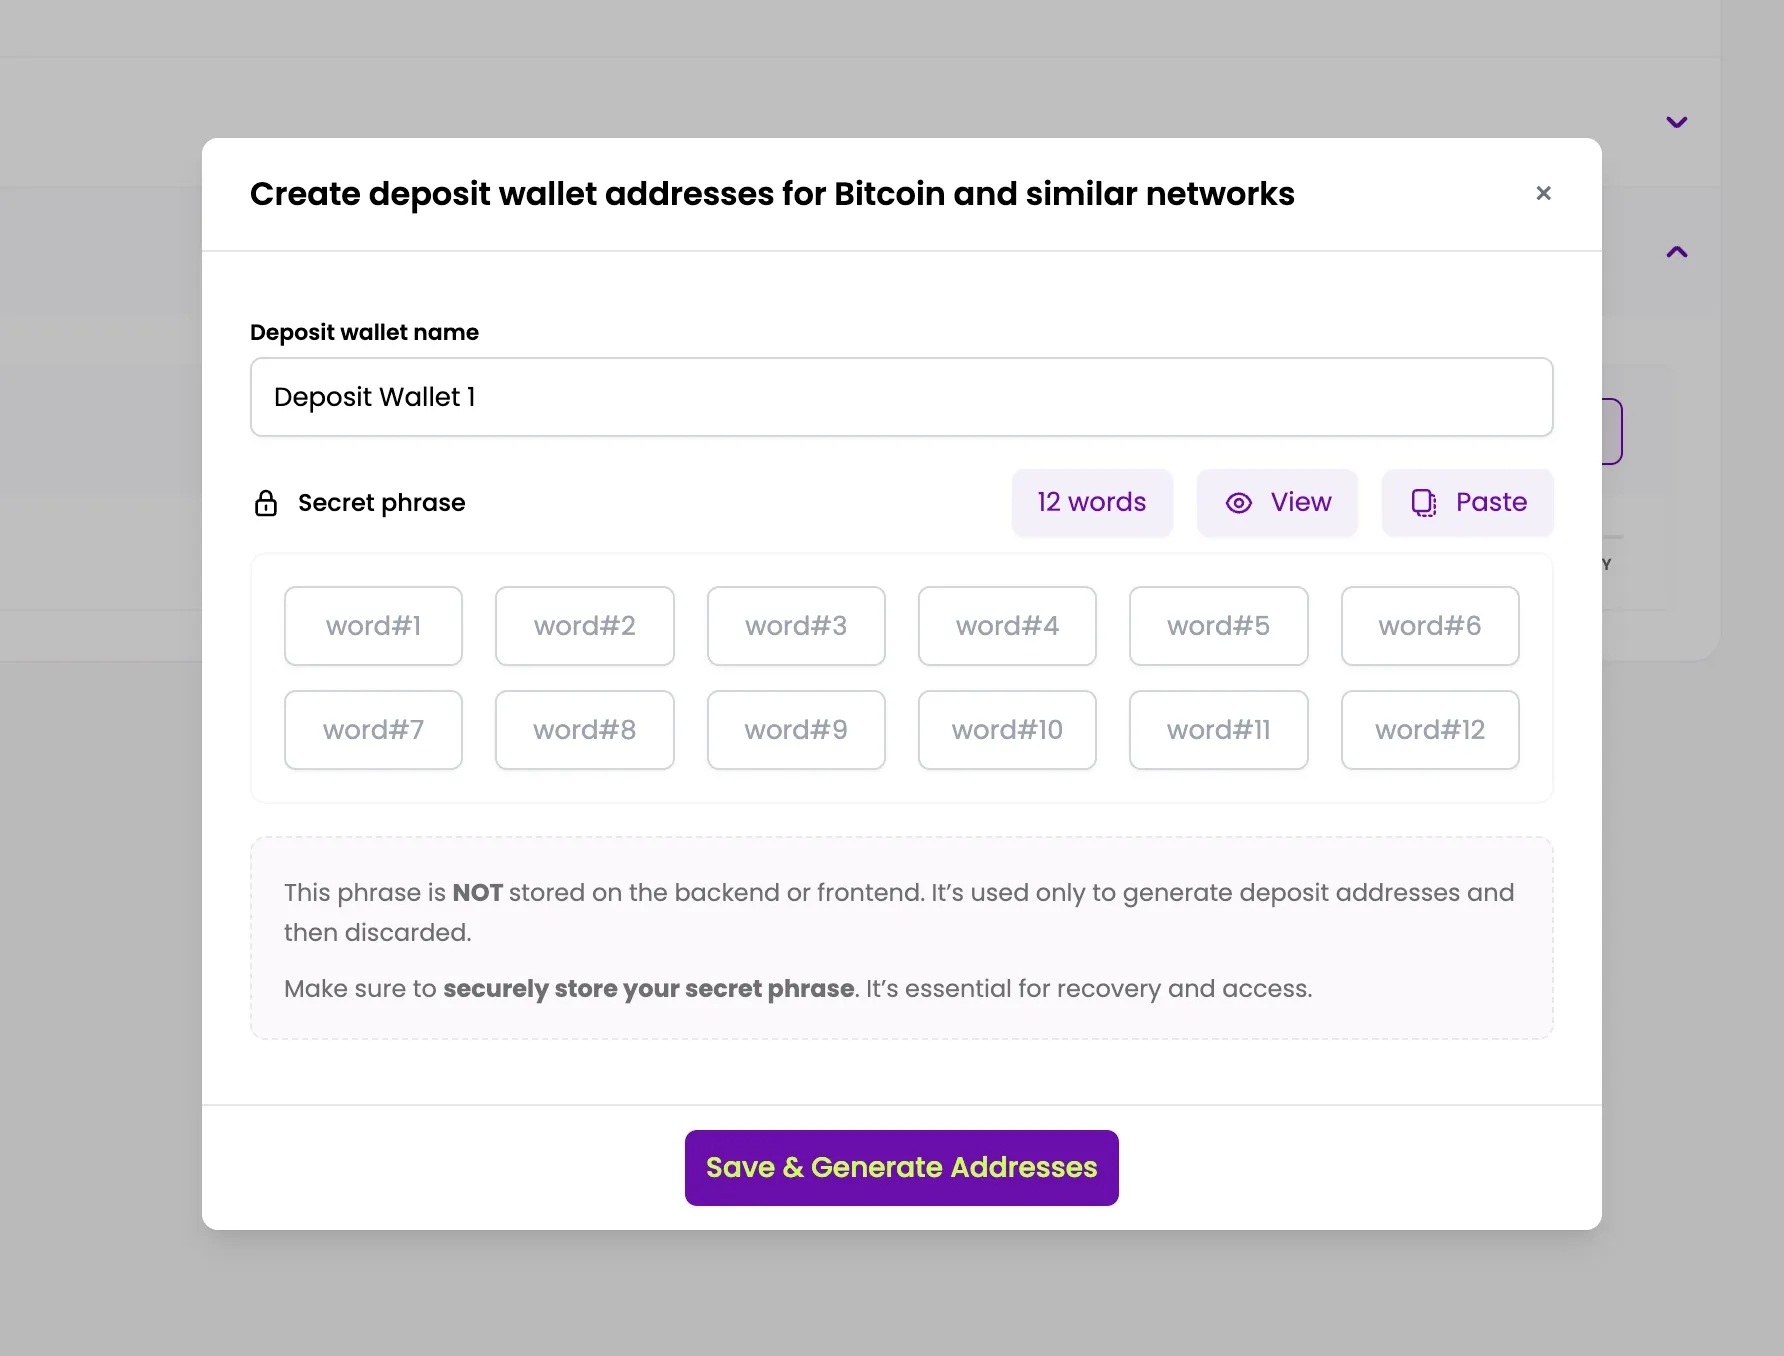
You will see a pop-up screen where you can enter the required details. Enter the 12-word secret phrase of any BTC wallet, which will act as the master account for generating deposit addresses for your customers.
Make sure to remember this seed phrase, as you will need the exact same phrase when sweeping funds from the PayRam mobile app.
Step 4
You need to enter the 12-word seed phrase of your BTC wallet.
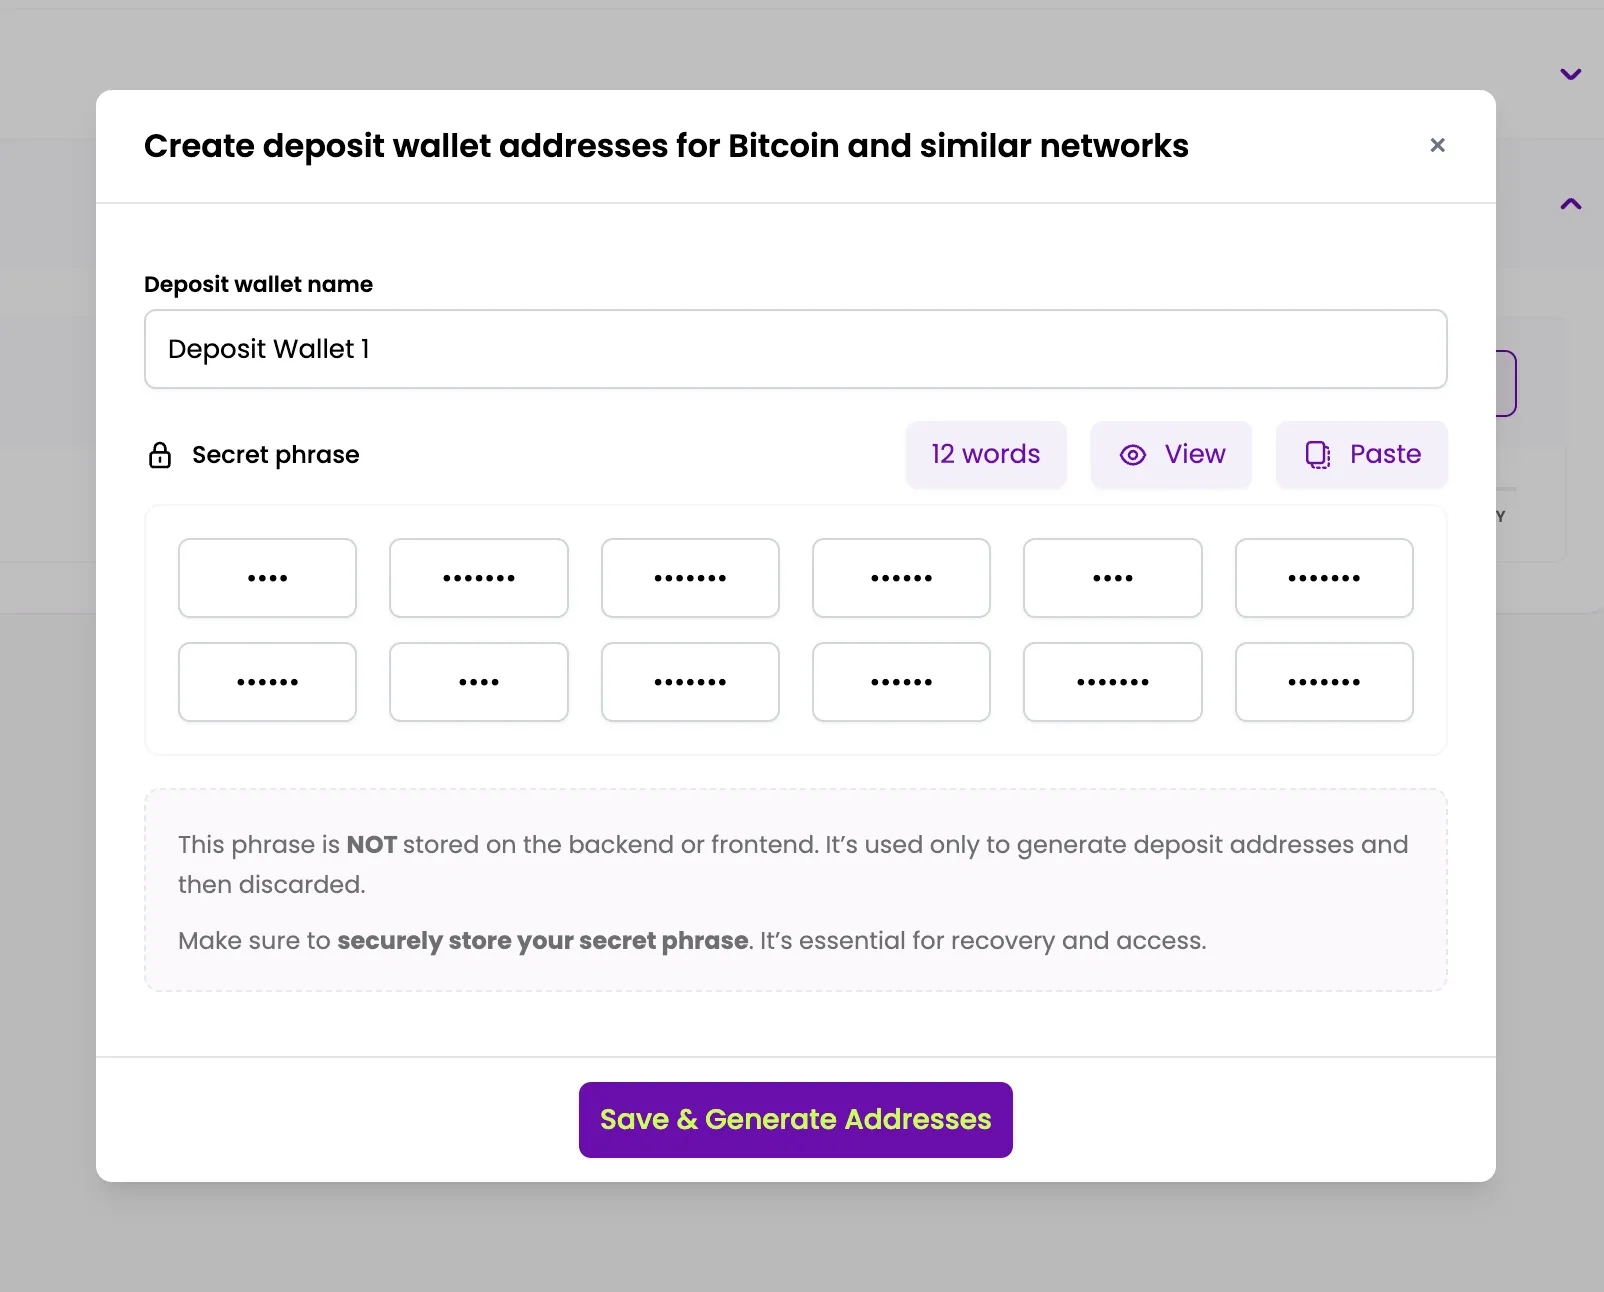
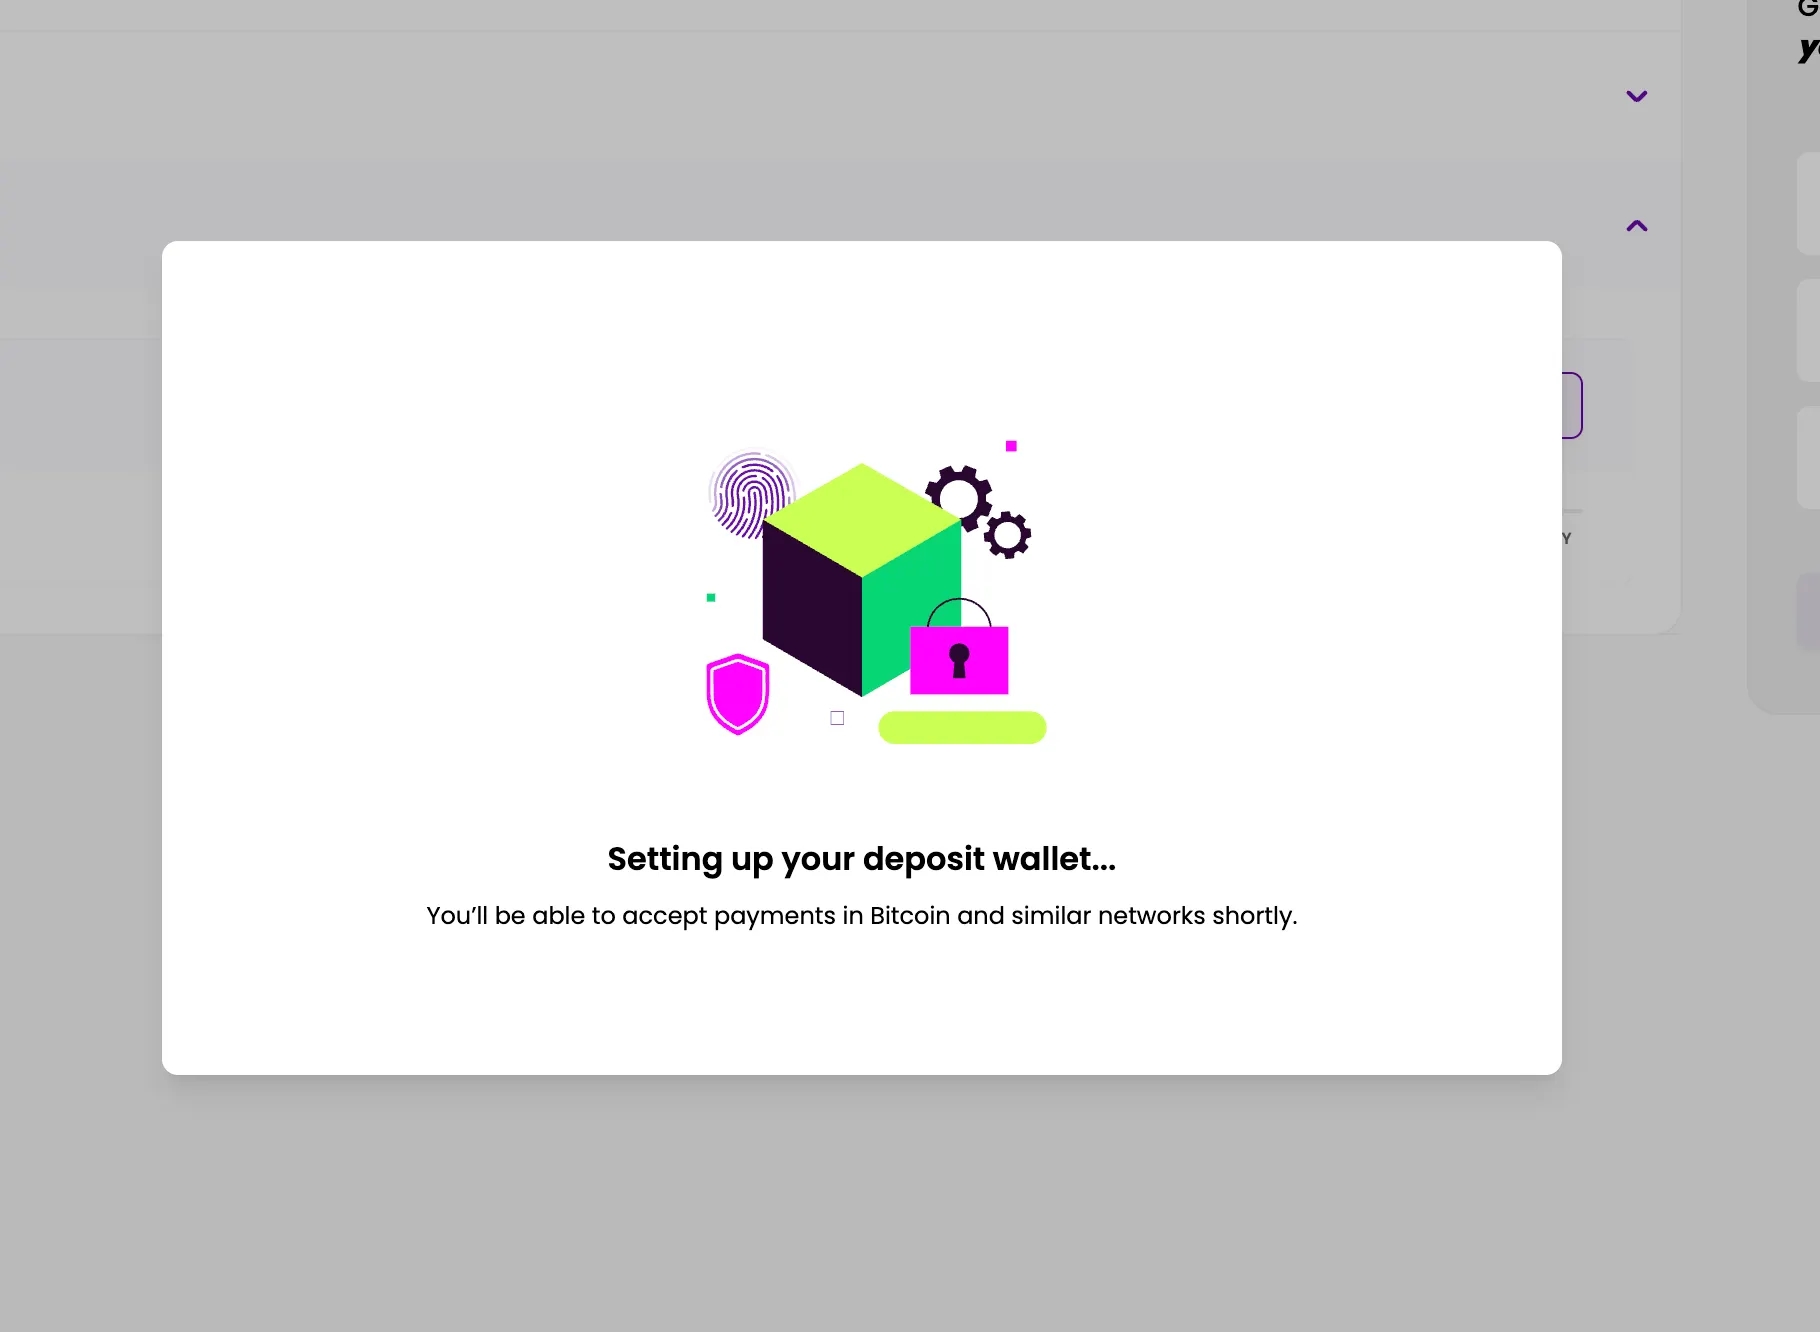
Once you’ve added all the necessary details click on Save & Generate Addresses
Step 5
Once you’ve successfully added the BTC wallet seed phrase, the configuration for generating deposit addresses on Bitcoin is complete. Next, you need to add a cold wallet to receive the funds.

Step 6
Click on Add Cold wallet Button, then you'll be asked to enter the cold wallet
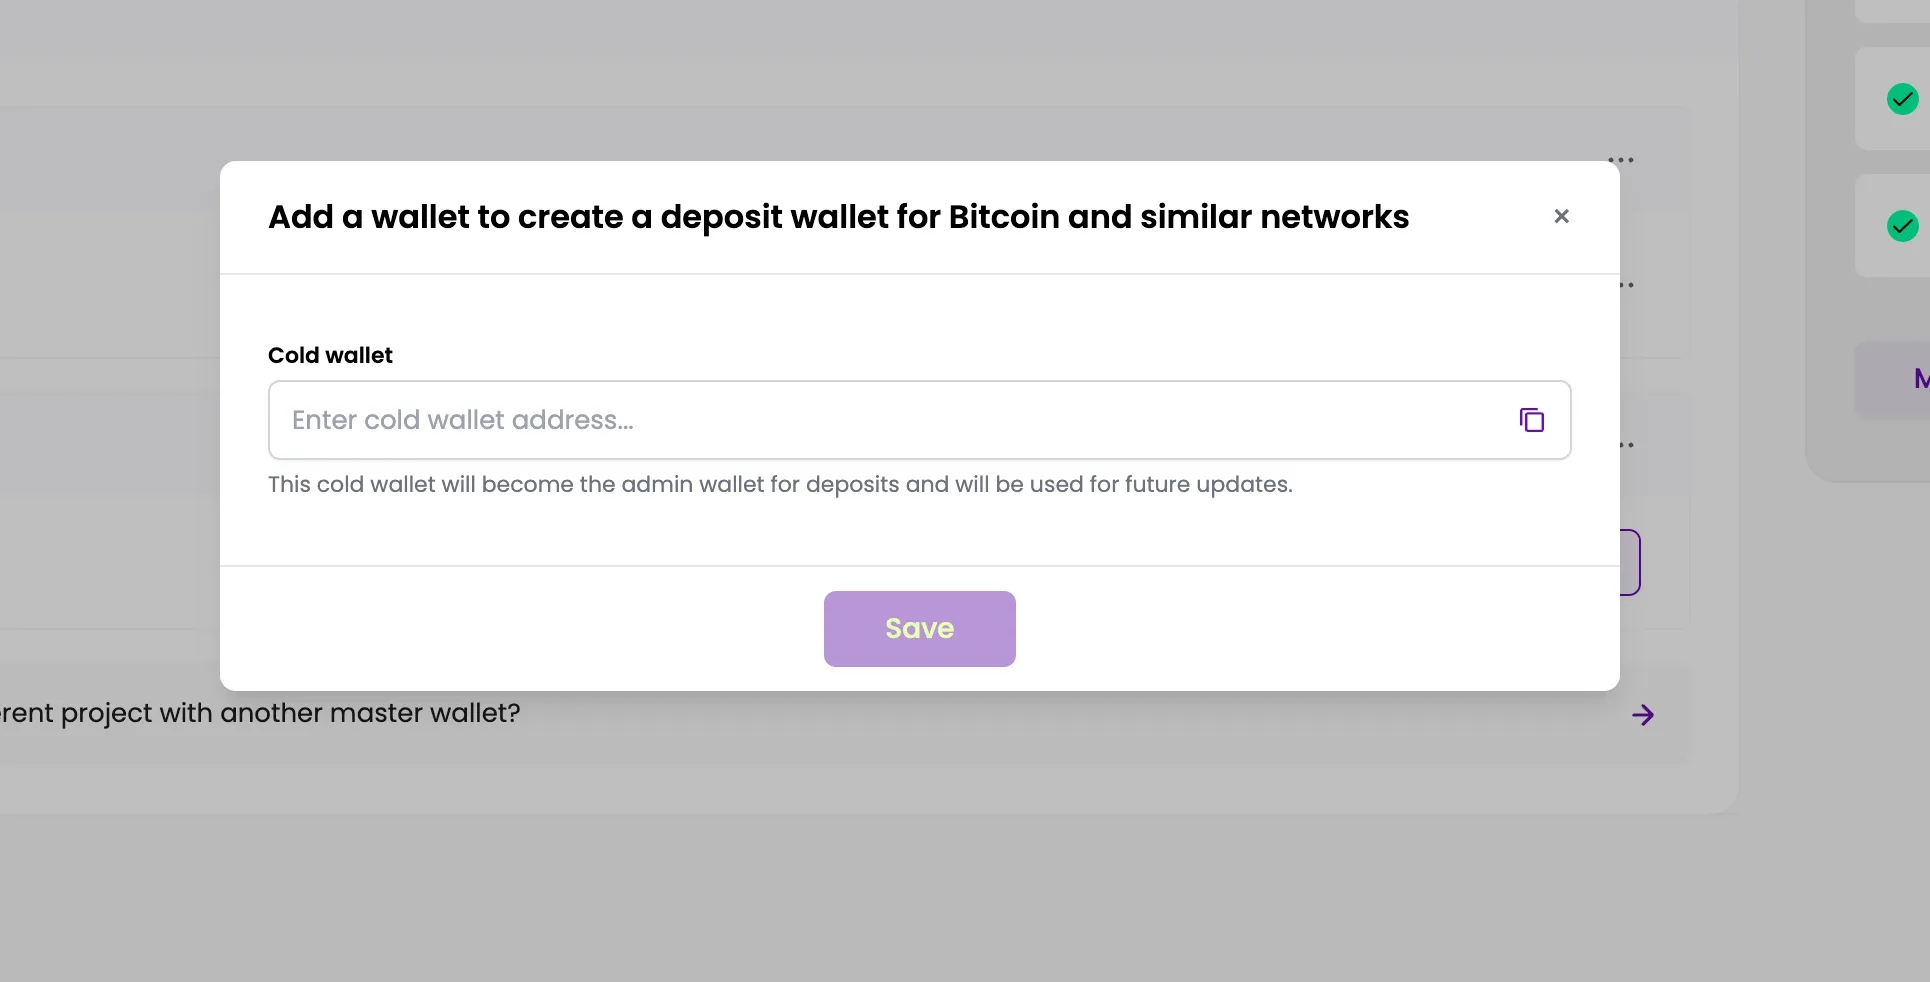
Once you’ve added the cold wallet, click the Save button. Your cold wallet will then be successfully configured.
That’s it. You have successfully set up the configuration for BTC wallets, and you can now receive payments from your customers on the BTC network as well.
You have successfully set up your wallets and can now start receiving payments from your customers. Follow this section to learn how to generate a test payment link or integrate the PayRam server API into your SaaS, dApp, or other applications.
