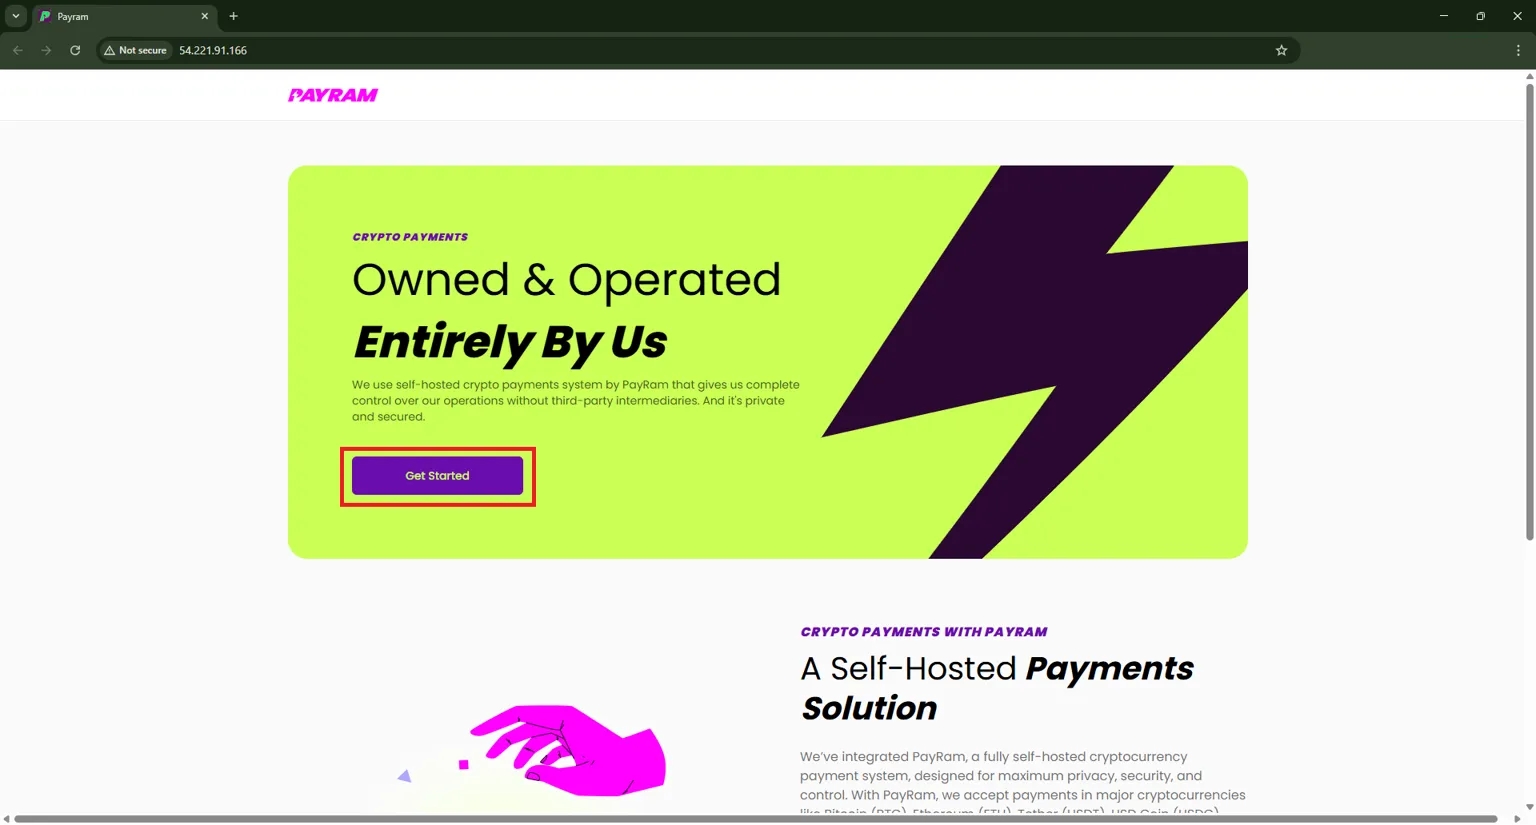
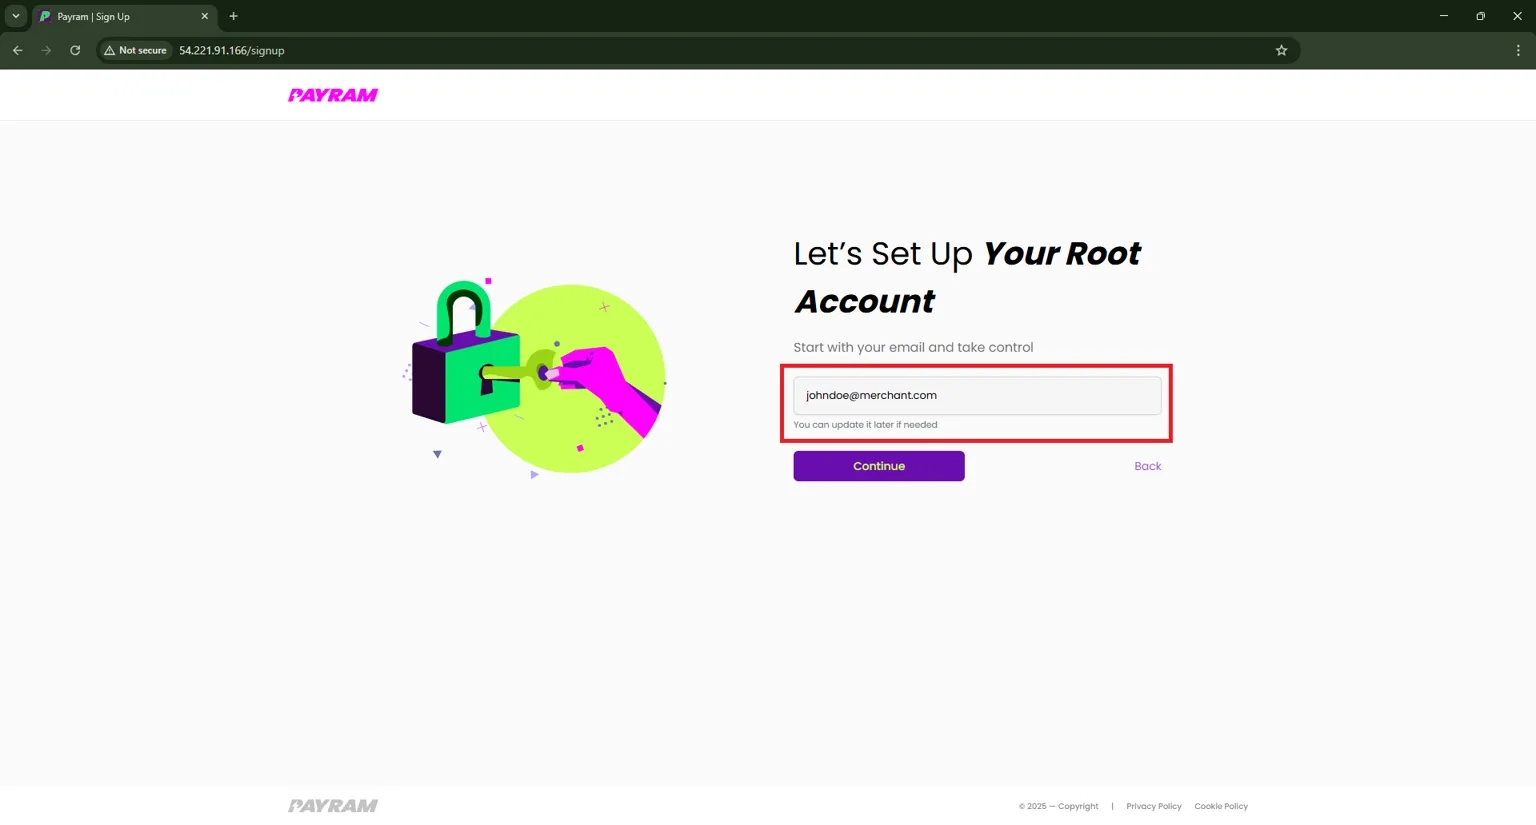
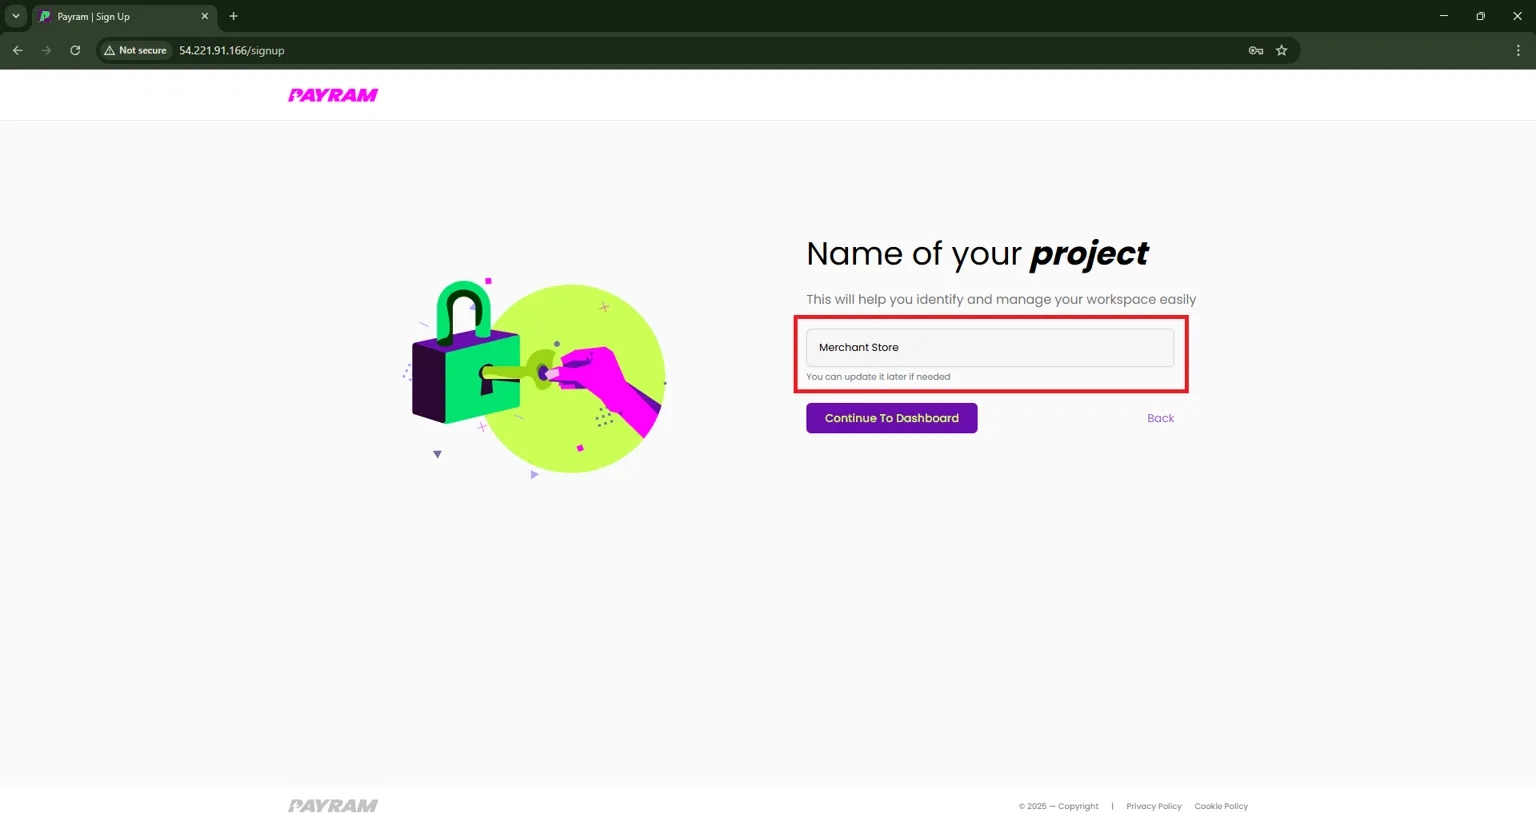
🪪Root Account Setup
In this section, you’ll complete the initial setup for your root account, which serves as the main administrator account for your PayRam server. By the end, your root account will be ready to manage a
Prerequisites
Before you proceed with the onboarding configuration, make sure the following steps are completed:
Install the PayRam server and ensure it is running.
If you haven’t completed the installation, do that first by following the Installation Guide.
Root account setup
Navigate to signup page
Navigate to the signup URL, for example: http://<your-ip-address>/signup, and replace with the actual IP address or domain of your PayRam server.
Create your root account. This account will have full administrative control over all configurations and settings
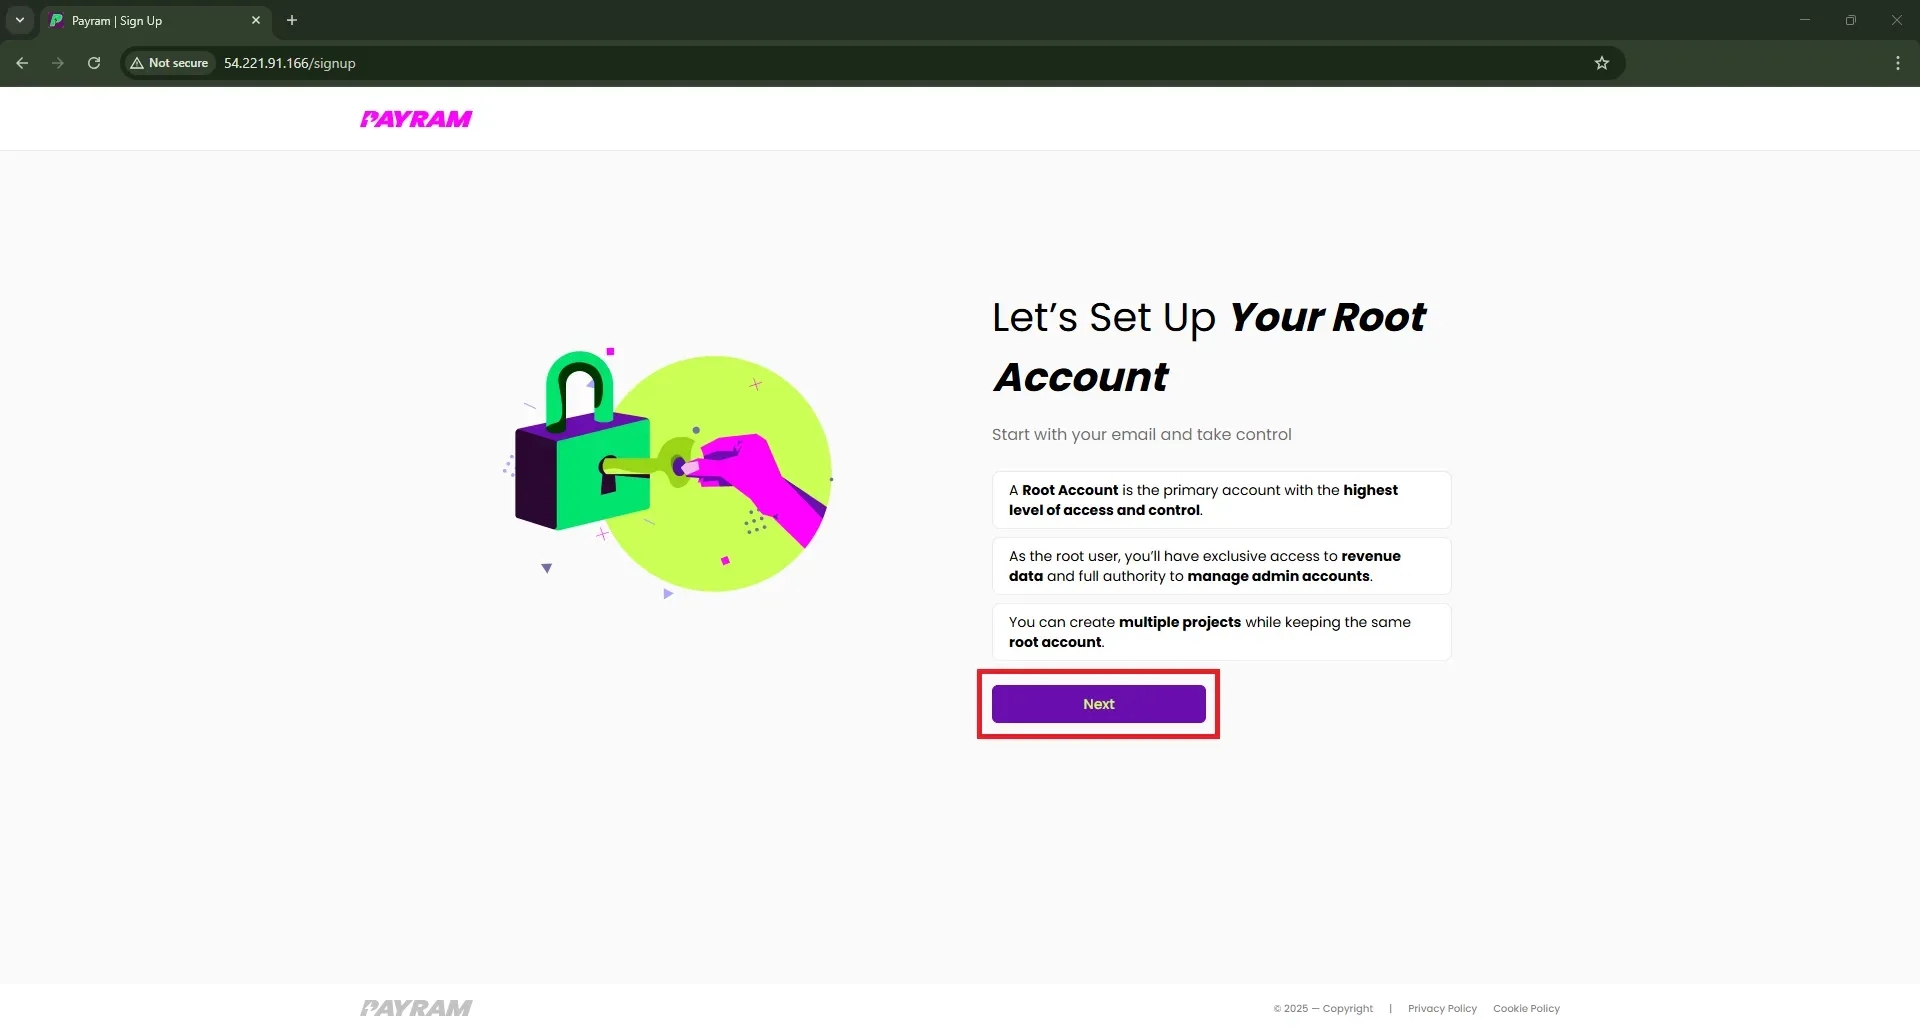
Click on Next Button
Setup root password
Now you need to set up a password for your root/admin account and make sure to save it securely or remember it, so you don’t lose access to your root account. You can change your password later from the dashboard if needed.
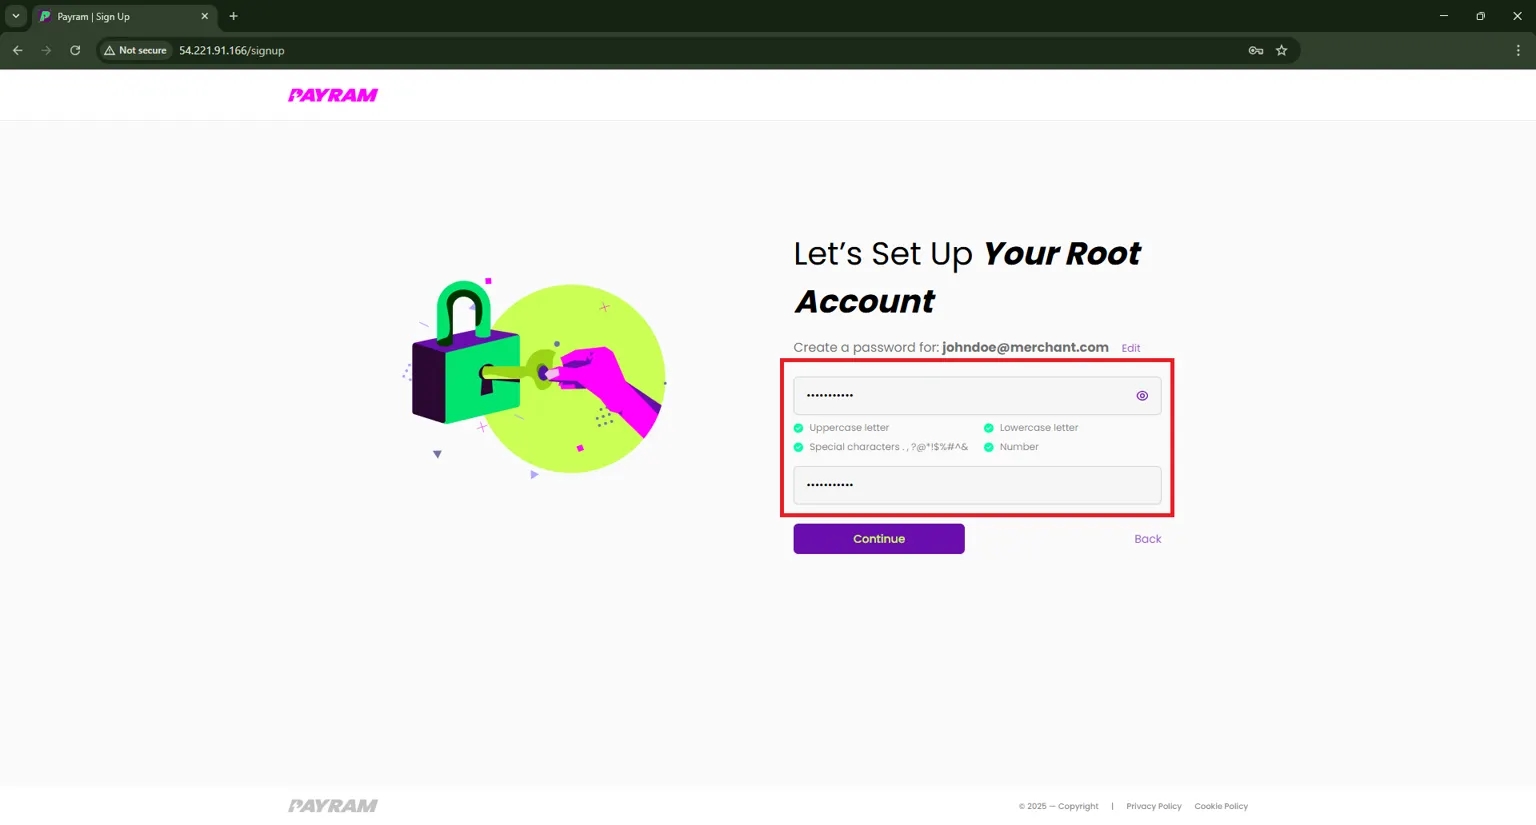
Create a password that meets the required criteria and click the Continue button.
You have successfully completed the onboarding configuration. Now, proceed to Node Details Configuration to set up your dashboard settings.
