⚡Quick Setup
Deploy, configure, and start accepting payments on PayRam in under 10 minutes!
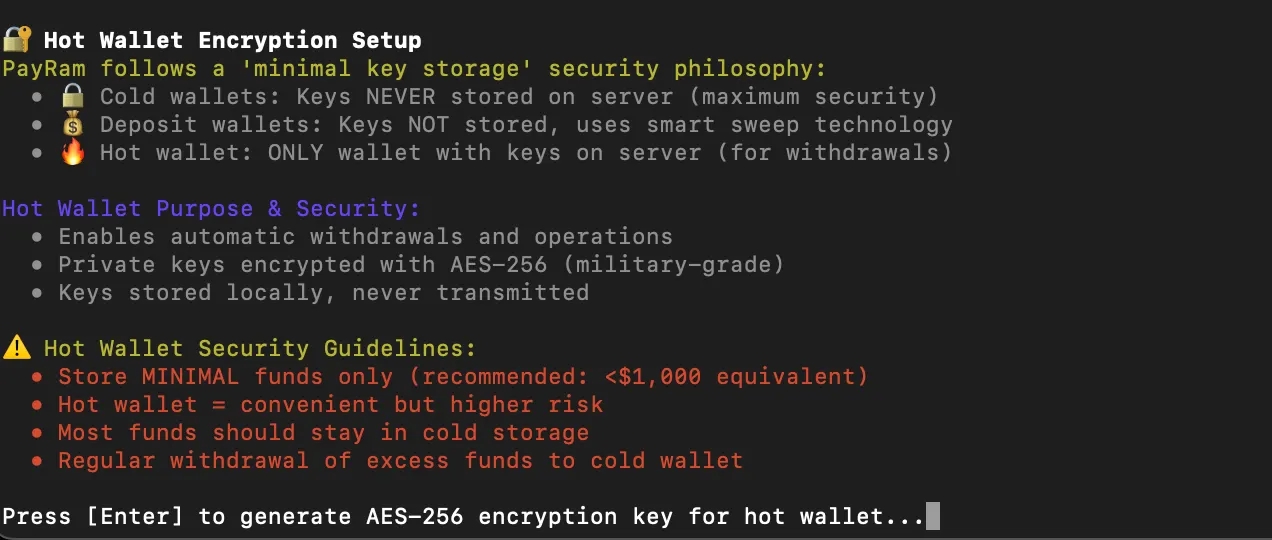
In this section, you’ll go through the complete setup of your PayRam server, including installation, security configuration, and encryption, to ensure it is fully prepared and running smoothly.
Prerequisites
Before starting, please ensure your system meets the following requirements:
Server configuration
Use a VPS or dedicated server with the minimum specifications required to host the PayRam server.
Minimum server requirements
CPU: 4 cores
RAM: 4 GB
Storage: 50 GB SSD
Operating System: Ubuntu 22.04
Network requirements
Ensure the following ports are open on your server or VPS:
Port
Purpose
80
Used for running the Frontend (FE) on standard HTTP protocol.
8080
Used for running the Backend (BE) services on HTTP.
443
Required for the Frontend when serving the application over HTTPS (secure connection).
8443
Required for the Backend when serving APIs over HTTPS (secure connection).
5432
Used by the PostgreSQL Database for database connections.
Database configuration
To run PayRam smoothly, you must provision a PostgreSQL database with the following minimum configuration:
Minimum database requirements:
Database engine: PostgreSQL
vCPUs: 2 CPU cores
Memory: 8 GB
Storage: 50 GB SSD
PayRam setup
Installing necessary dependencies
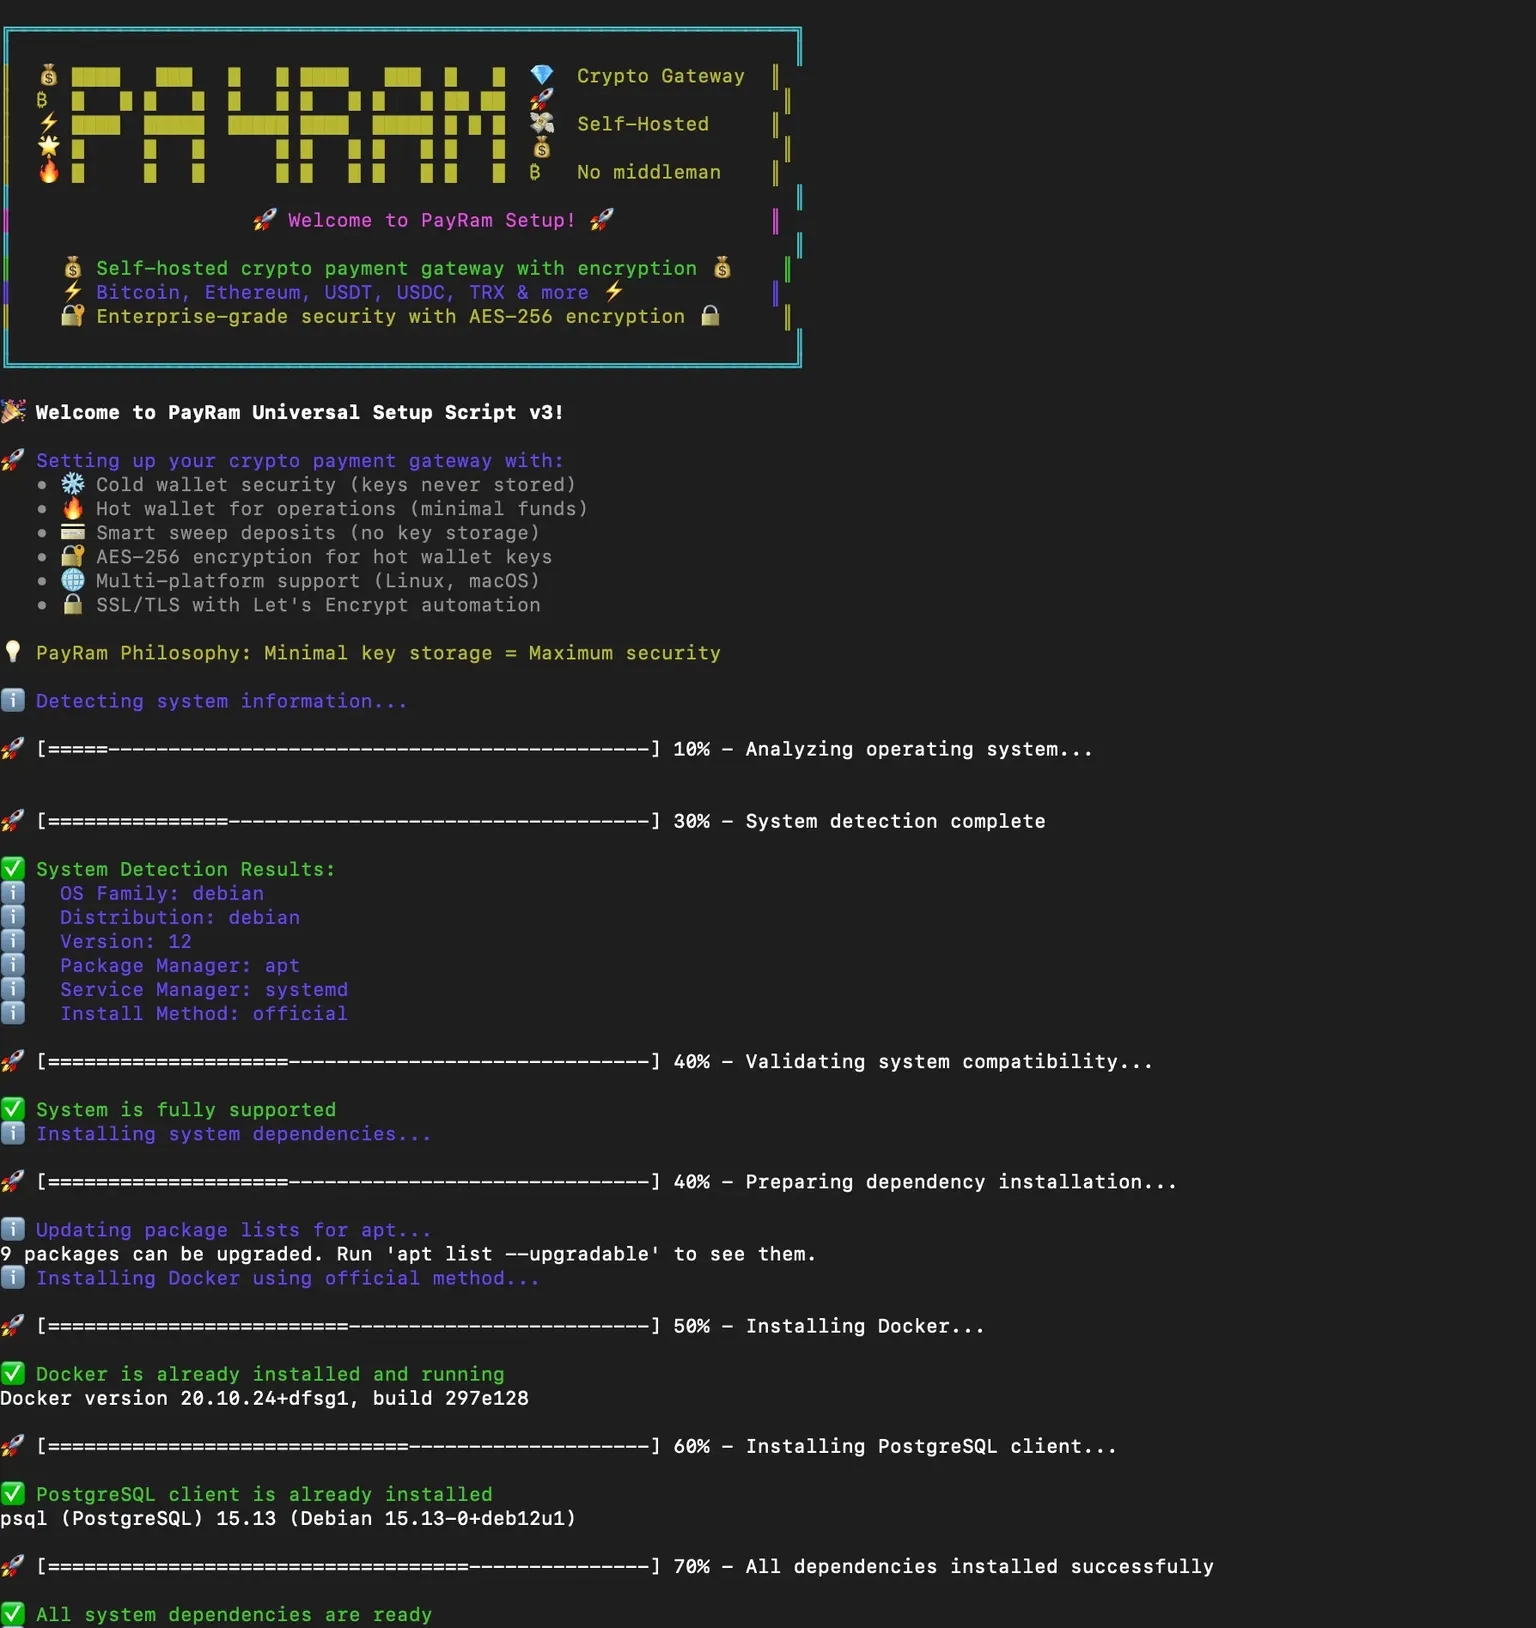
When you run the command, the script handles the entire PayRam setup automatically. It checks for previous installations, validates required ports, detects the operating system, and ensures compatibility. Next, it installs or verifies Docker and PostgreSQL, creates the needed directories, and performs a disk space check. If any problems are found (such as low storage), the script will display a warning and ask you to confirm whether to proceed by typing Y or N.
Database setup
Once the installation is complete, you will be prompted to choose between an External PostgreSQL Database or a Containerized PostgreSQL Database for setup.
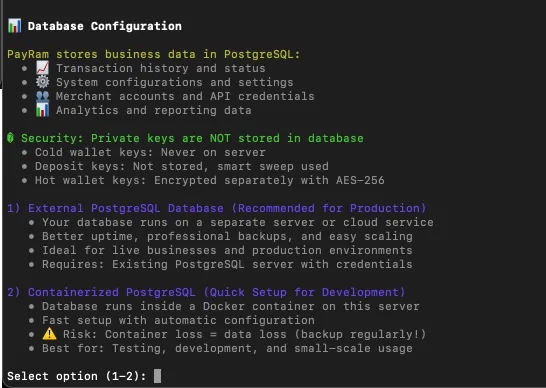
You can select any of the options based on your requirement
Option 1
Option 2
If you select Option 1, you’ll be prompted to enter the following details:
Database Host
Port
Database Name
Username
Password
These details establish the connection between PayRam and your PostgreSQL database.
You can find them in your PostgreSQL server configuration or your hosting provider’s control panel. If you’re using a managed PostgreSQL service (for example, AWS RDS, Azure Database, or DigitalOcean), these values are available in the database connection settings.
Example connection string:
In this example:
myuser→ Database usernamemypassword→ Database passworddb.example.com→ Database host5432→ Database portmydatabase→ Database name
If you select Option 2, the script creates a local PostgreSQL database using Docker with the following default credentials:
SSL configuration
After setting up the database, the script will prompt you to configure SSL by choosing from Let’s Encrypt (auto-generate free SSL), Custom Certificates (upload your own), or External SSL (cloud/proxy services).
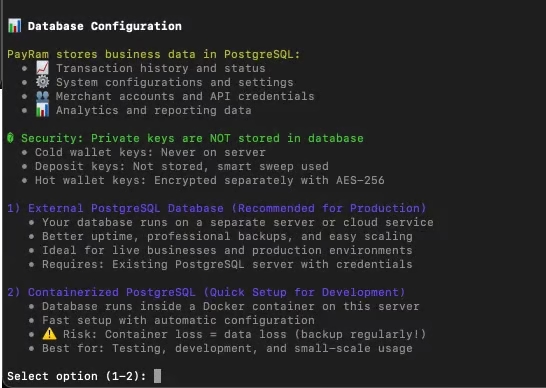
You need to select one option from the three
Option 1
Option 2
Option 3
If you select Option 1, Let’s Encrypt will automatically generate and install a free SSL certificate for your domain within minutes, with certificates trusted by all browsers and auto-renewed every 90 days.

Select Option 2 if you already have your own SSL certificates. When prompted, provide the file path to the certificate files. The path you specify must contain two files: fullchain.pem and privkey.pem.

Select Option 3 if you’re generating SSL through a cloud service or if you want to skip SSL configuration.

Review the settings
The script then displays all the configurations you selected. Review the settings carefully to make sure they are correct before proceeding.
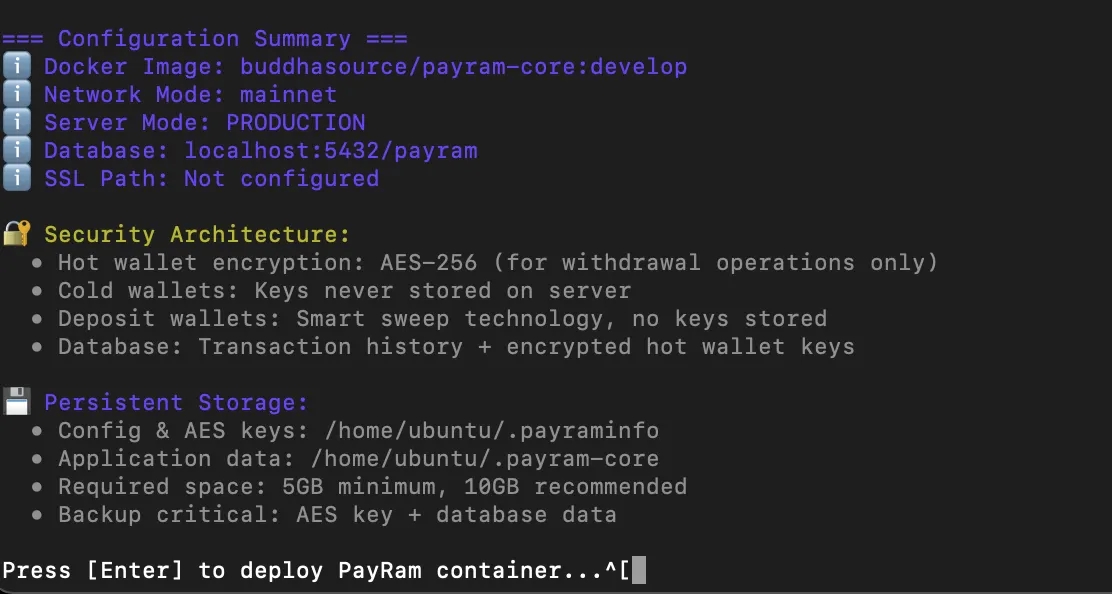
If the configuration is correct, press Enter and the script will set up the PayRam server based on the options you selected. This will start installing the payram server based on your configurations
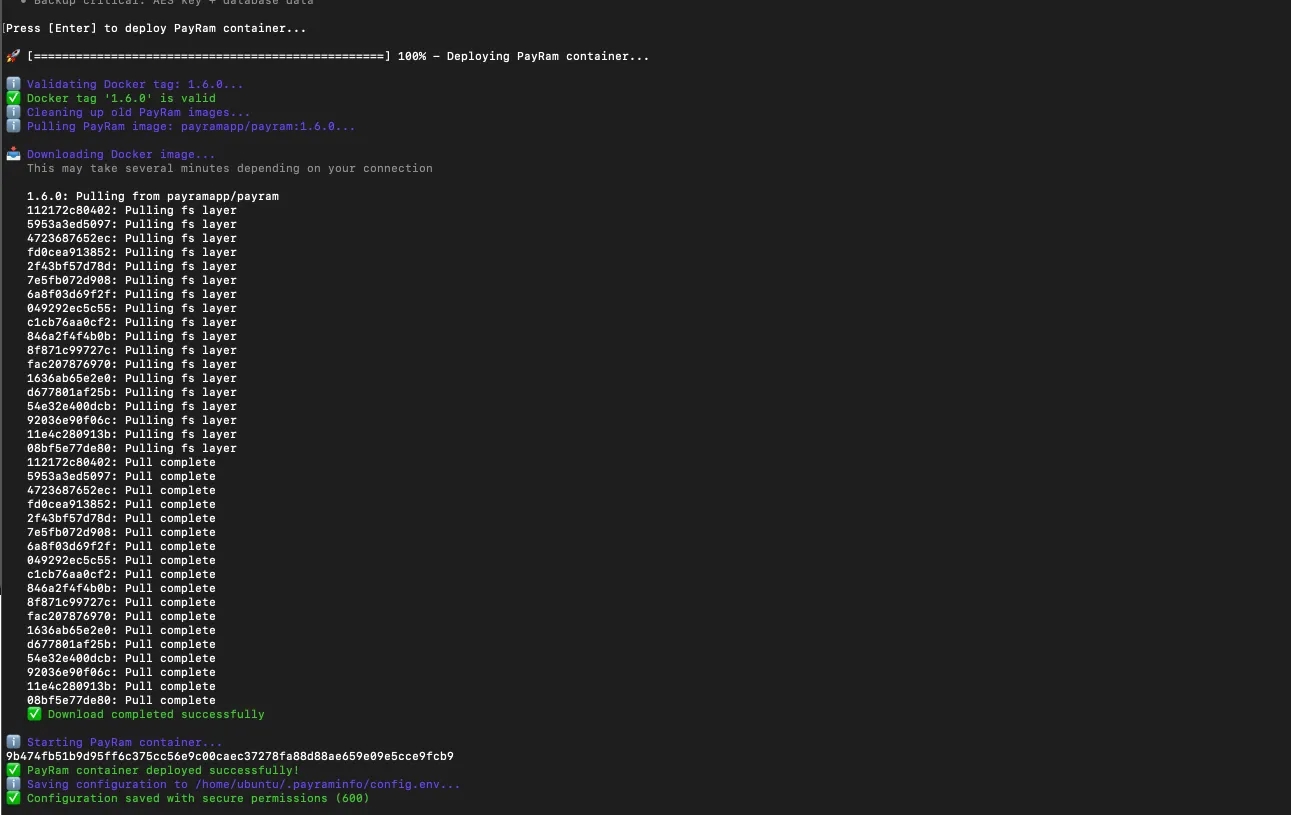
Installation completed
After the installation completes, a confirmation message appears in the terminal.
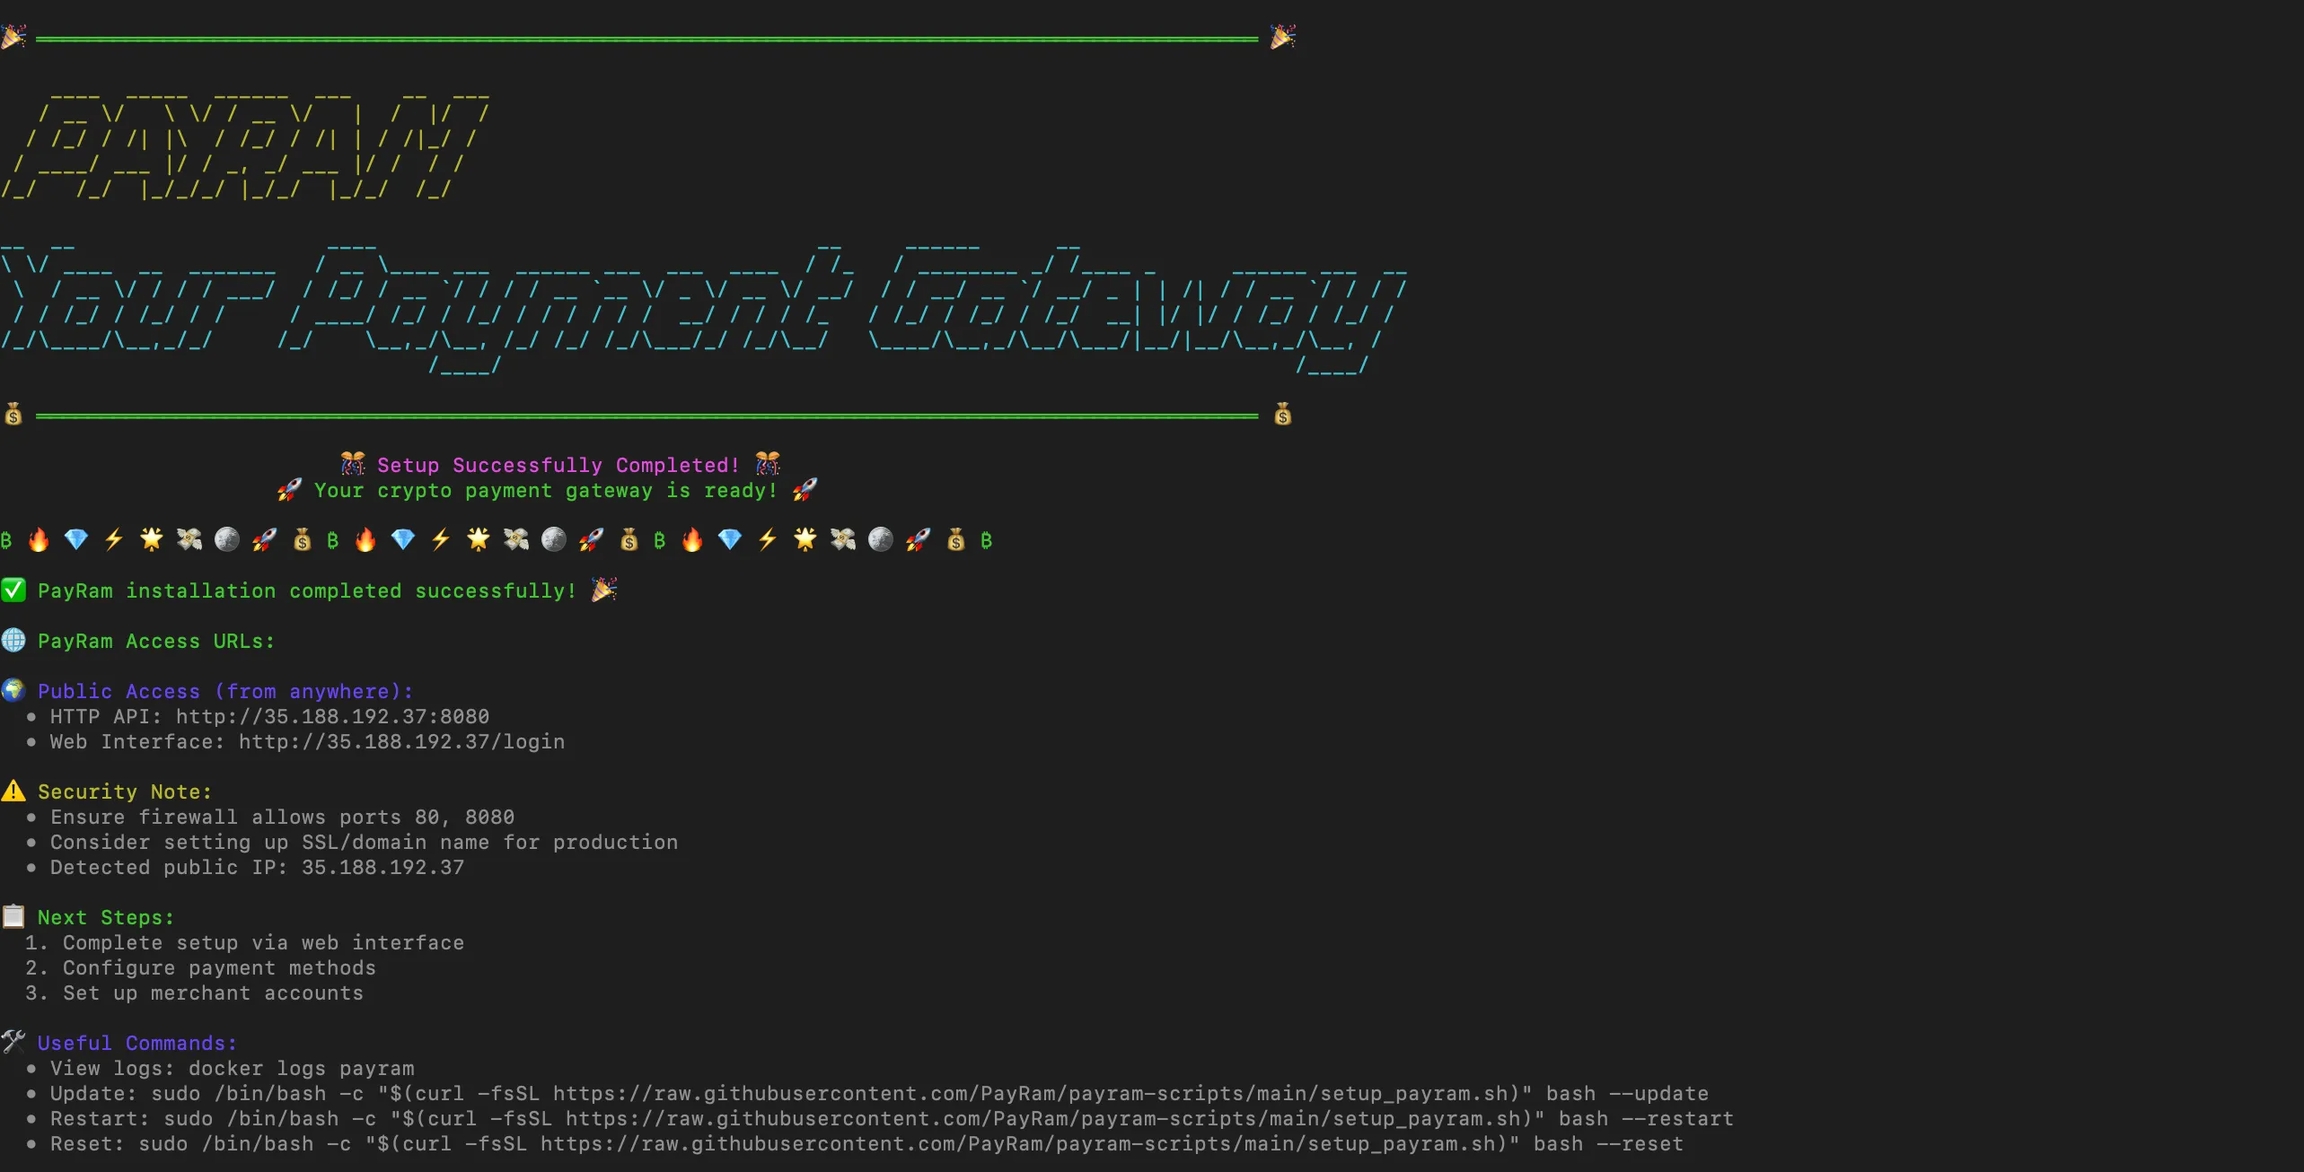
Once the installation is complete, you’ll see “PayRam installation completed successfully” in the logs. You can then go to http://yourserverip.com, replacing yourserverip with the IP address or domain where the PayRam server is hosted.
Now that you’ve successfully completed the setup, please go to the onboarding configuration to start setting up your root account for PayRam.

