> For the complete documentation index, see [llms.txt](https://docs.payram.com/llms.txt). Markdown versions of documentation pages are available by appending `.md` to page URLs; this page is available as [Markdown](https://docs.payram.com/deployment-guide/digitalocean-1-click.md).
# DigitalOcean 1-Click
Deploy PayRam from the DigitalOcean Marketplace. DigitalOcean provisions the server and installs PayRam for you, so there is no terminal work before your dashboard is live.
PayRam is available as a 1-Click App on the DigitalOcean Marketplace. DigitalOcean creates the server, installs PayRam, and starts it for you. You do not need to run the setup script or touch a terminal.
***
## **Prerequisites**
* A DigitalOcean account with billing enabled.
* The droplet is billed by DigitalOcean at its usual hourly and monthly rates. PayRam itself is free and self-hosted.
***
## Deploy PayRam
{% stepper %}
{% step %}
### Open the PayRam listing
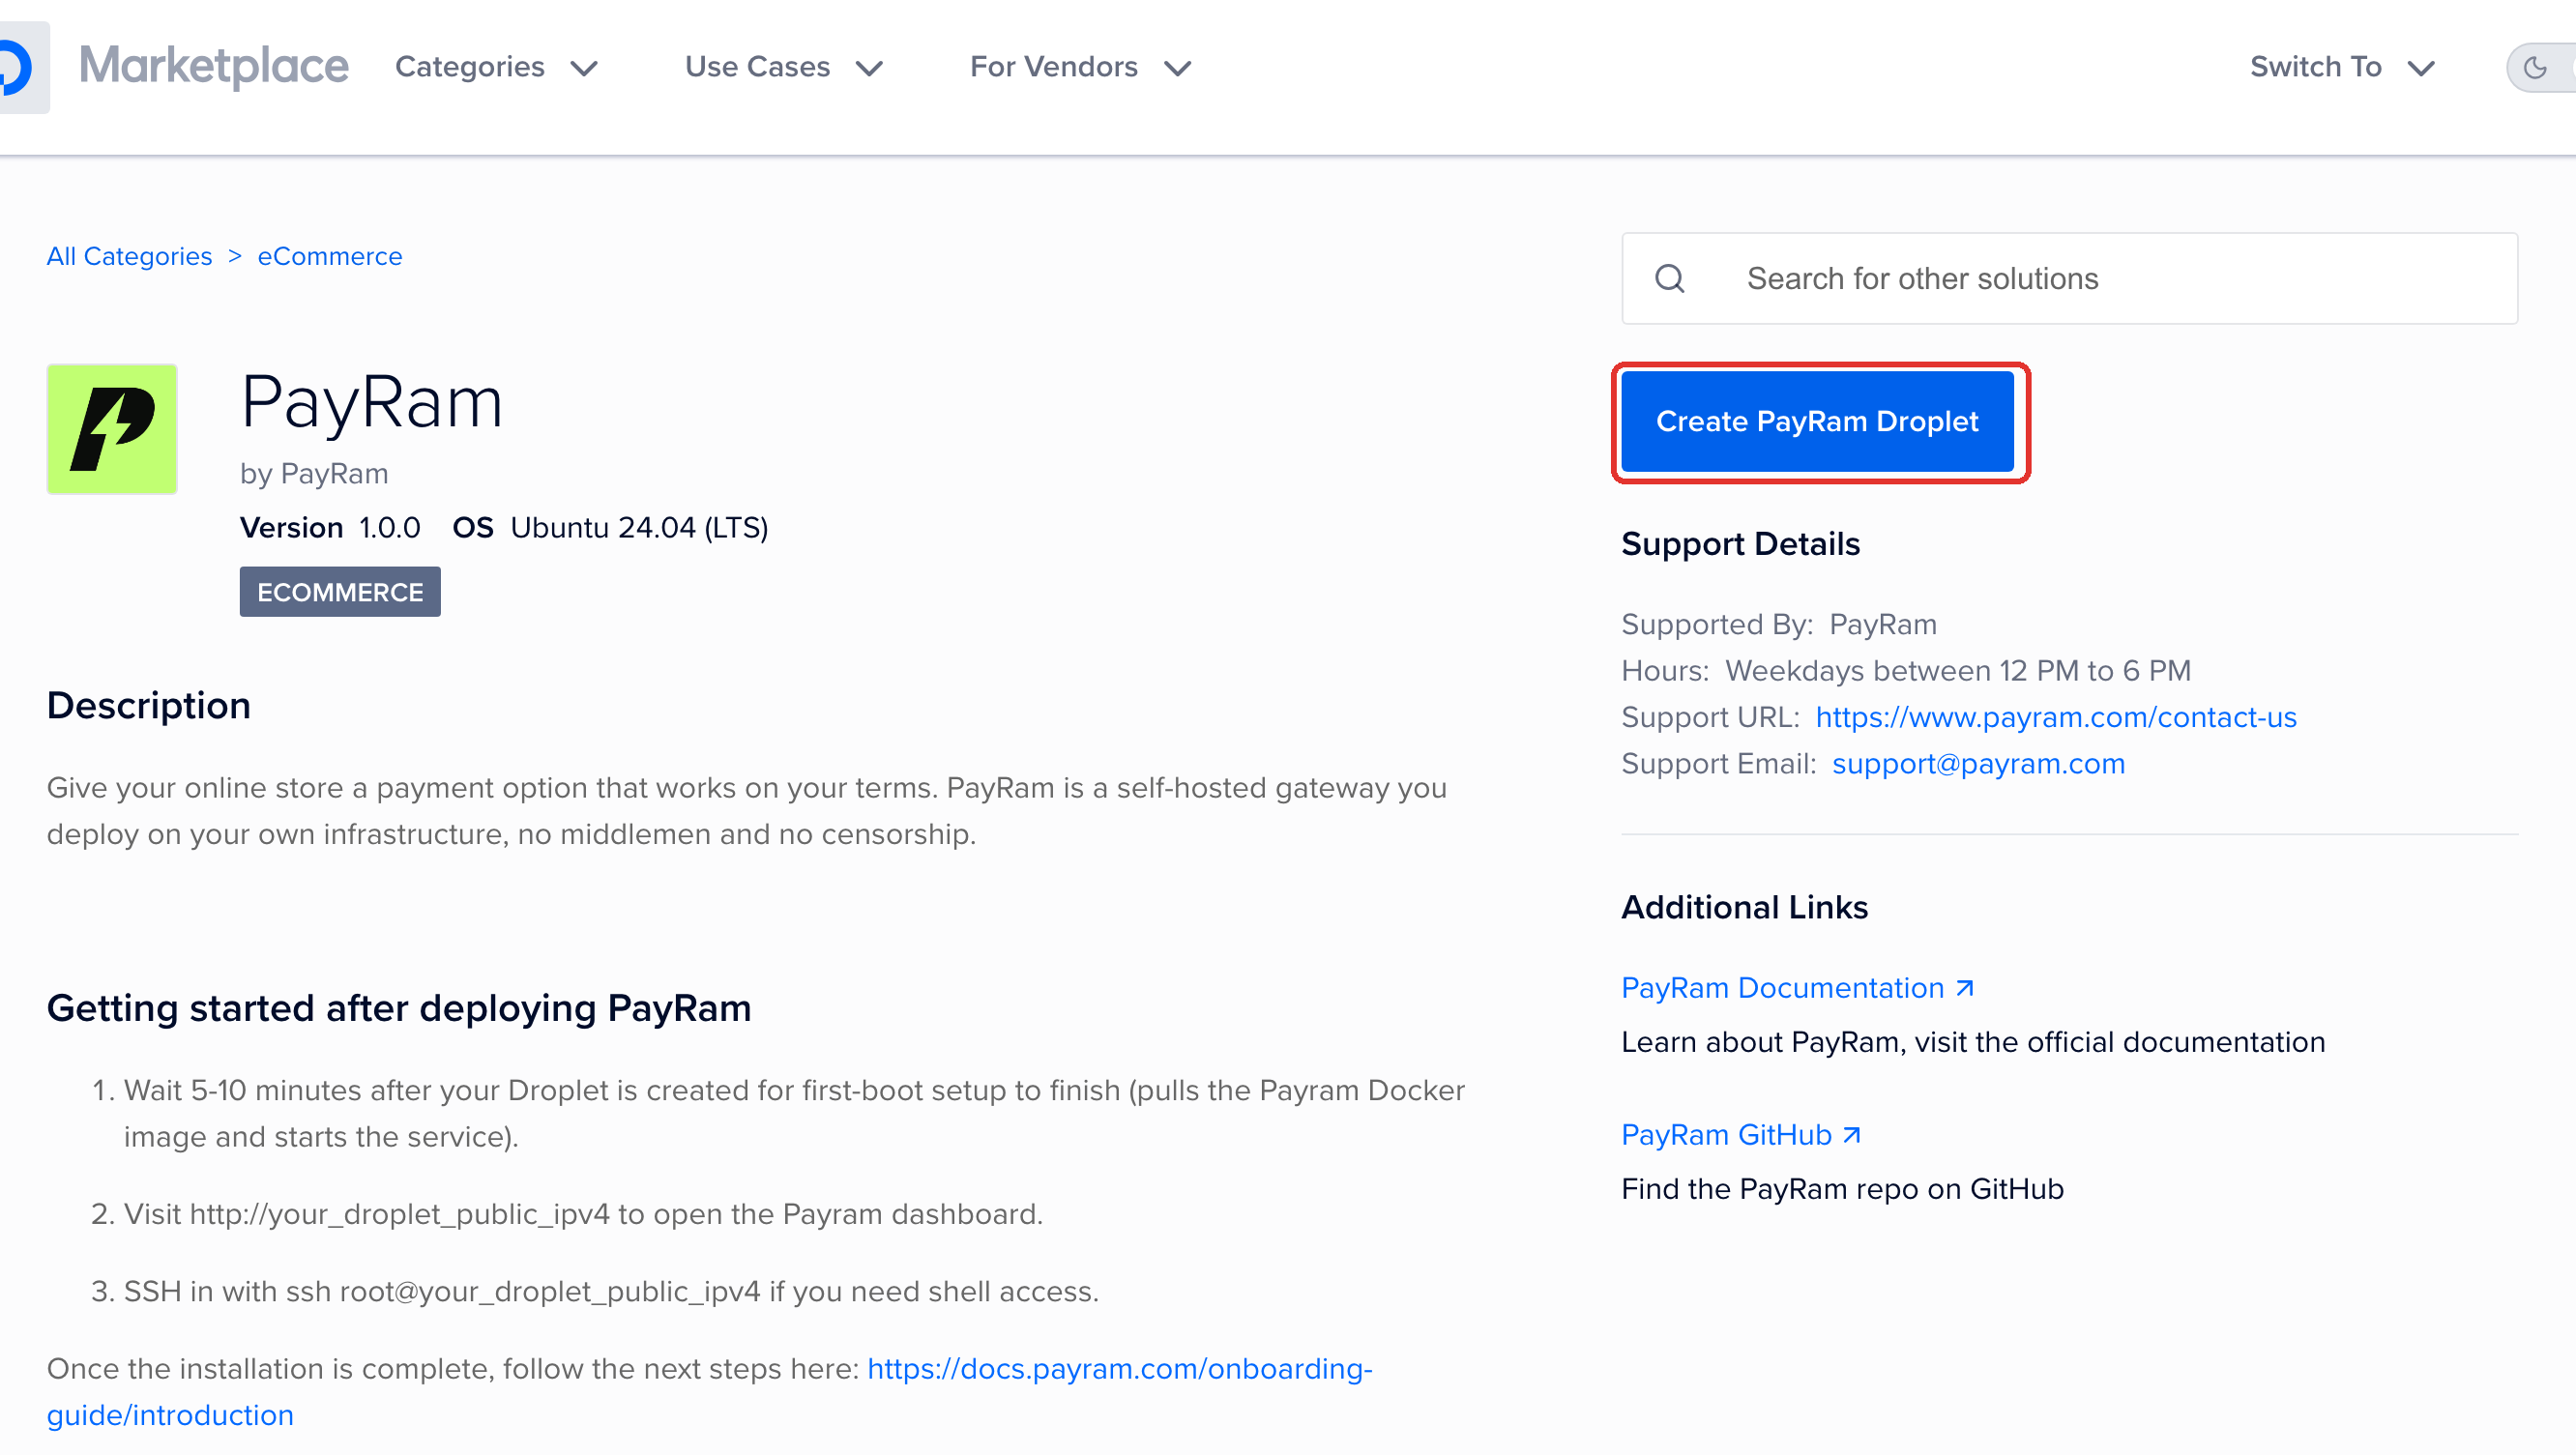
* Go to the [PayRam listing](https://marketplace.digitalocean.com/apps/payram?refcode=908d23f4758a) on the DigitalOcean Marketplace.
* Select **Create PayRam Droplet**, highlighted above.
{% endstep %}
{% step %}
### Confirm the PayRam image
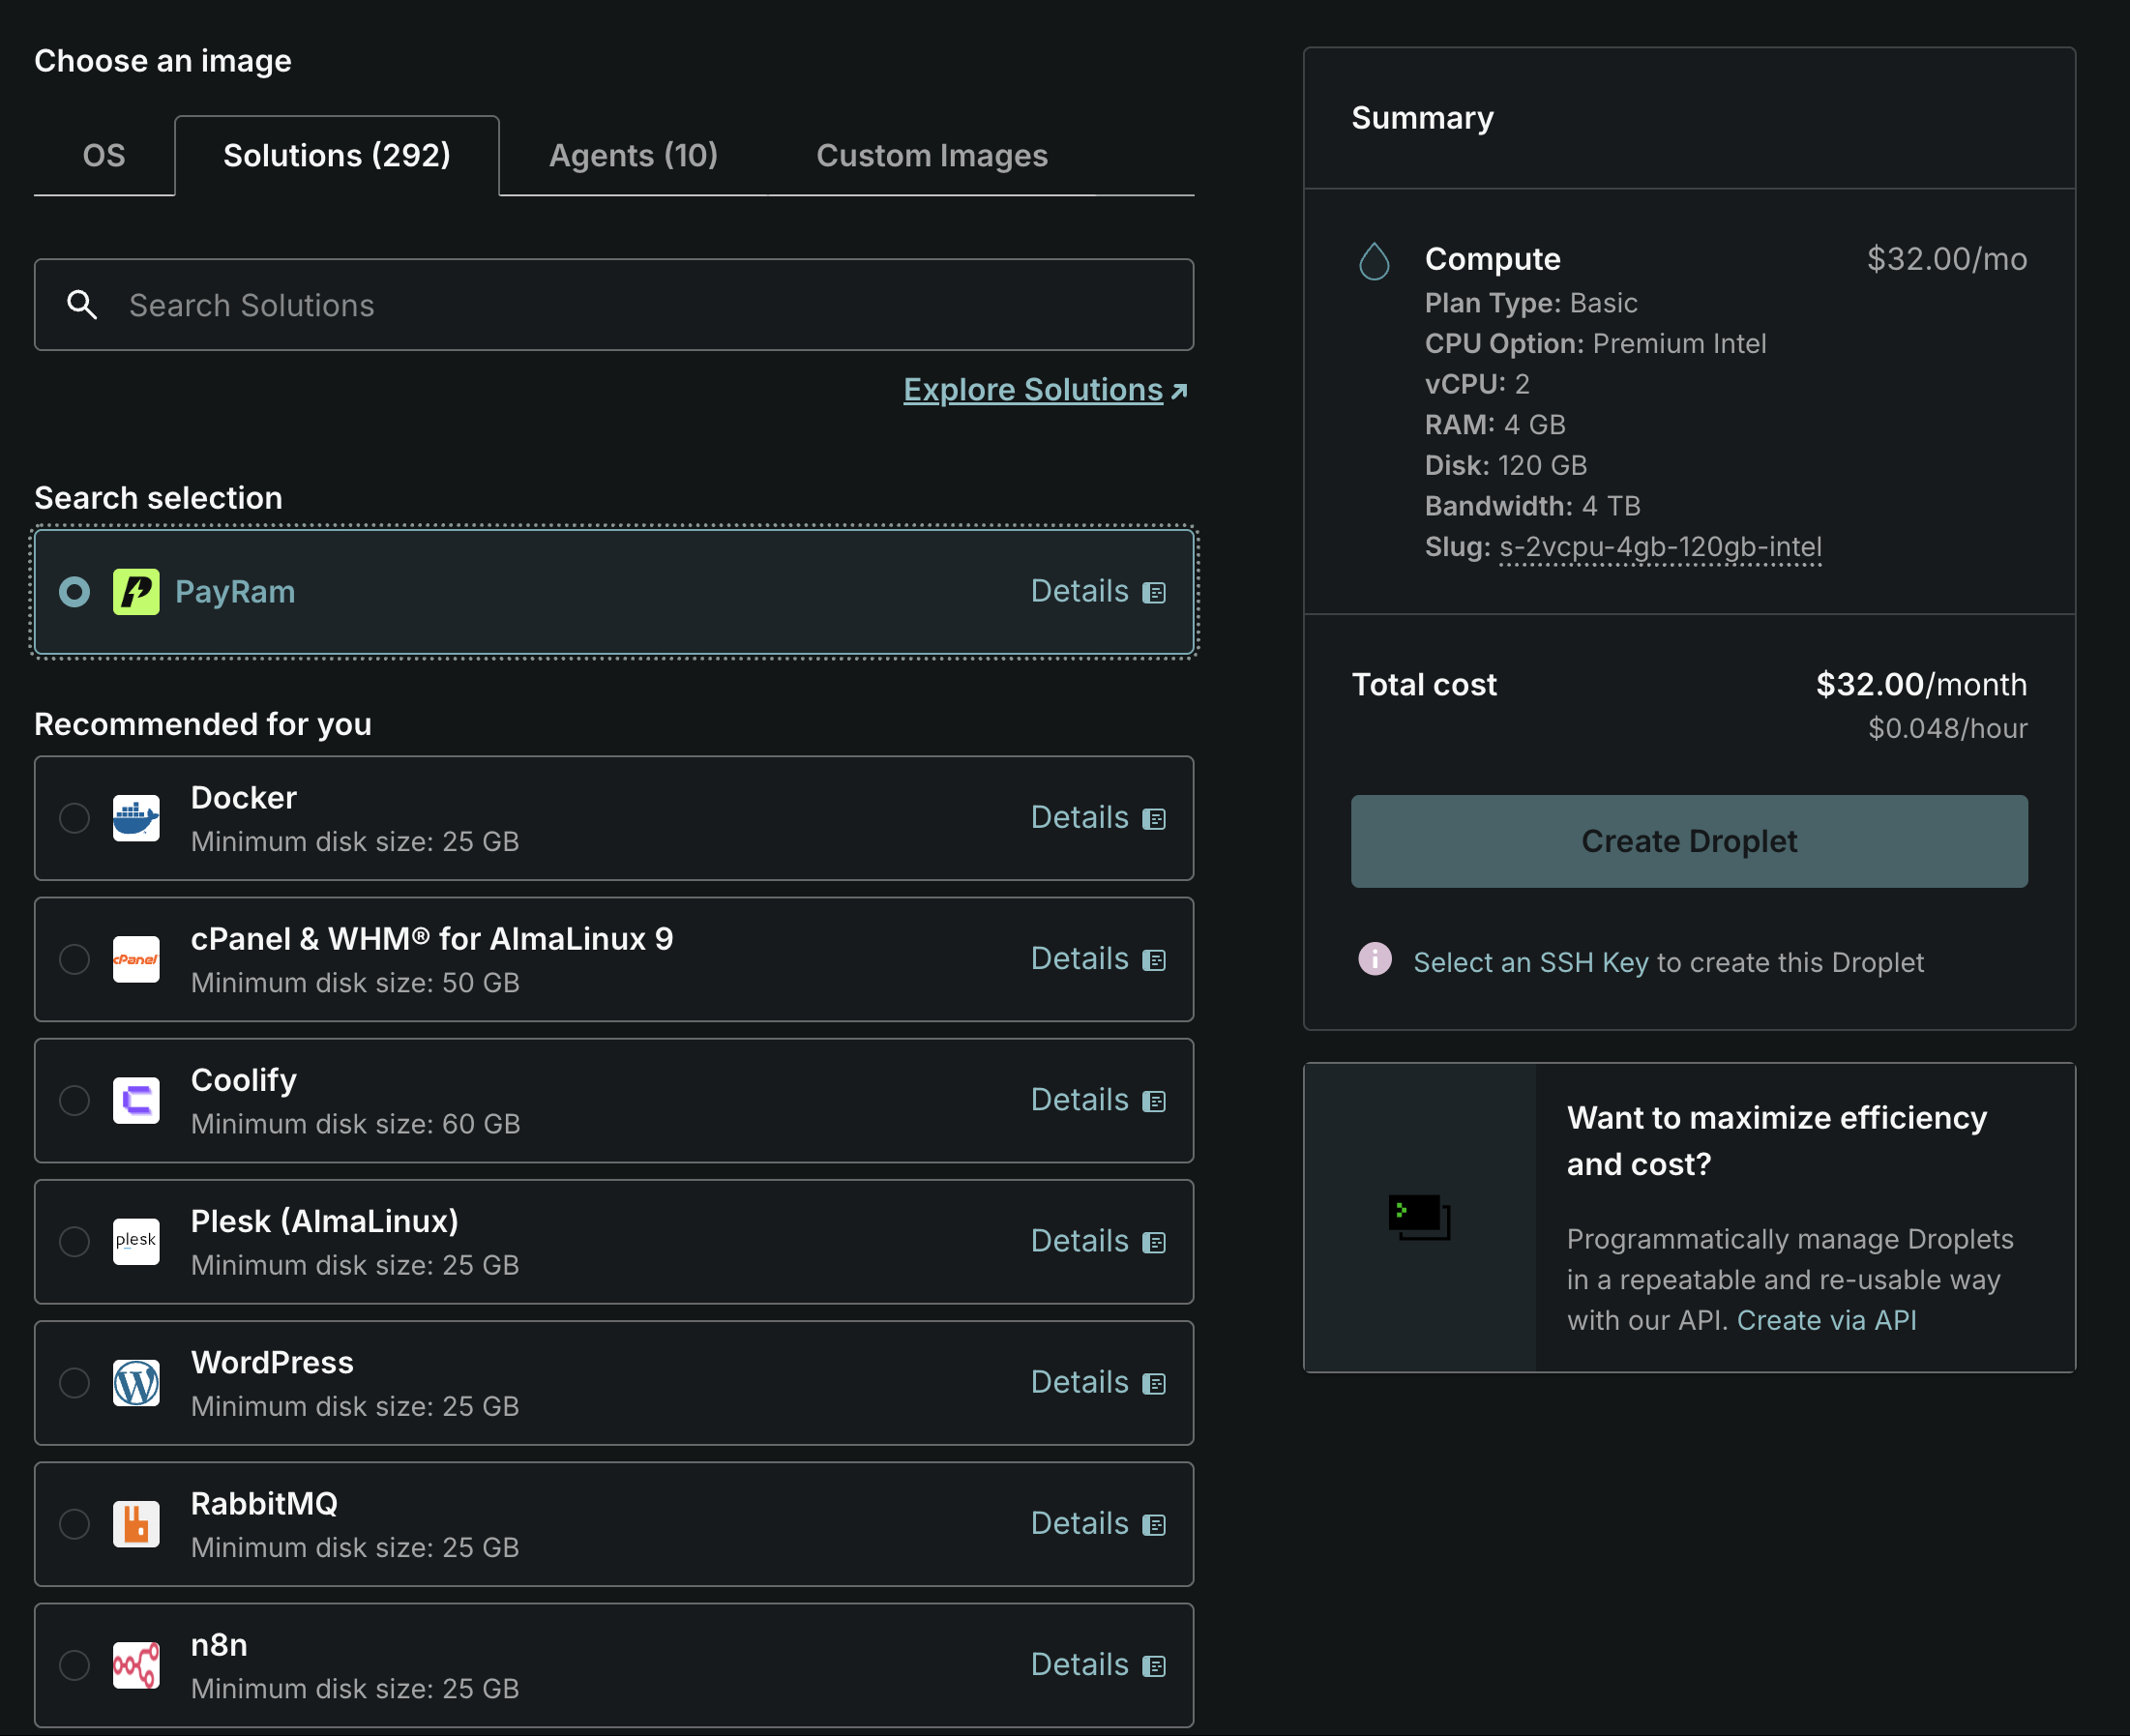
* The droplet creation page opens with PayRam already chosen under **Choose an image → Solutions**. Leave it selected.
* The **Summary** panel on the right shows the machine PayRam will run on, along with its cost.
{% endstep %}
{% step %}
### Choose your machine and database
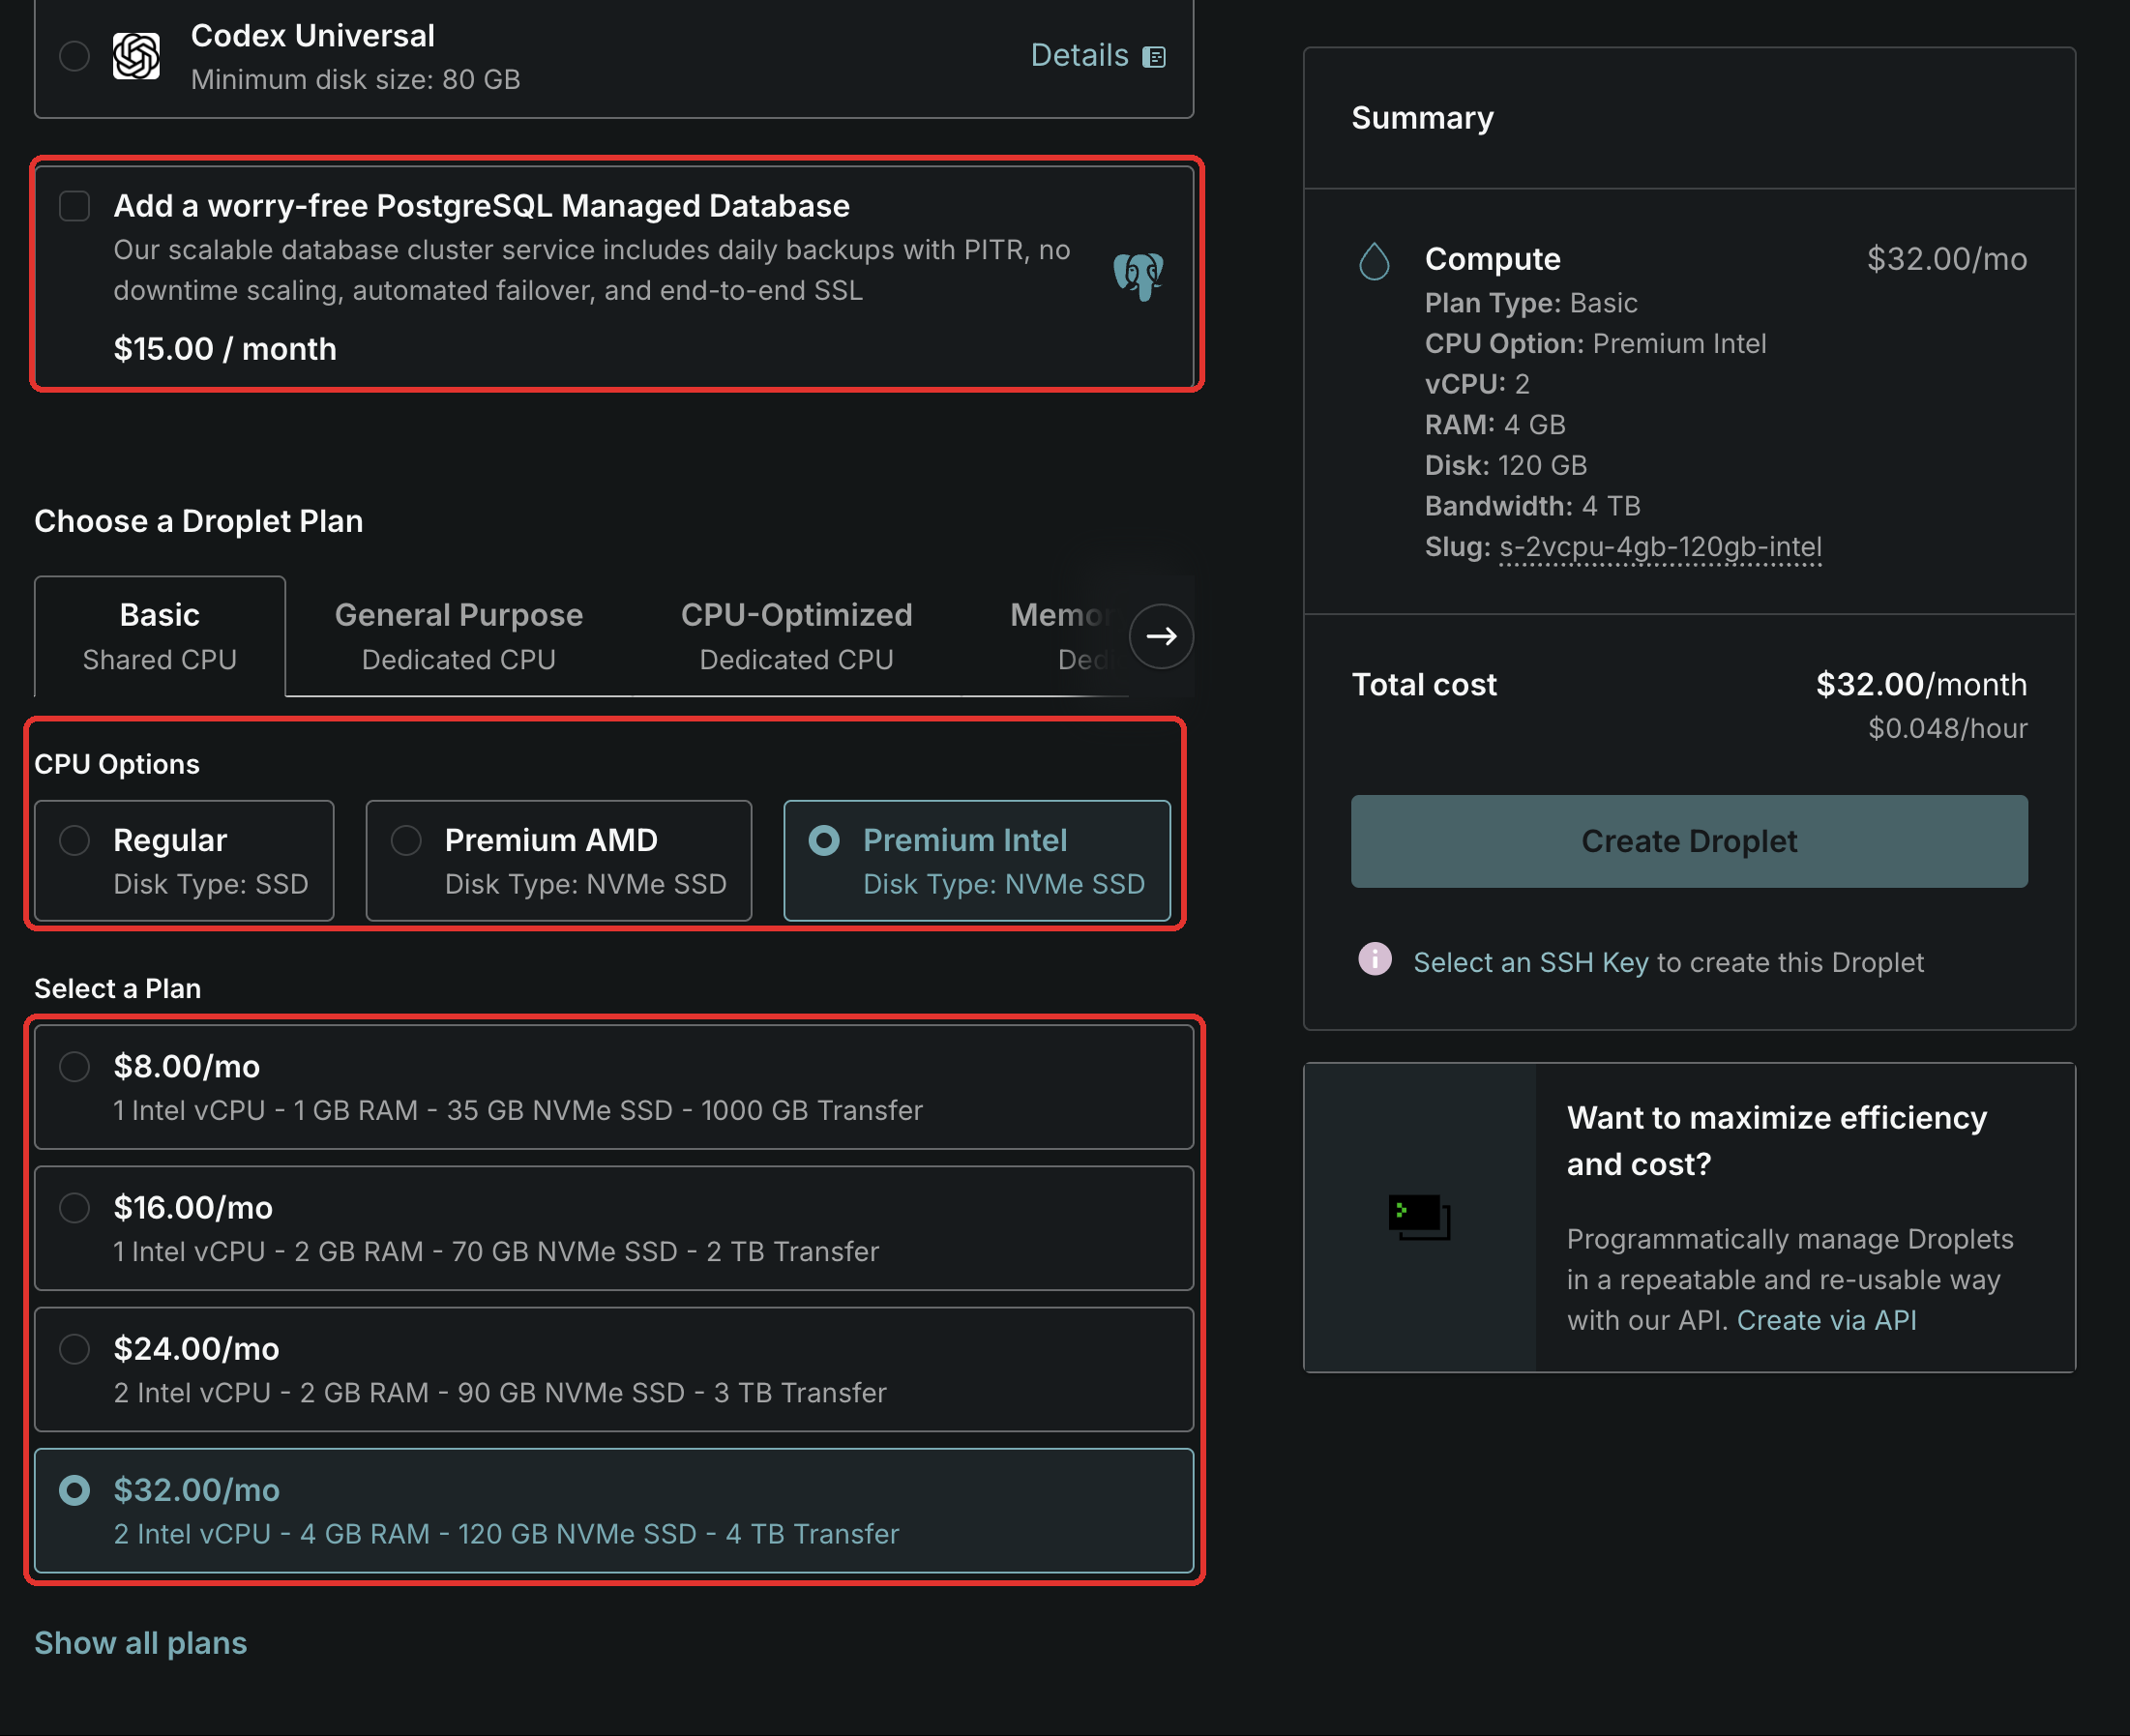
* Optionally select **Add a worry-free PostgreSQL Managed Database**. Skip it and PayRam runs its own PostgreSQL on the droplet, which works straight away.
* Under **CPU Options**, choose the processor type, then pick a size under **Select a Plan**. All three highlighted below are yours to choose from, based on the volume you expect and your budget.
{% hint style="warning" %} **Do not go below 2 vCPU and 4 GB RAM.** That is PayRam's minimum requirement, and the smaller plans do not meet it. Any CPU option is fine, so pick whichever suits you at that size or above. You can resize the droplet later from the DigitalOcean control panel as your transaction volume grows.
{% endhint %}
{% hint style="info" %} **Note**: A managed database is worth adding for production, since DigitalOcean handles its backups, failover and scaling separately from the droplet.
{% endhint %}
{% endstep %}
{% step %}
### Set up authentication
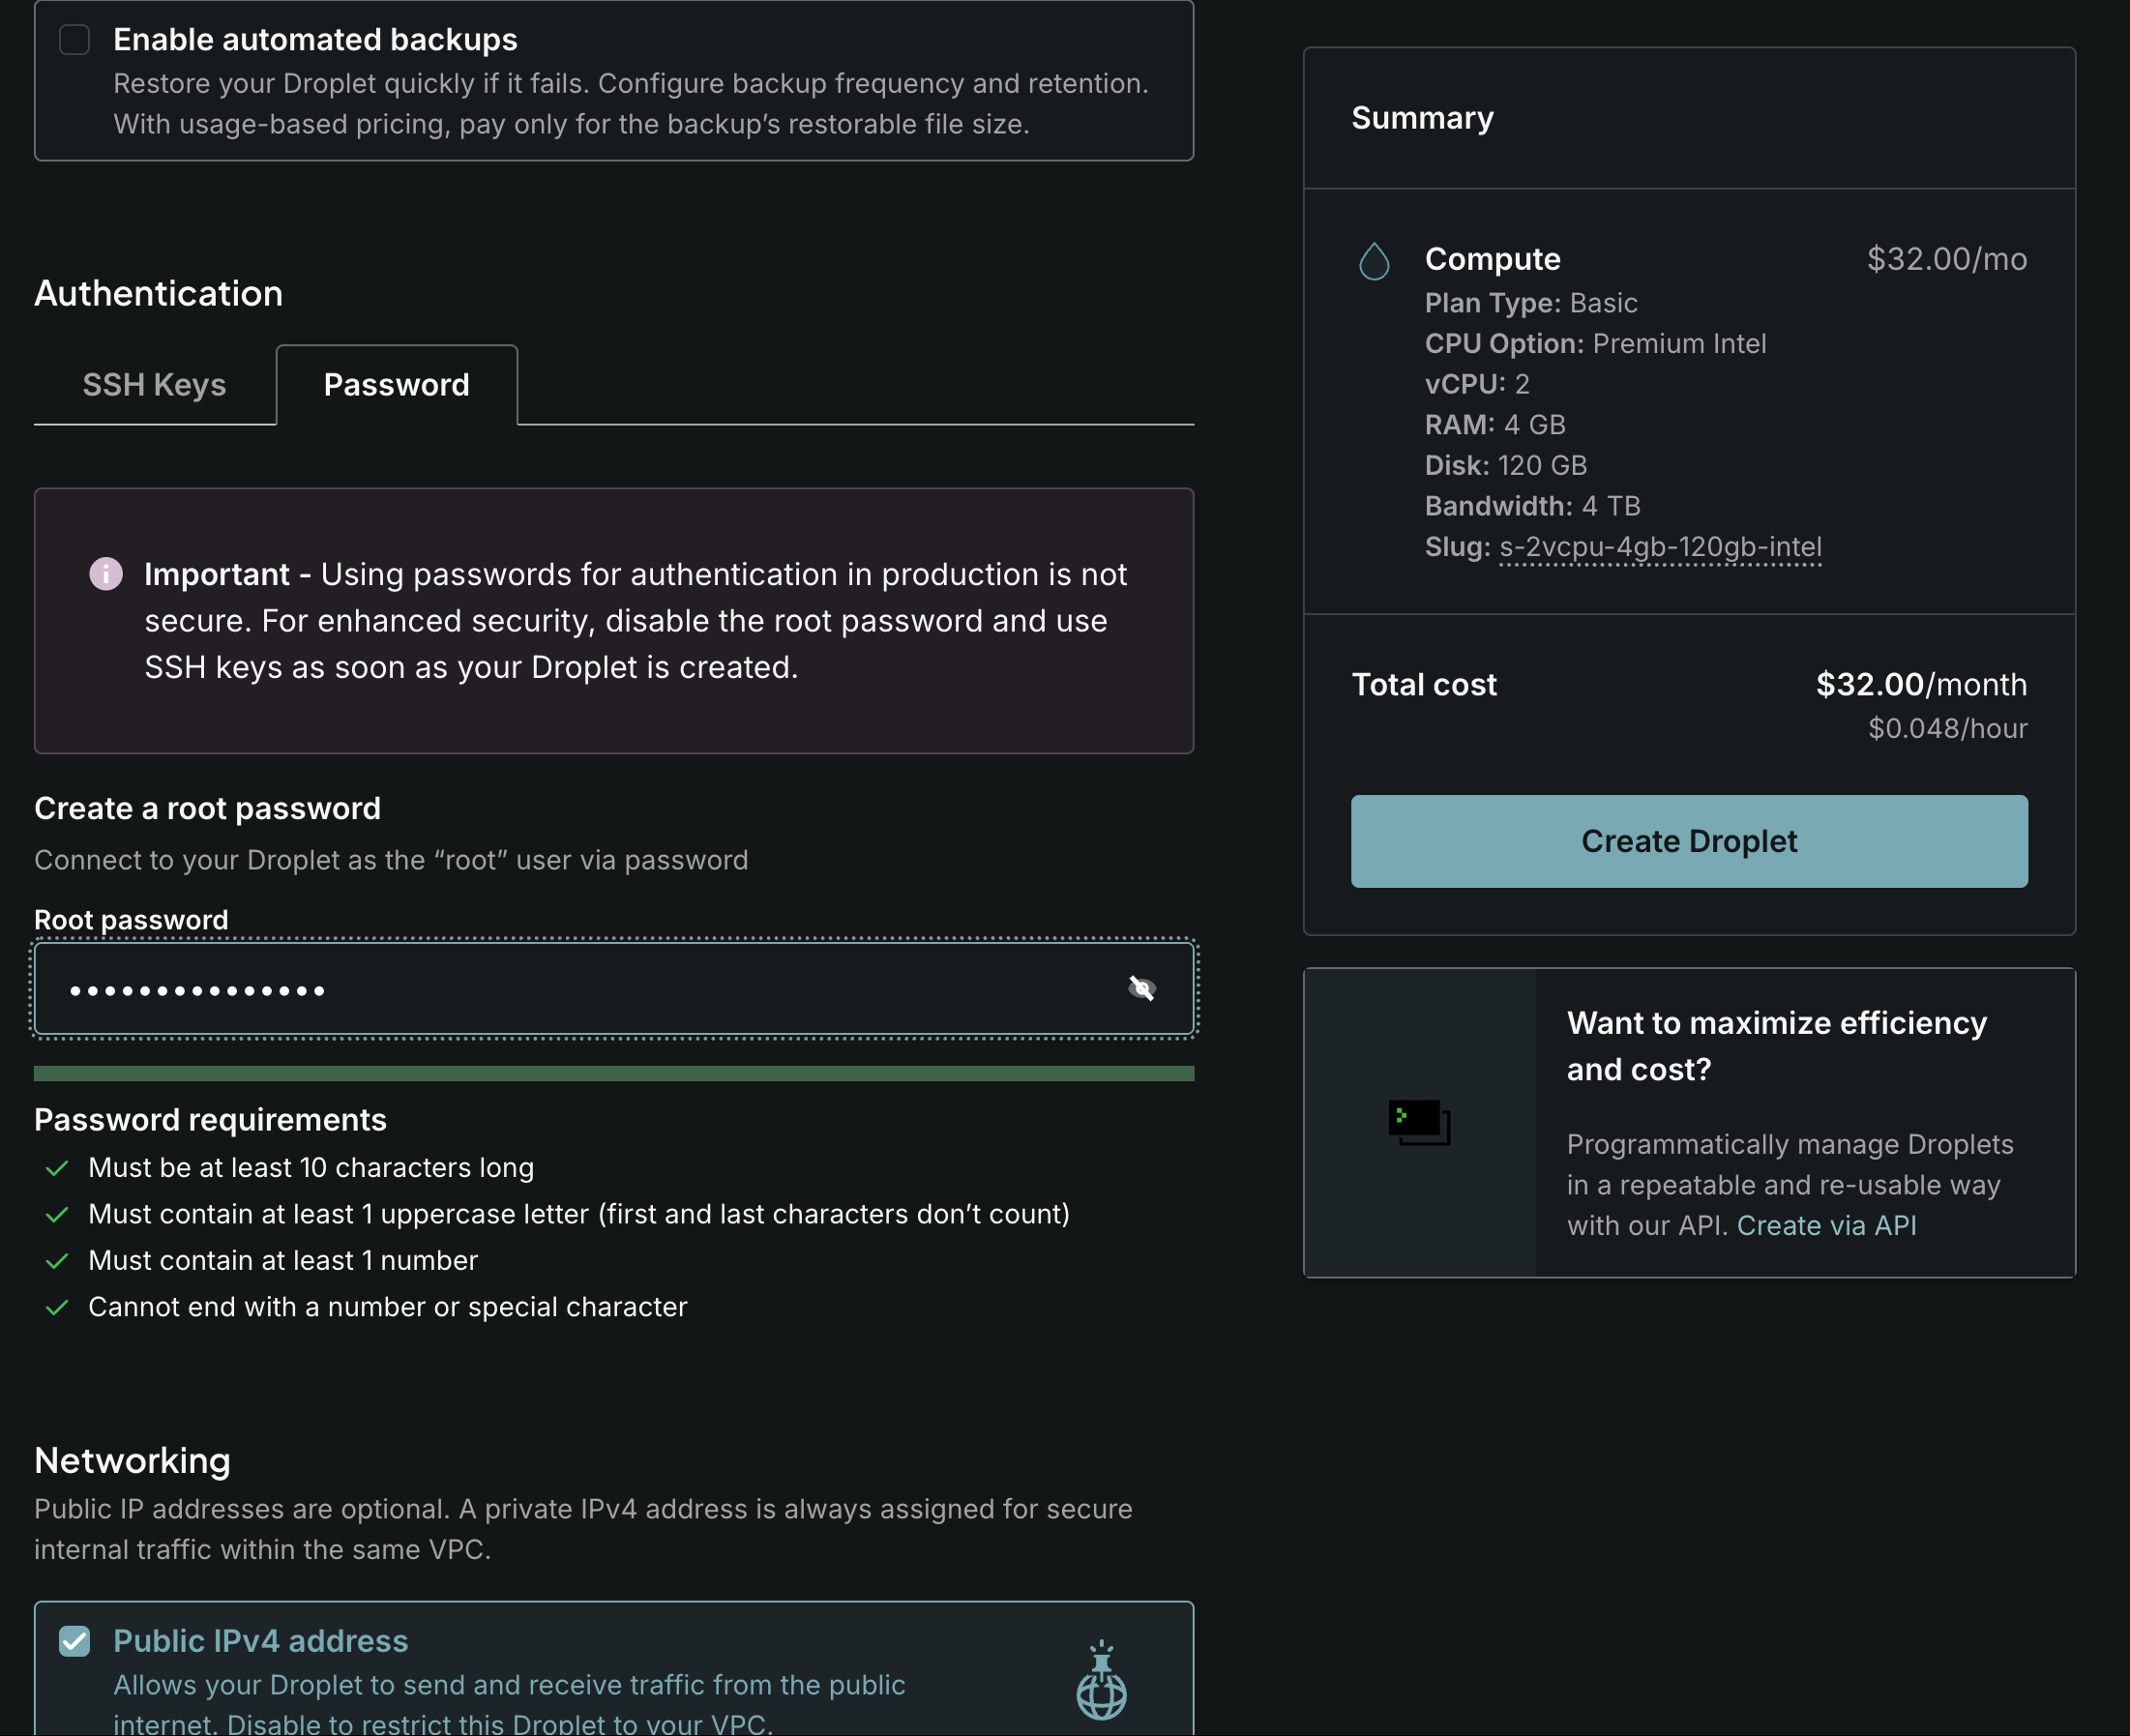
* Under **Authentication**, choose how you will connect to the droplet.
| Method | When to use it |
| ------------ | ----------------------------------------------------------------------- |
| **SSH Keys** | Recommended. Add your public key and connect without a password. |
| **Password** | Set a root password instead. DigitalOcean emails you the login details. |
{% hint style="warning" %} **Use an SSH key for production.** This server will hold your wallets and process real payments. Password login is far easier to brute-force, and DigitalOcean itself warns against it. If you do start with a password, add an SSH key and disable the root password as soon as the droplet is running.
{% endhint %}
{% endstep %}
{% step %}
### Name the droplet and create it
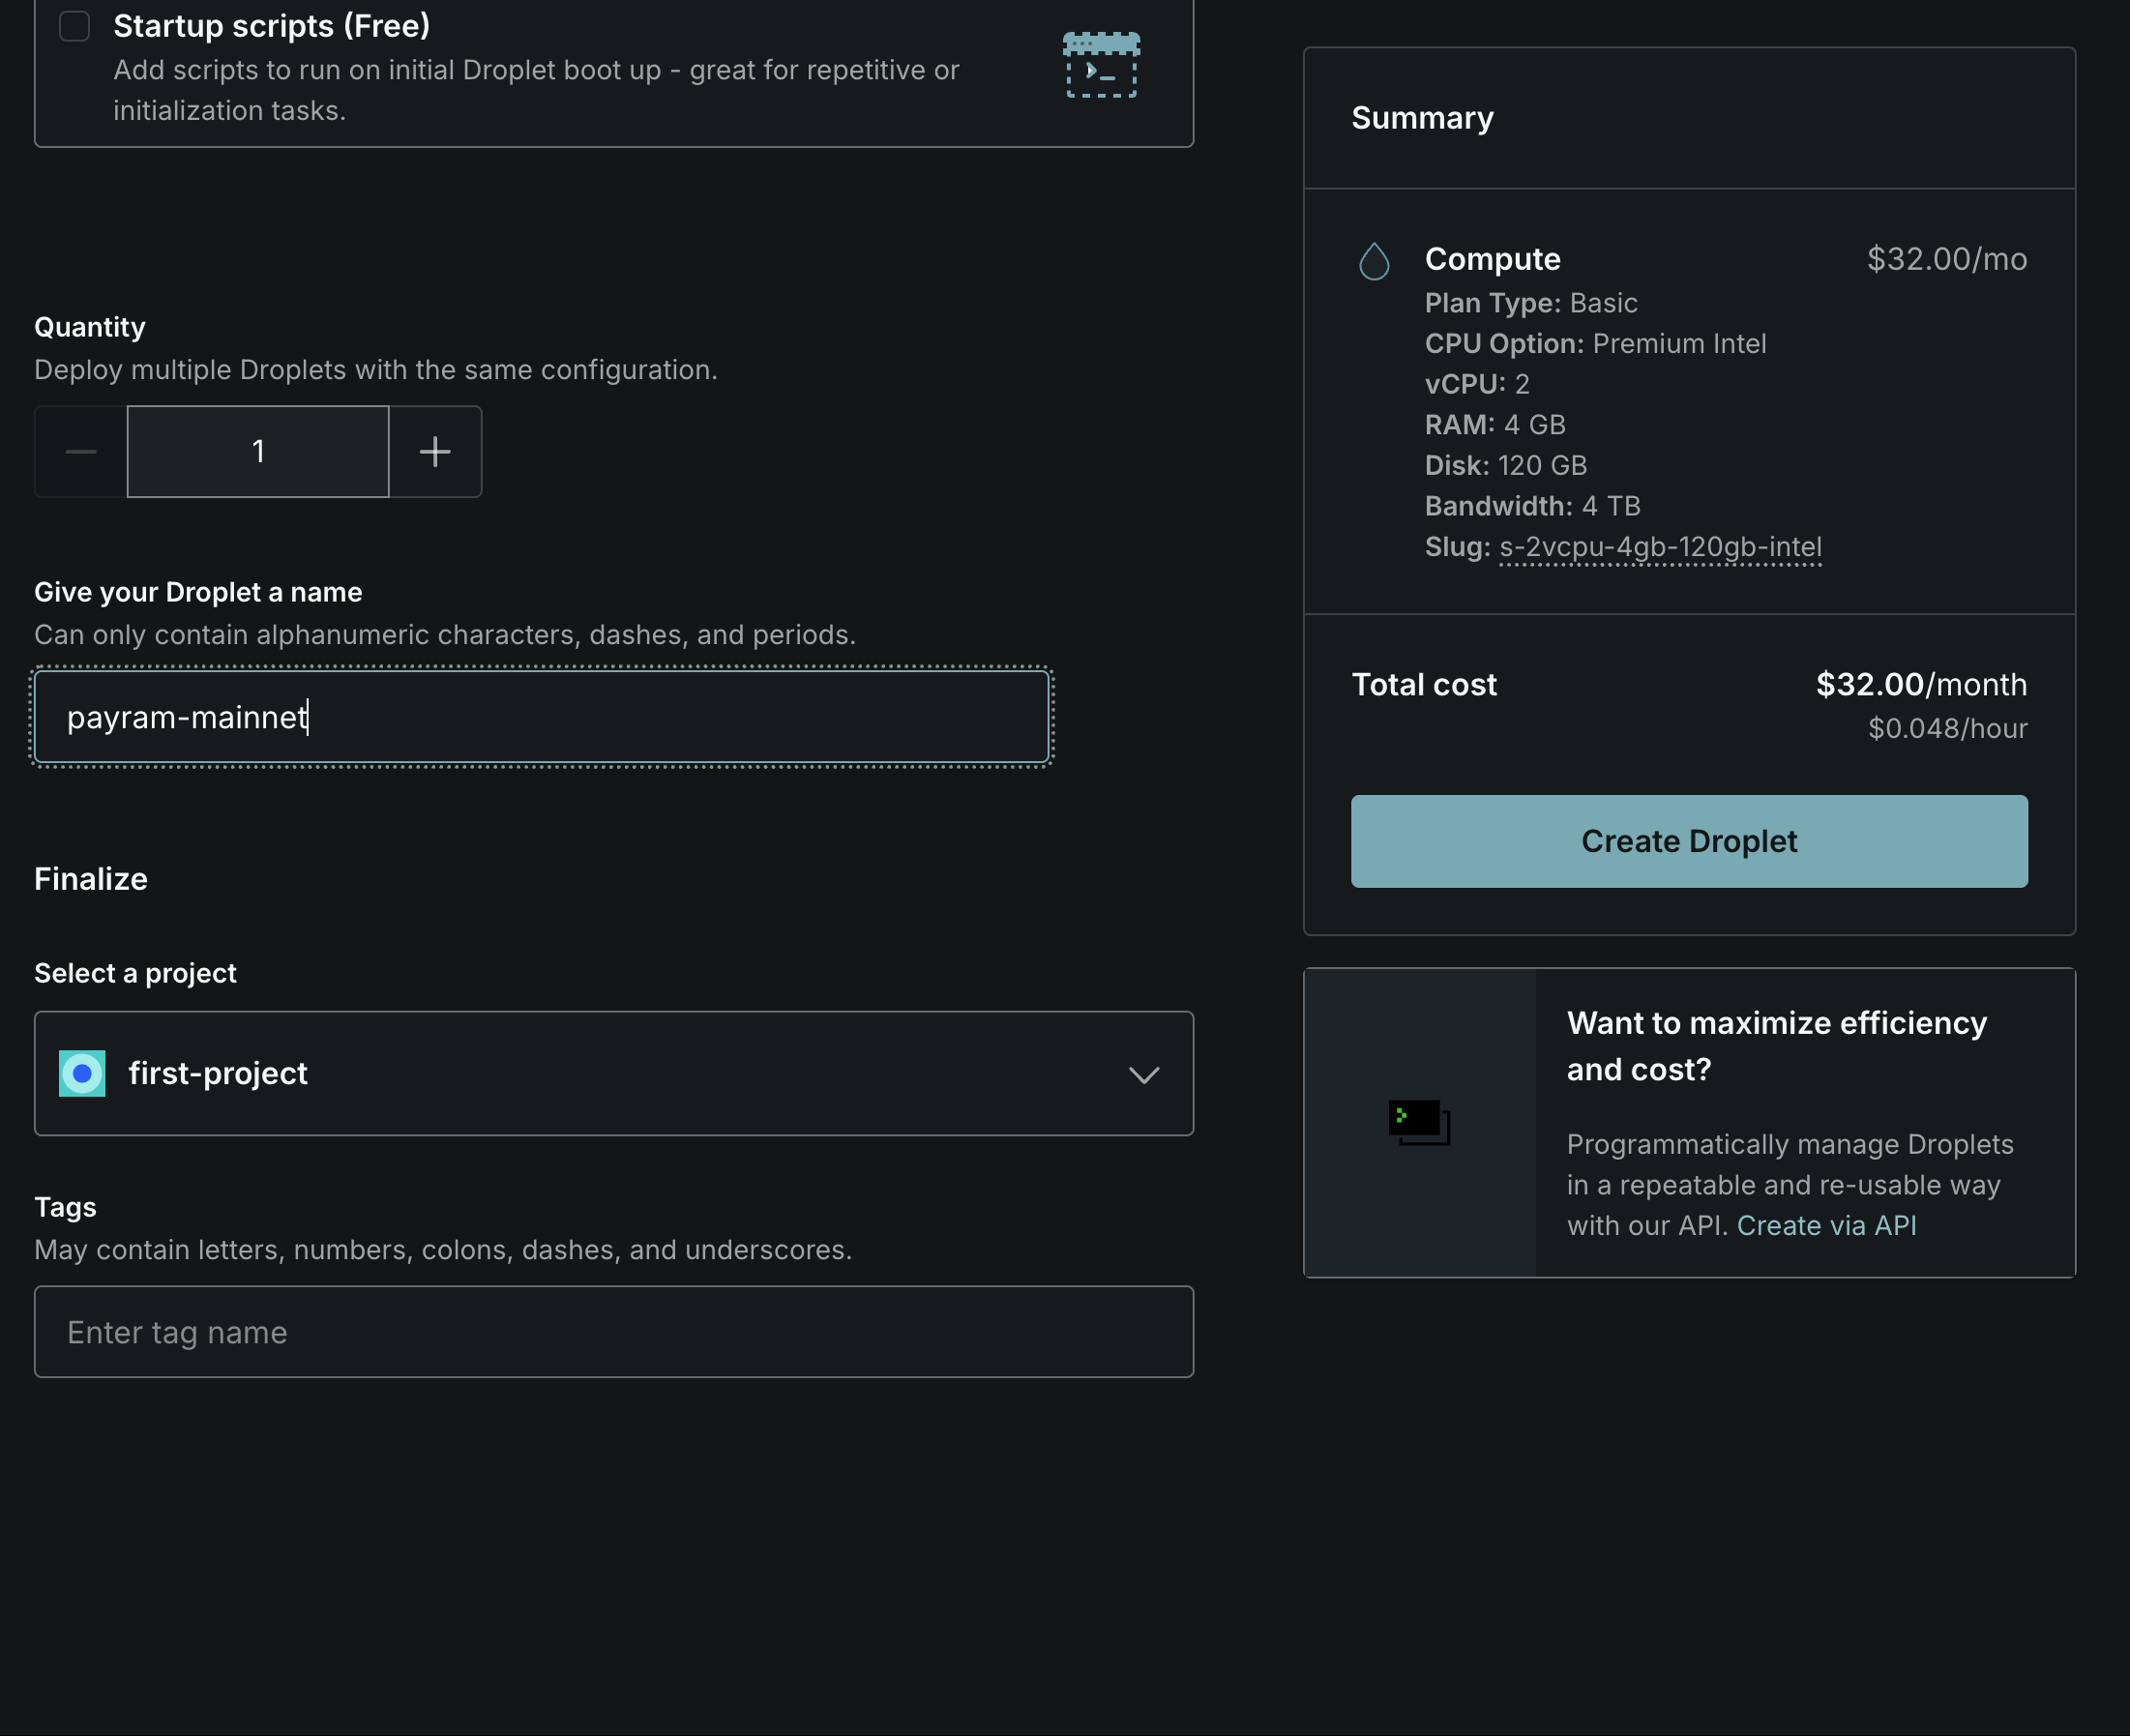
* Give the droplet a name you will recognise later, and choose the project it belongs to.
* Select **Create Droplet**.
{% endstep %}
{% step %}
### Wait for PayRam to start
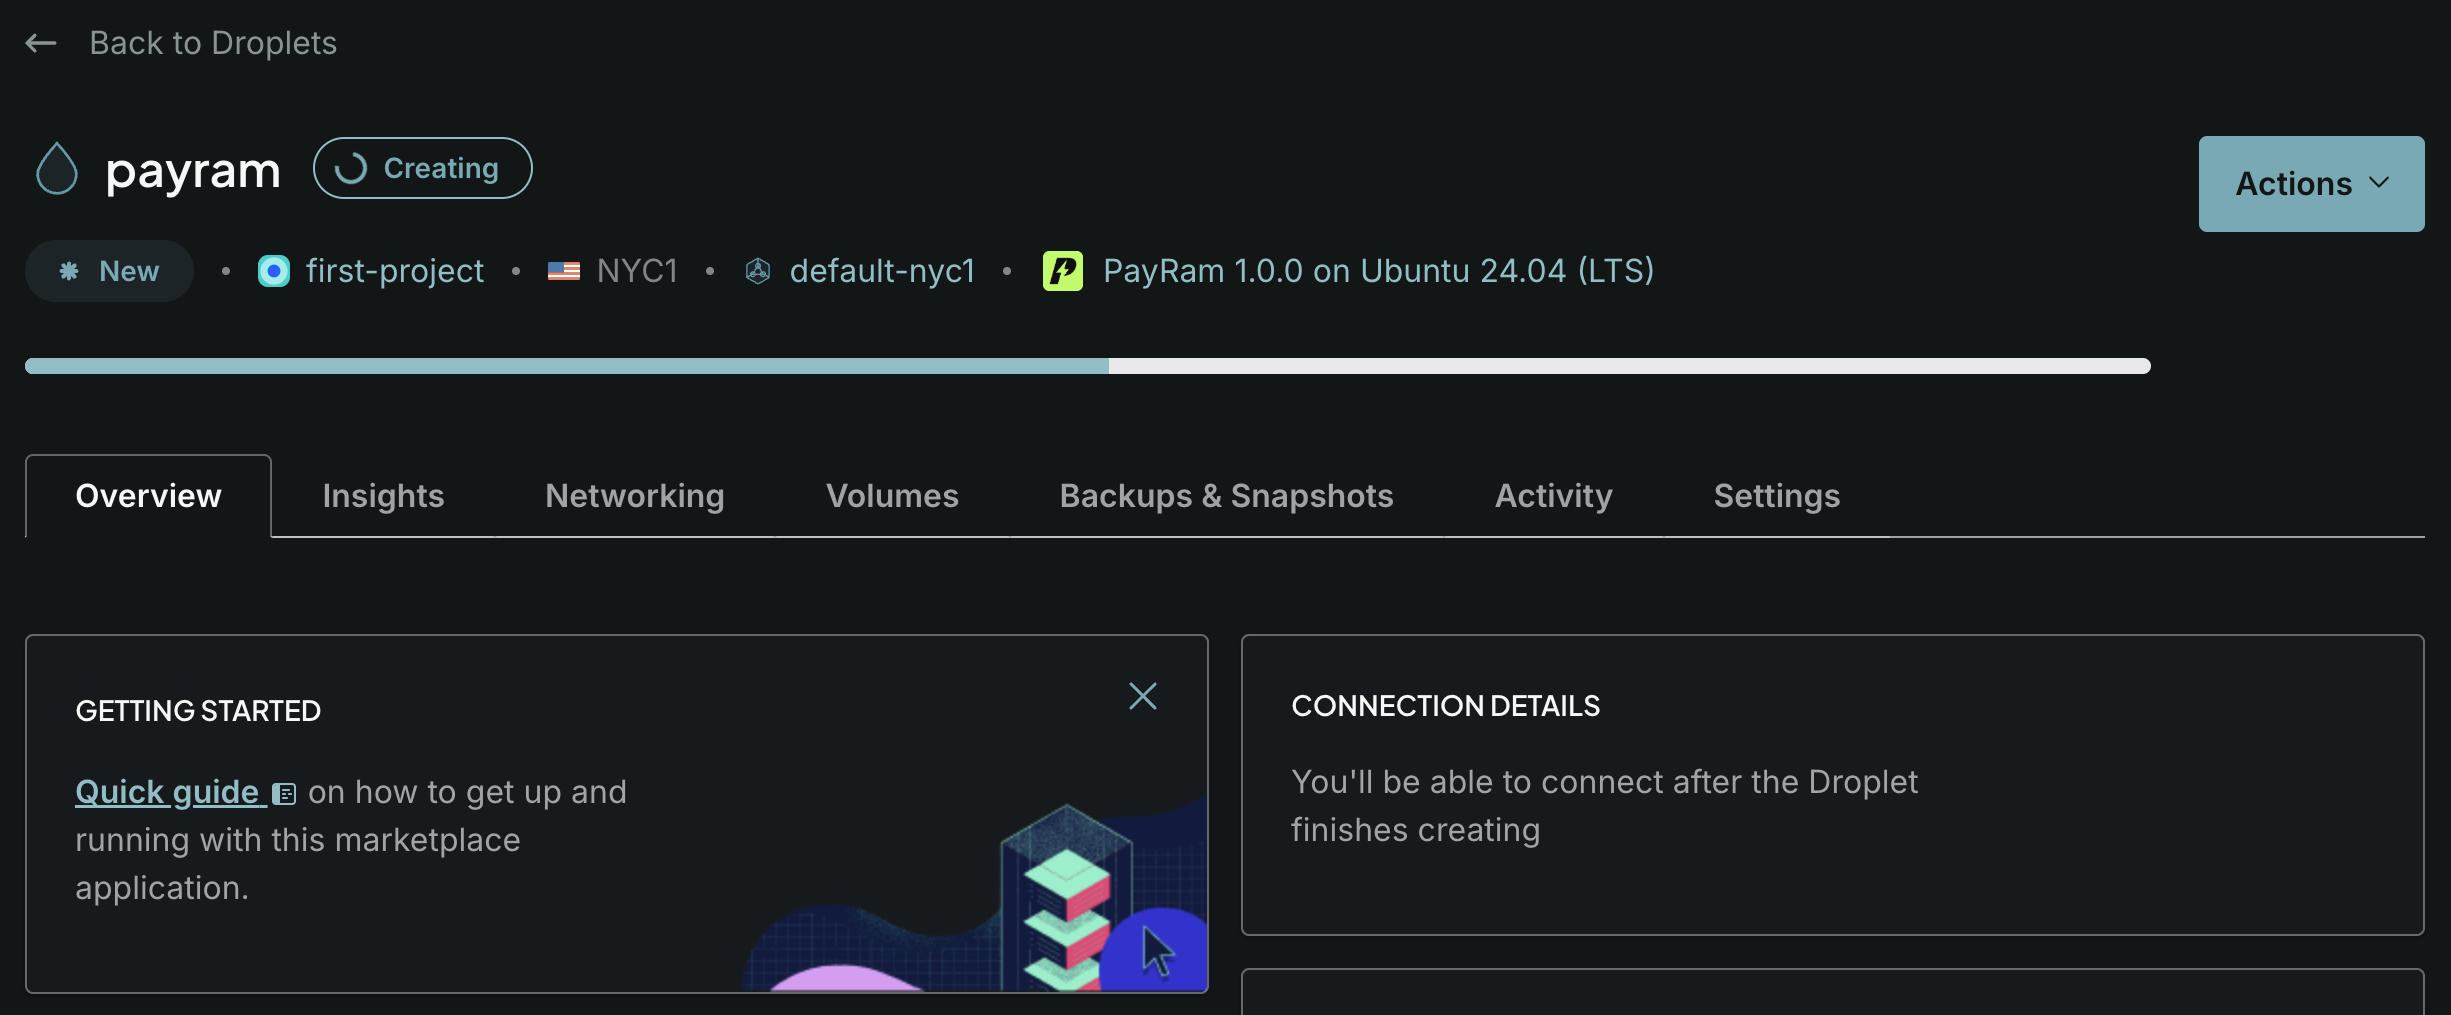
* The droplet shows **Creating** while DigitalOcean provisions it.
* The droplet itself is ready in under a minute, but PayRam keeps installing in the background after that. Allow **at least 5 to 10 minutes** for it to pull the PayRam image and start the service.
{% endstep %}
{% step %}
### Copy your droplet's IP address
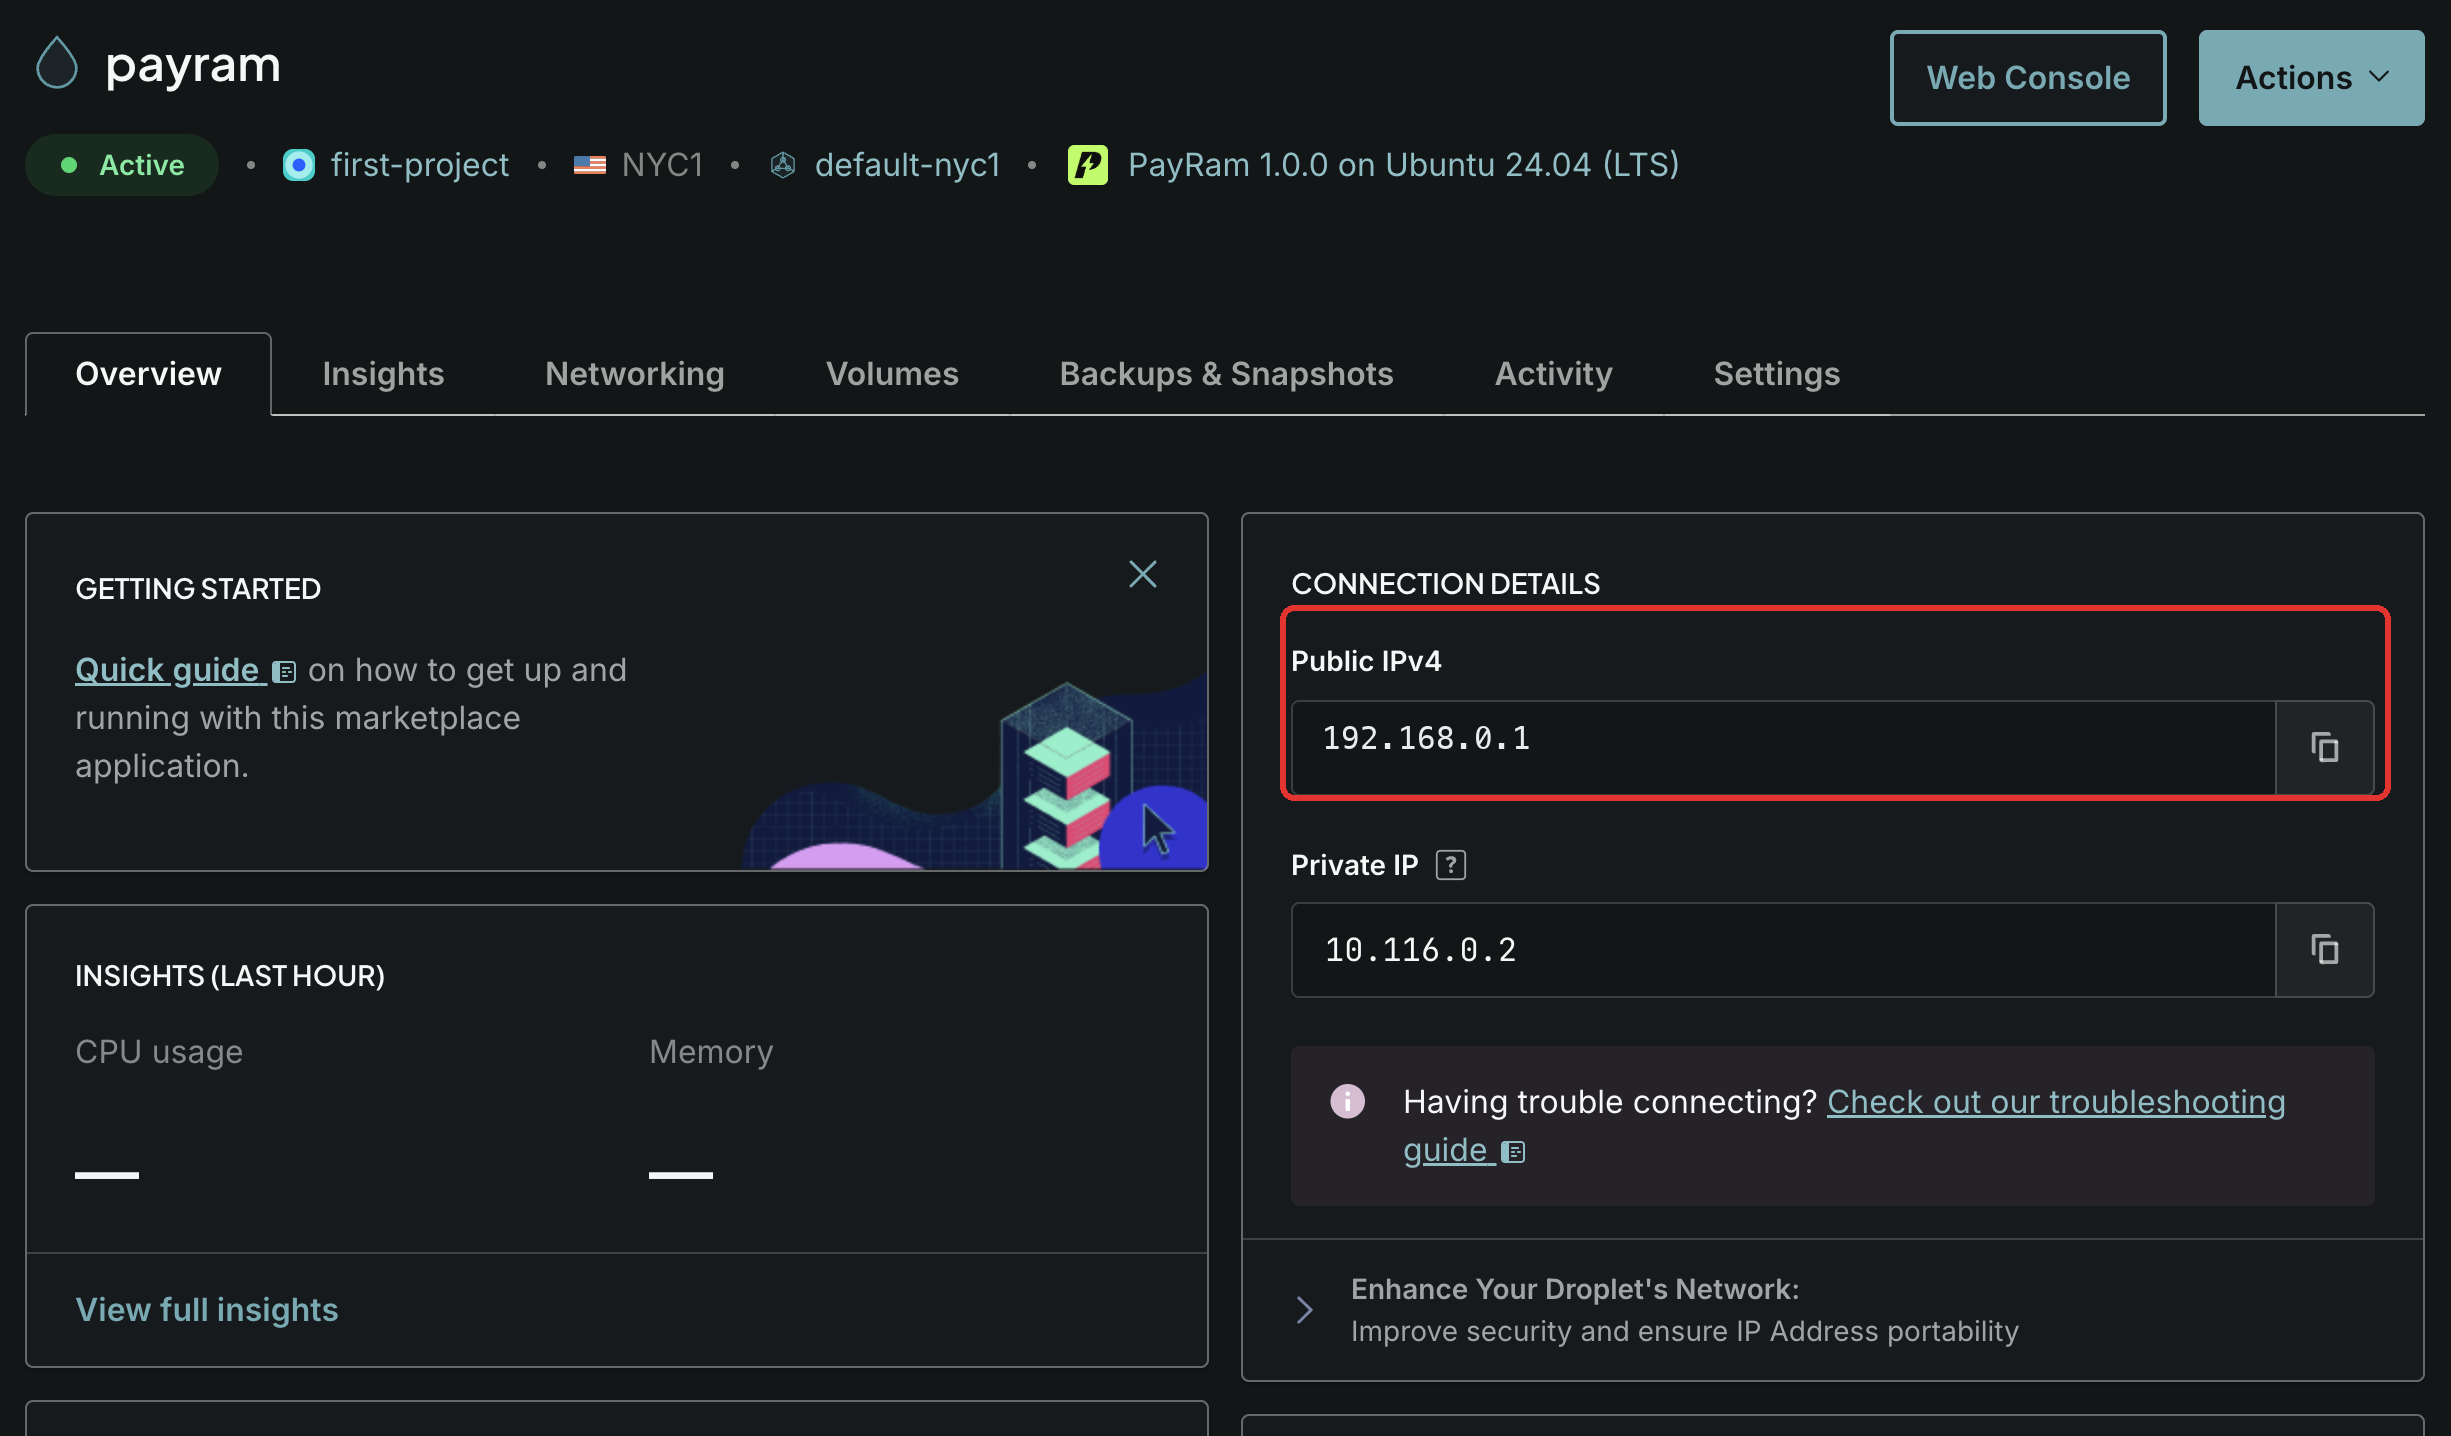
* Once the droplet shows **Active**, copy its **Public IPv4** address from **Connection Details**. This is the address your PayRam dashboard runs on.
{% endstep %}
{% step %}
### Open your PayRam server and sign up
* In your browser, go to `http://`. The PayRam welcome page appears, which means your server is up and running.
* Add `/signup` to that address to create your root account.
* If you need shell access at any point, connect with `ssh root@`.
{% hint style="info" %} **Note**: If the page does not load yet, the first-boot install is still finishing. Wait a few more minutes and try again.
{% endhint %}
{% endstep %}
{% endstepper %}
***
## Next steps
Your server is running, but it has no administrator account yet. Continue with [Root Account Setup](/onboarding-guide/root-account-setup.md) to create your root account and your first project.
{% hint style="info" %} **Note**: The droplet is served over HTTP on its IP address. To put PayRam behind your own domain with SSL, point the domain at the droplet and rerun the setup script over SSH. See [Quick Setup](/deployment-guide/quick-setup.md).
{% endhint %}